As I rummaged through a dusty flea market, I stumbled upon an old MIG welder, and it sparked a curiosity in me – what if I could learn to wield this powerful tool? I’ve always been fascinated by the art of _transforming metal_ into something new, and I discovered that it’s not as daunting as it seems. In fact, with the right guidance, anyone can become proficient in MIG welding, which is why I’m excited to share with you a guide to mig welding for beginners. I’ve learned that it’s all about mastering the basics and practicing with patience.
In this article, I promise to give you _honest and practical advice_ on how to get started with MIG welding. You’ll learn about the essential equipment, safety precautions, and step-by-step techniques to help you overcome common challenges. Whether you’re a DIY enthusiast or a beginner looking to explore a new hobby, this guide will walk you through the process with clarity and confidence. So, if you’re ready to unleash your creativity and tap into the world of MIG welding, join me on this journey as we dive into the basics and beyond, and discover the thrill of shaping metal into something truly remarkable.
Table of Contents
Guide Overview: What You'll Need
Total Time: 2 hours 30 minutes
Estimated Cost: $100 – $300
Difficulty Level: Intermediate
Tools Required
- MIG Welder (with appropriate voltage and amperage ratings)
- Welding Helmet (with shade 10 lens)
- Welding Gloves (insulated and heat-resistant)
- Wire Brush (for cleaning metal surfaces)
- C-Clamps (for holding metal pieces in place)
- Measuring Tape (for measuring and marking metal)
- Square (for ensuring accurate angles)
- Pliers (for gripping and bending metal)
- Safety Glasses (for protecting eyes from debris)
Supplies & Materials
- MIG Welding Wire (0.030 inches or 0.035 inches diameter)
- Shielding Gas (75/25 argon/carbon dioxide mix)
- Metal Stock (1/4 inches thick steel plate or 1/2 inches thick steel bar)
- Welding Table (or a stable, heat-resistant surface)
- Fire Extinguisher (rated for electrical and metal fires)
Step-by-Step Instructions
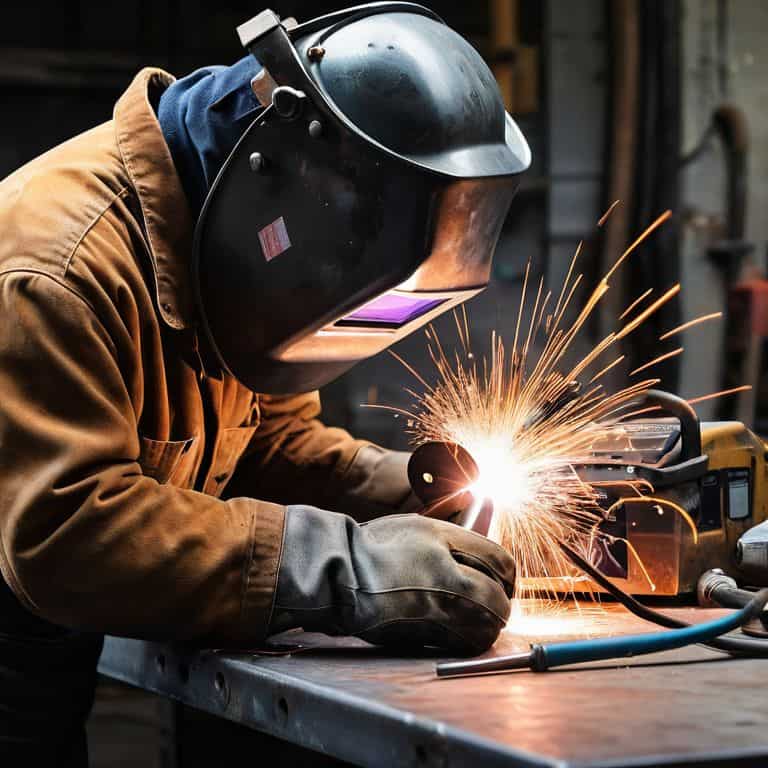
- 1. First, let’s get started with the basics of MIG welding. To begin, you’ll need to gather all the necessary equipment, including a MIG welder, welding wire, a welding helmet, gloves, and safety glasses. I like to think of it as preparing for a treasure hunt – you never know what hidden gems you’ll discover, but with the right tools, you’ll be ready for anything.
- 2. Next, set up your workspace by clearing a flat surface and ensuring good ventilation. MIG welding can produce fumes and sparks, so it’s essential to work in a well-ventilated area. I recall a time when I was welding in a small scrapyard, and the sparks flew everywhere – it was like a fiery dance, but I had to be careful not to get too close.
- 3. Now, prepare your metal by cleaning and degreasing the surfaces you plan to weld. This step is crucial, as any dirt or oil can affect the quality of the weld. I’ve found that using a wire brush to scrub the metal can help remove any tough stains and ensure a smooth welding process.
- 4. With your metal prepared, it’s time to choose the right welding technique. For beginners, a push technique is often recommended, as it allows for more control over the weld pool. Imagine you’re navigating a flea market, searching for the perfect vintage find – you need to have a keen eye and a steady hand to spot the hidden gems.
- 5. Next, select the correct welding wire for your project. The type of wire you choose will depend on the type of metal you’re working with, as well as the desired strength and appearance of the weld. I’ve found that using a high-quality wire can make all the difference in achieving a strong and durable weld.
- 6. Now, set the welder’s voltage and wire feed speed according to the manufacturer’s instructions and the type of metal you’re working with. It’s essential to get these settings just right, as they can affect the penetration and appearance of the weld. I like to think of it as adjusting the focus on my polaroid camera – you need to get the settings just right to capture the perfect shot.
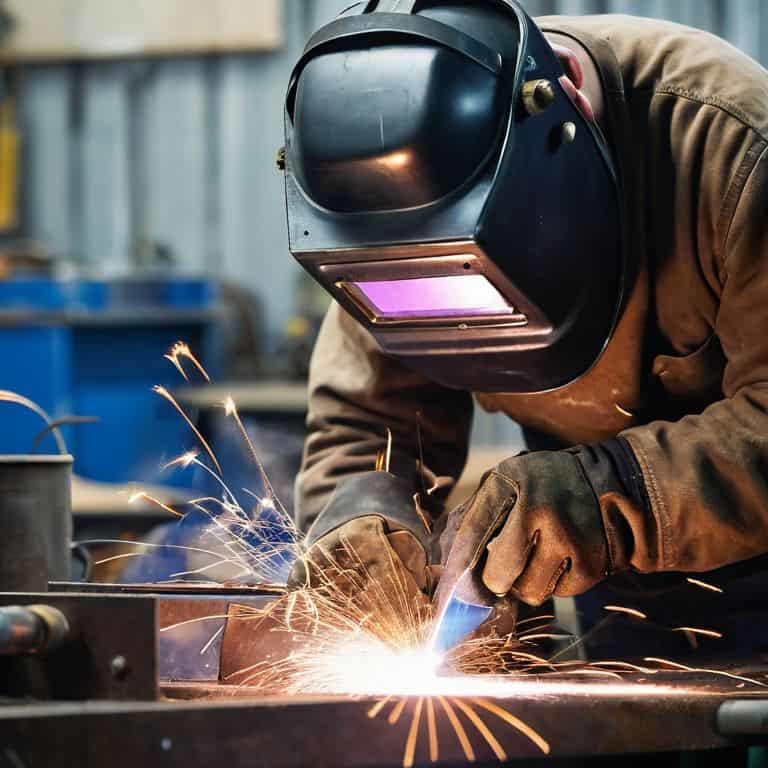
- 7. With your welder set up and your metal prepared, it’s time to start welding. Begin by creating a small weld pool and gradually adding more weld to the area. Remember to keep your welding helmet down and your eyes protected, as the bright light of the weld can be intense. As you weld, imagine you’re writing a story – each stroke of the welder is like adding a new sentence to the narrative, and the finished product is the culmination of your creative vision.
Mig Welding Wonders Uncovered
As I delve deeper into the world of MIG welding, I’m reminded of my treasure hunting adventures at flea markets. Just like spotting a rare gem, choosing the right MIG welder can make all the difference in your welding journey. It’s essential to consider factors like the type of metal you’ll be working with and the level of precision you need. For instance, when welding thin metals with MIG, you’ll want a welder that can handle delicate tasks with ease.
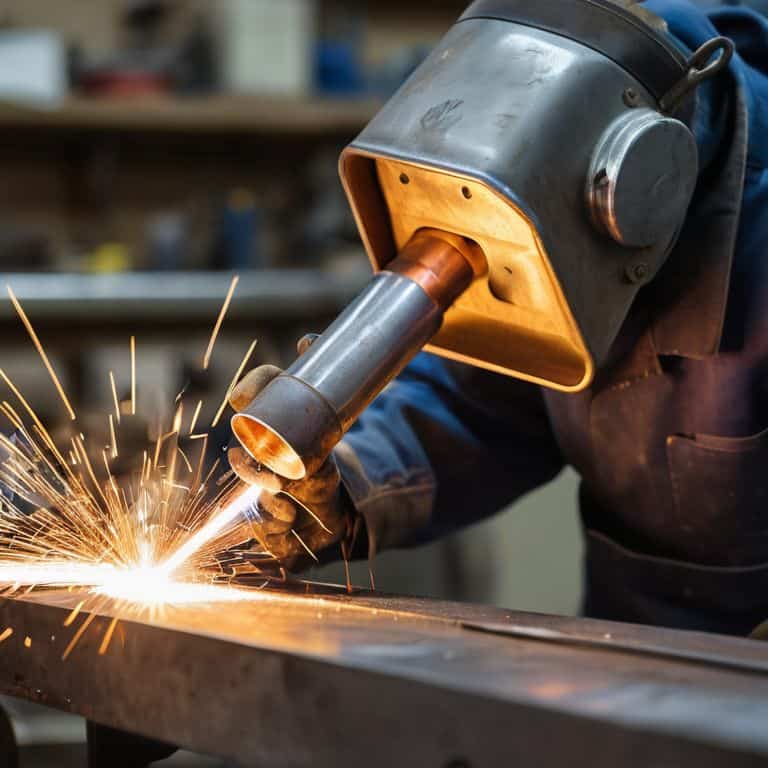
When it comes to mig welding joint types, it’s crucial to understand the different techniques involved. From butt joints to lap joints, each type requires a specific approach to ensure a strong and durable bond. I’ve found that mig welding safety precautions are just as important as the welding process itself. Always wear protective gear, including a helmet, gloves, and safety glasses, to prevent injuries and ensure a safe working environment.
As you continue to hone your MIG welding skills, you may encounter some common issues. Troubleshooting common MIG welder issues can be a challenge, but with patience and practice, you’ll be able to identify and fix problems with ease. Whether you’re working on a small project or a large-scale mig welding for automotive repairs, remember to stay focused, and don’t be afraid to experiment and try new things. With time and experience, you’ll become a skilled MIG welder, capable of tackling even the most complex projects.
Choosing Your Magic Wand Right Mig Welder
As I wandered through the flea market, I stumbled upon an old MIG welder that sparked my curiosity. It got me thinking, what makes the perfect MIG welder for a beginner? For me, it’s all about finding the right balance between power and portability. I look for a welder that can handle thin metals with ease, but also has the oomph to tackle thicker materials when needed.
When choosing your own magic wand, consider the types of projects you’ll be working on and the metals you’ll be welding. A compact, 120V welder is perfect for small DIY projects, while a more heavy-duty, 240V model is better suited for thicker metals and larger tasks.
Safety First Mig Welding Precautions
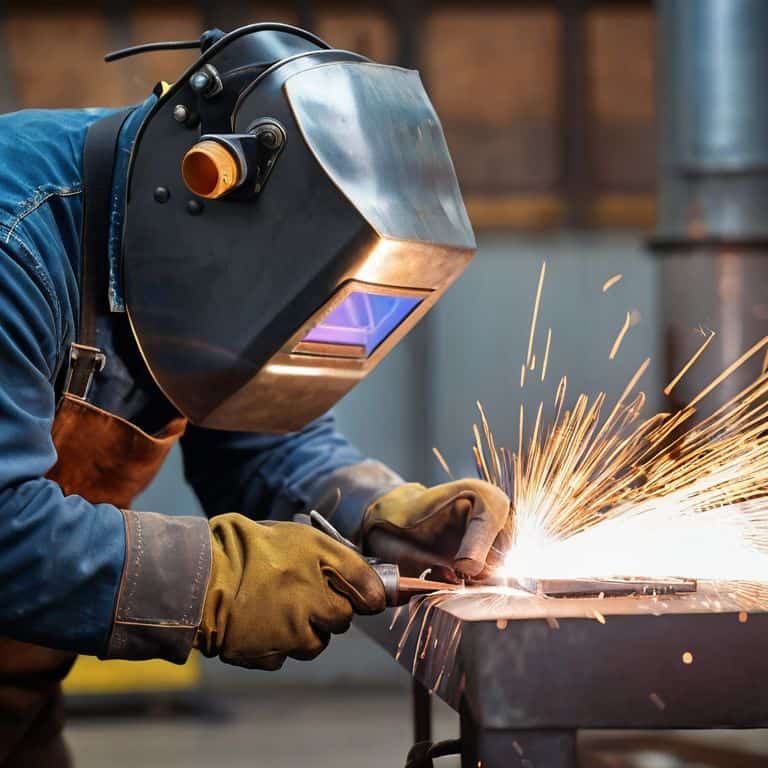
As I delve into the world of MIG welding, I’m reminded of the importance of safety. Just like searching for rare treasures at a flea market, you’ve got to be mindful of your surroundings. When it comes to MIG welding, precautions are key to avoiding injuries. Always wear protective gear, including gloves, a helmet, and safety glasses, to shield yourself from sparks and heat.
I like to think of safety precautions as the map that leads to a successful welding adventure. By following a few simple rules, you can ensure a fun and injury-free experience. Keep your workspace well-ventilated, and never touch electrical components with wet hands or while standing on a conductive surface. With these precautions in mind, you’ll be well on your way to creating your own welding wonders, and who knows, maybe even discovering a new treasure or two along the way.
Spark to Success: 5 Essential Tips for MIG Welding Newbies
- Get Familiar with Your Welder: Understand the basics of your MIG welder, including how to properly set up, maintain, and troubleshoot it
- Practice on Scrap Metal: Before diving into your main project, hone your welding skills on scrap metal to get a feel for the welder and develop your technique
- Master the Art of Wire Feed: Learn how to adjust the wire feed speed to achieve the perfect weld – not too fast, not too slow, but just right
- Dress for Success: Wear proper protective gear, including gloves, a helmet, and a fire-resistant jacket, to ensure your safety while welding
- Join the Welding Community: Connect with experienced welders, either online or in-person, to learn from their experiences, get tips, and stay inspired to continue improving your MIG welding skills
MIG Welding Essentials to Remember
Always prioritize safety by wearing proper gear, including a welding helmet, gloves, and a fire-resistant jacket, to protect yourself from sparks and heat
Select the right MIG welder for your project by considering factors such as the type of metal you’re working with, the thickness of the material, and the desired welding speed
Practice makes perfect, so don’t be discouraged if your first few welding attempts don’t turn out as expected – keep experimenting, and you’ll soon be creating seamless joints like a pro
Igniting the Spark
As I always say, welding is like treasure hunting in a scrapyard – you never know what masterpiece you’ll create until you strike the right spark, and with MIG welding, that spark can ignite a world of possibilities for beginners and seasoned adventurers alike!
Vera Kump
Embracing the Spark of MIG Welding
As I wrap up this guide to MIG welding for beginners, I want to emphasize that the journey to mastering this skill is just as important as the destination. You’ve learned about the basics of MIG welding, from setting up your equipment to choosing the right welder, and you’ve discovered the importance of safety precautions to ensure a smooth and enjoyable experience. Remember, practice makes perfect, so don’t be discouraged if your first welds don’t turn out as expected – it’s all part of the process.
As you embark on your MIG welding adventures, I hope you’ll unleash your creativity and experiment with different projects and techniques. Whether you’re repairing a vintage car or creating a work of art, MIG welding offers a world of possibilities. So, go ahead, get sparked, and join me in the wonderful world of welding wonders – who knows what incredible creations you’ll bring to life?
Frequently Asked Questions
What are the most common mistakes beginners make when starting with MIG welding?
Oh, I just love sharing wisdom from my own learning journey! As a beginner, it’s easy to get tangled up in common mistakes like improper wire feeding, incorrect shielding gas, or insufficient cleanliness. Trust me, I’ve been there – my first few attempts at MIG welding were more like abstract art than actual welds!
How do I know which type of MIG welder is best for my specific projects?
Choosing the right MIG welder is like finding the perfect treasure at a flea market – it’s all about the details. Consider the type of metal you’ll be working with, the thickness of the material, and the size of your projects. Do you need a compact welder for small spaces or a heavy-duty one for bigger jobs? Let’s dig in and find the perfect match for your welding adventures!
What kind of safety gear is absolutely essential for MIG welding and how often should it be replaced?
When it comes to MIG welding, safety gear is my top treasure! You’ll need a welding helmet, gloves, and safety glasses. I like to think of them as my trusty adventure companions. Replace them every 2-5 years or when showing signs of wear, just like I refresh my polaroid film for new snapshots.


