As I sit in my Emily Dickinson study, surrounded by vintage teapots and the soft glow of afternoon light, I often think about the common myths that surround how to install vinyl plank flooring. One of the most frustrating misconceptions is that it’s a daunting, impossible task for a DIY enthusiast. But, I’m here to tell you that with the right guidance, installing vinyl plank flooring can be a whimsically wonderful experience. I’ve learned this firsthand, having transformed the floors of my own charming Victorian home, which I affectionately call Heathcliff’s Haven.
In this article, I promise to share my honest, no-nonsense advice on how to install vinyl plank flooring, gleaned from my own experiences as a home stylist and blogger. You’ll discover the simple, practical steps to achieve a beautifully crafted floor that tells its own story. From preparation to the final flourish, I’ll walk you through the process, highlighting the key considerations and essential tips that will make your journey a success. So, let’s embark on this adventure together, and turn your floors into a cozy, uplifting realm that echoes with the whispers of literary characters and vintage treasures.
Table of Contents
- Guide Overview: What You'll Need
- Step-by-Step Instructions
- Unfolding Tales in Flooring
- Whispers from the Floor: 5 Enchanted Tips for a Magical Vinyl Plank Installation
- Weaving Together the Essentials
- A Timeless Tip for Enchanted Floors
- Weaving a Tapestry of Tales Underfoot
- Frequently Asked Questions
Guide Overview: What You'll Need
Total Time: 8 hours to 2 days
Estimated Cost: $0.50 – $2 per square foot
Difficulty Level: Intermediate
Tools Required
- Tapping block for tapping planks into place
- Utility knife (with extra blades)
- Pull bar for pulling planks tight
- Measuring tape for measuring rooms and planks
- Pencil and marker for marking cuts and layouts
- Miter saw or circular saw for cutting planks to size
- Knee kicker for securing planks
- Notched trowel for applying adhesive
Supplies & Materials
- Vinyl plank flooring choose your style and quantity
- Underlayment material such as 1/4 inch plywood or cement-based underlayment
- Adhesive specific to your flooring type
- Transition strips for joining flooring to other surfaces
- Baseboards for covering edges
- 6 inches wide foam tape for sealing gaps
Step-by-Step Instructions
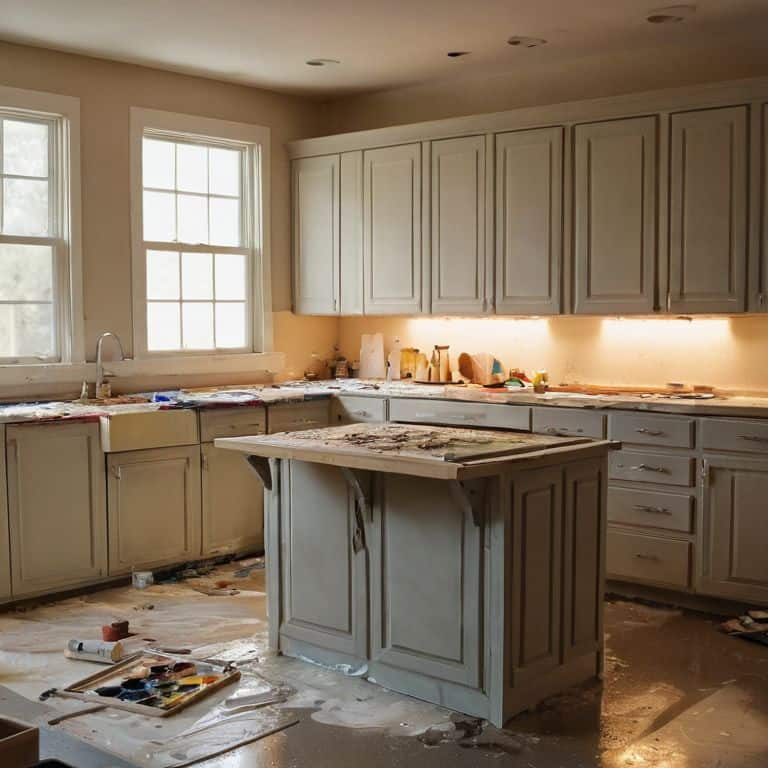
- 1. To begin our whimsical journey of installing vinyl plank flooring, let’s start with preparing the room. I like to think of this step as setting the stage for a beautiful story, where every detail counts. First, clear the room of any furniture, curtains, and rugs to ensure a smooth and efficient installation process. This will also give you a chance to inspect the subfloor for any imperfections or old adhesives that need to be removed.
- 2. Next, we’ll move on to inspecting and preparing the subfloor. This is a crucial step, as it will determine the overall quality of our installation. I find it helpful to think of the subfloor as the foundation of our story, where a strong base is essential for a happy ending. Check the subfloor for any unevenness or cracks, and make the necessary repairs before proceeding. This may involve filling in gaps with a self-leveling compound or installing a new subfloor altogether.
- 3. Now that our subfloor is ready, it’s time to measure the room and calculate the number of vinyl planks we’ll need. I love this part of the process, as it’s like planning the plot of our story. Take precise measurements of the length and width of the room, and use these to determine the number of planks required. Don’t forget to add a few extra planks to account for any cuts or mistakes that may occur during the installation process.
- 4. With our measurements in hand, we can now begin to lay out the vinyl planks. This is where the magic happens, and our story starts to take shape. Start by creating a grid on the subfloor, using a chalk line to mark the location of the first plank. From there, you can begin to lay the planks, working your way across the room in a systematic pattern. Make sure to leave a small gap between each plank to allow for expansion and contraction.
- 5. As we continue to lay the planks, it’s essential to use a tapping block to tap each plank into place. This will ensure a secure and even fit, and help to prevent any gaps or unevenness from forming. I find it helpful to think of this step as adding the details to our story, where every tap of the block brings our narrative to life. Work your way across the room, using the tapping block to secure each plank in place.
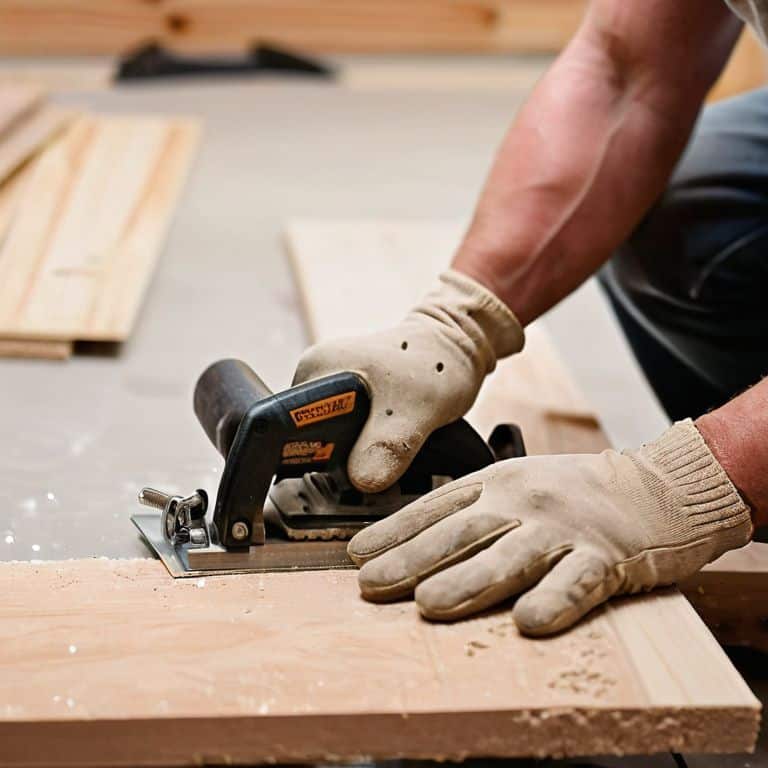
- 6. Once we’ve completed the main area of the room, it’s time to cut the planks to fit around any obstructions, such as heating vents or doorways. This is where our story gets a bit more complex, and we need to think creatively to overcome any challenges that come our way. Use a utility knife or a circular saw to cut the planks, and then use a jigsaw to make any curved cuts. Don’t worry if it takes a few attempts to get the fit just right – it’s all part of the process.
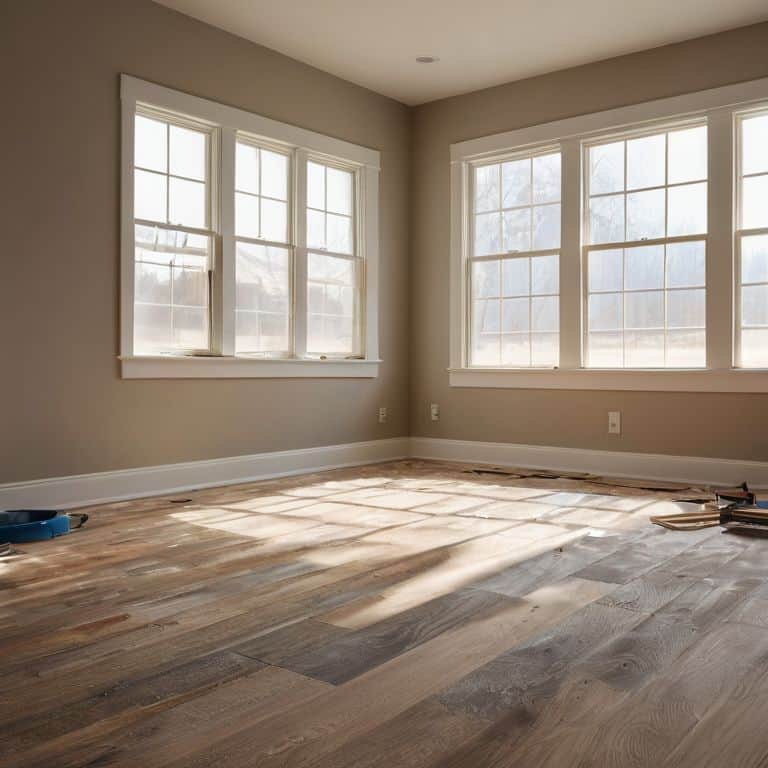
- 7. Finally, we can add the finishing touches to our installation. This is where we get to add the final details to our story, and bring our narrative to a satisfying conclusion. Use a sealant to fill any gaps between the planks and the wall, and then add any transition strips or molding to cover the edges of the flooring. Stand back and admire your handiwork – you’ve just installed a beautiful vinyl plank floor that’s sure to be the envy of all your friends and family.
Unfolding Tales in Flooring
As I step into my “Heathcliff” room, named after the brooding hero from Wuthering Heights, I’m reminded of the importance of preparing the subfloor for a successful vinyl plank flooring installation. A well-prepared surface is akin to a beautifully crafted story – it sets the stage for a captivating narrative. In my experience, ensuring the subfloor is level, clean, and dry is crucial for a durable and long-lasting floor.
When it comes to lvp flooring patterns and layouts, the possibilities are endless, much like the pages of a favorite novel. I adore experimenting with different designs, from herringbone to brick patterns, to create a unique tale underfoot. For instance, a herringbone pattern can add a touch of sophistication to a room, while a brick pattern can evoke a sense of cozy warmth.
As I sit amidst my vintage teapot collection, I’m reminded that even the most beautifully installed vinyl plank flooring requires vinyl plank flooring maintenance tips to keep it looking its best. Regular sweeping and mopping can help prevent scratches and damage, allowing the floor to remain a vibrant part of the room’s story for years to come. By following these simple tips, you can ensure your vinyl plank flooring remains a cherished character in your home’s narrative.
Navigating Vinyl Plank Flooring Over Concrete
As I ponder the perfect flooring for my “Heathcliff’s Haven” room, I often find myself enchanted by the notion of vinyl plank flooring over concrete. It’s a match made in heaven, really – the cool, industrial undertones of concrete paired with the warm, vintage charm of LVP. To achieve this look, it’s essential to ensure your concrete subfloor is level, clean, and dry. A dash of fairy dust, or rather, a self-leveling compound, can work wonders in creating a smooth canvas for your flooring tale to unfold.
With my trusty vintage teapot by my side, I’ve found that a well-prepared concrete subfloor can make all the difference in the world. By taking the time to inspect and address any cracks or unevenness, you’ll be weaving a foundation for a story that’s nothing short of magical.
Preparing Subfloors for Enchanted Lvp
As I delve into the world of enchanted LVP, I find myself pondering the foundation of it all – the subfloor. Just as a good story begins with a solid setting, a beautiful floor starts with a well-prepared base. I like to think of it as laying the groundwork for the narrative that’s about to unfold. To ensure a smooth, even surface, I carefully inspect the subfloor for any imperfections, much like my grandmother would meticulously examine her fabrics for the perfect seam.
With a keen eye, I check for any cracks, unevenness, or old adhesives that might disrupt the tale of my floor. A little like the meticulous process of restoring my father’s antique furniture, I take my time to fill in gaps, sand down rough spots, and create a clean slate for my vinyl plank flooring to shine. As I work, I imagine the stories that will soon be woven into the very fabric of my home, and the joy that this enchanted floor will bring to all who step upon it.
Whispers from the Floor: 5 Enchanted Tips for a Magical Vinyl Plank Installation
- Let the story begin with a sturdy foundation: ensure your subfloor is level, clean, and dry to prevent any unwanted plot twists in your flooring journey
- Choose your protagonist wisely: select a vinyl plank flooring that resonates with your home’s narrative, considering factors like color, texture, and pattern to create a harmonious tale
- Plot your course with precision: measure your space carefully and create a plan for your installation, taking into account any obstacles or challenges that might arise in your story
- Unfold the tale with patience and dedication: install your vinyl plank flooring row by row, ensuring each piece is securely fastened to the one before it, much like the chapters of a beloved book
- As the final chapter comes to a close, add a touch of magic: finish your installation with a flourish, adding any necessary trim or molding to create a seamless and enchanting transition between your flooring and the walls that tell its story
Weaving Together the Essentials
Embracing the whimsy of vinyl plank flooring, remember to always prepare your subfloor with love and care, just as my grandmother prepared her sewing room, which I lovingly call ‘Emily’ after Emily Dickinson, to ensure a smooth and enchanting installation process
Navigate the world of vinyl plank flooring with confidence, whether you’re working over concrete or another existing floor, and recall the tales of my ‘Heathcliff’ room, where the rugged beauty of the moors meets the refined elegance of Wuthering Heights, to find the perfect blend of style and functionality for your space
As you complete your flooring journey, step back and admire the unfolding tale underfoot, where every plank and every pattern tells a story of its own, much like the charming ‘Alice’ nook, inspired by Lewis Carroll’s whimsical world, where I display my beloved vintage teapots, and remember to cherish the memories and magic that your new floor will help create
A Timeless Tip for Enchanted Floors
As we weave our tales underfoot with vinyl plank flooring, remember that the true magic lies not in the planks themselves, but in the stories they help us tell – of laughter, of tears, and of all the moments in between that make a house a home.
Margaret Silva
Weaving a Tapestry of Tales Underfoot
As we conclude our whimsical journey through the realm of vinyl plank flooring, let’s take a moment to reflect on the key milestones we’ve achieved along the way. From preparing the subfloor to navigating the intricacies of installation over concrete, each step has been a testament to the transformative power of storytelling through space. By embracing the enchantment of vinyl plank flooring, we’ve not only elevated the aesthetic of our homes but also infused them with a deep sense of character and personality.
As you stand back to admire your handiwork, remember that the true magic lies not in the flooring itself, but in the tales it will tell. Every creak of the floor, every warmth of the wood tone, and every vintage teapot placed upon it becomes a part of the narrative, weaving a rich tapestry of memories and wonder. So, let your home be a living story, where every corner whispers secrets of the past and every step into the future is filled with warmth, character, and the promise of new tales to be told.
Frequently Asked Questions
What are the most common mistakes to avoid when installing vinyl plank flooring to ensure a seamless and professional-looking finish?
To avoid common pitfalls, my friends, remember to check for subfloor levelness, ensure a clean and dry surface, and don’t forget to acclimate your vinyl planks to the room’s temperature and humidity – these simple steps will help you steer clear of pesky gaps and unevenness, resulting in a beautifully seamless finish that’s nothing short of enchanting.
How do I choose the right underlayment for my vinyl plank flooring to guarantee a comfortable and quiet walking surface?
When selecting underlayment for my own vinyl plank flooring, I consider the room’s purpose and foot traffic. For a cozy reading nook like my ‘Heathcliff’ room, I opt for a thick, cushioned underlayment to ensure a quiet and comfortable stroll.
Can I install vinyl plank flooring over existing hardwood or tile, and if so, what special considerations should I keep in mind to achieve a successful installation?
Absolutely, my friends! You can install vinyl plank flooring over existing hardwood or tile, but do ensure the subfloor is level, clean, and dry. For a seamless transition, consider the thickness and texture of your new flooring, and don’t hesitate to add a underlayment for extra cushioning and sound reduction – it’s all about weaving a harmonious tale underfoot!