As I sit in my Emily Dickinson room, surrounded by vintage teapots and the warm glow of afternoon sunlight, I often think about the common myths that surround home renovations, particularly when it comes to how to replace your kitchen countertops on a budget. Many believe that giving their kitchen a fresh new look requires breaking the bank, but I’m here to tell you that this simply isn’t true. In fact, I’ve found that with a little creativity and resourcefulness, you can achieve a stunning transformation without sacrificing your savings.
In this article, I’ll share my personal experience and expertise on transforming your kitchen by replacing your countertops on a budget. You’ll discover practical tips and tricks for choosing the right materials, navigating the installation process, and adding those special touches that make your space truly unique. From budget-friendly alternatives to creative ways to repurpose and reuse, I’ll guide you through the process of turning your kitchen into a warm and inviting hub that reflects your personal style. So, let’s get started on this journey to uncover the secrets of how to replace your kitchen countertops on a budget and make your kitchen a space that tells a story of its own.
Table of Contents
Guide Overview: What You'll Need
Total Time: 2 days to 1 week
Estimated Cost: $300 – $1,500
Difficulty Level: Intermediate / Hard
Tools Required
- Circular Saw (for cutting lumber)
- Drill Press (for precise drilling)
- Jigsaw (for curved cuts)
- Sander (for smoothing surfaces)
- Utility Knife (with extra blades)
- Measuring Tape (for accurate measurements)
- Level (for ensuring even installation)
- Clamps (for holding materials in place)
- Pry Bar (for removing old countertops)
Supplies & Materials
- Laminate or Granite Countertop Material (available in various sizes and styles)
- 2-in x 4-in lumber (for support and framing)
- 3/4-in plywood (for backing and support)
- Countertop Adhesive (for securing countertops)
- Silicone Caulk (for sealing edges and seams)
- Wood Screws (for assembling support structure)
- Finishing Nails (for attaching trim and molding)
Step-by-Step Instructions
- 1. First, let’s start by assessing our budget and determining how much we can realistically spend on our kitchen countertop makeover. I like to think of this step as setting the stage for our design story, where every detail, including our budget, plays a crucial role in the narrative. Take some time to consider your priorities: are you looking to make a bold statement with a luxurious material, or do you want to opt for a more budget-friendly option that still packs a punch?
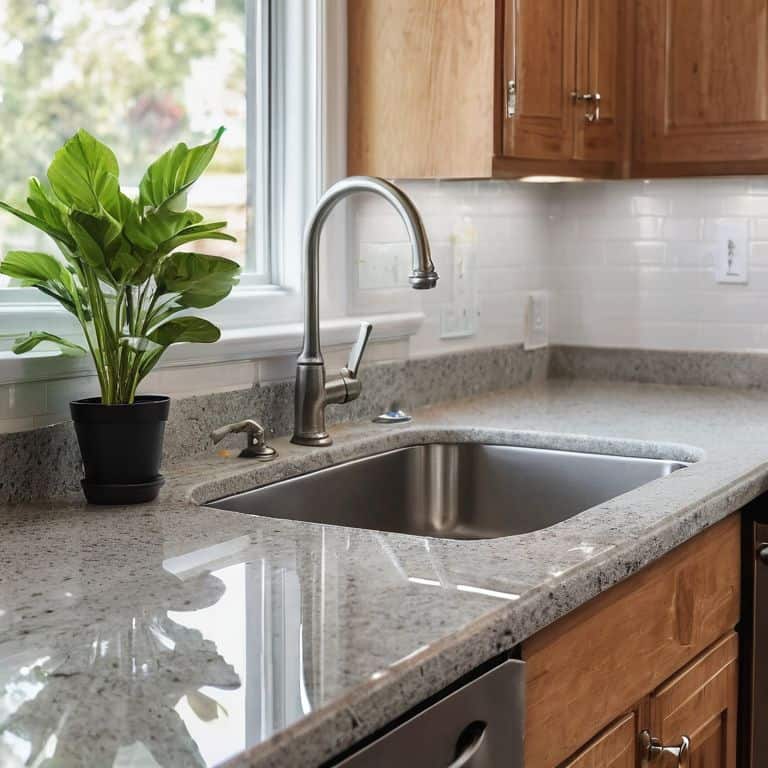
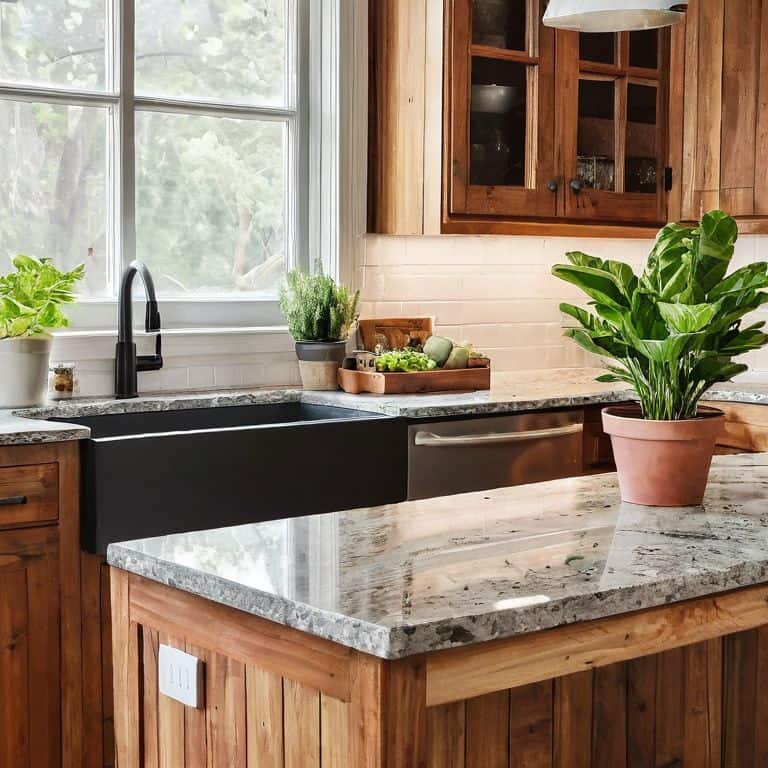
- 2. Next, we need to choose our materials. This is where the magic happens, and our kitchen countertops start to take shape. I adore scouring vintage shops and flea markets for unique, one-of-a-kind pieces to incorporate into my designs. For a budget-friendly option, consider laminate or butcher block, both of which offer a charming, nostalgic feel without breaking the bank. Remember, the key to a successful makeover is to balance your vision with your budget.
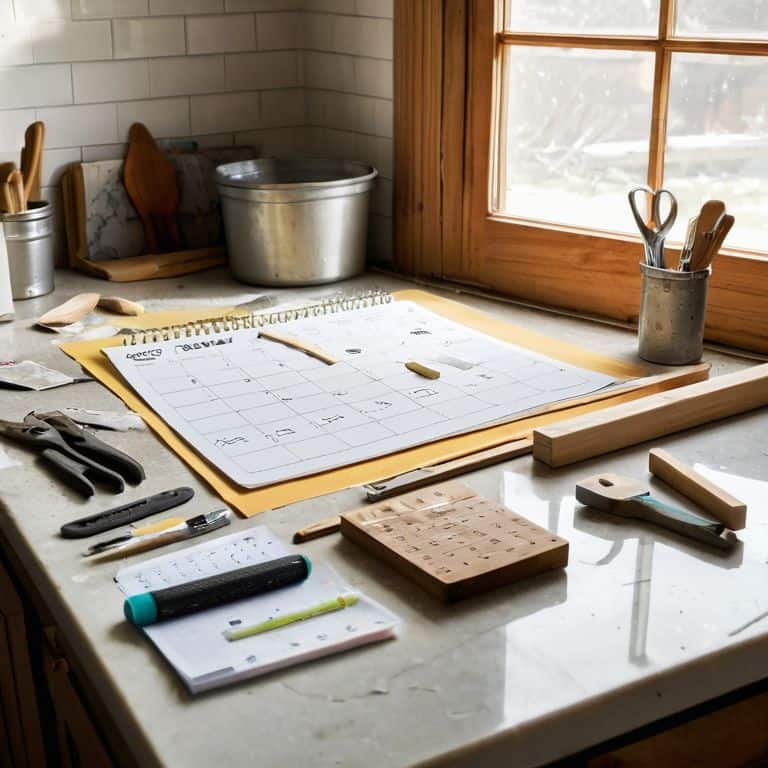
- 3. Now that we’ve selected our materials, it’s time to measure our space. This step is all about getting down to business and ensuring that our new countertops fit seamlessly into our kitchen. I like to think of it as mapping out our story, where every measurement and calculation helps bring our design narrative to life. Take precise measurements of your kitchen, including the length, width, and any obstructions, such as sinks or faucets.
- 4. With our measurements in hand, we can start designing our layout. This is where we get to think creatively and consider the flow and functionality of our kitchen. Think about how you use your space and what features are essential to your daily routine. Do you need a large, open surface for food preparation, or perhaps a smaller, more intimate area for coffee and conversation? Let your imagination run wild, and don’t be afraid to experiment with different configurations.
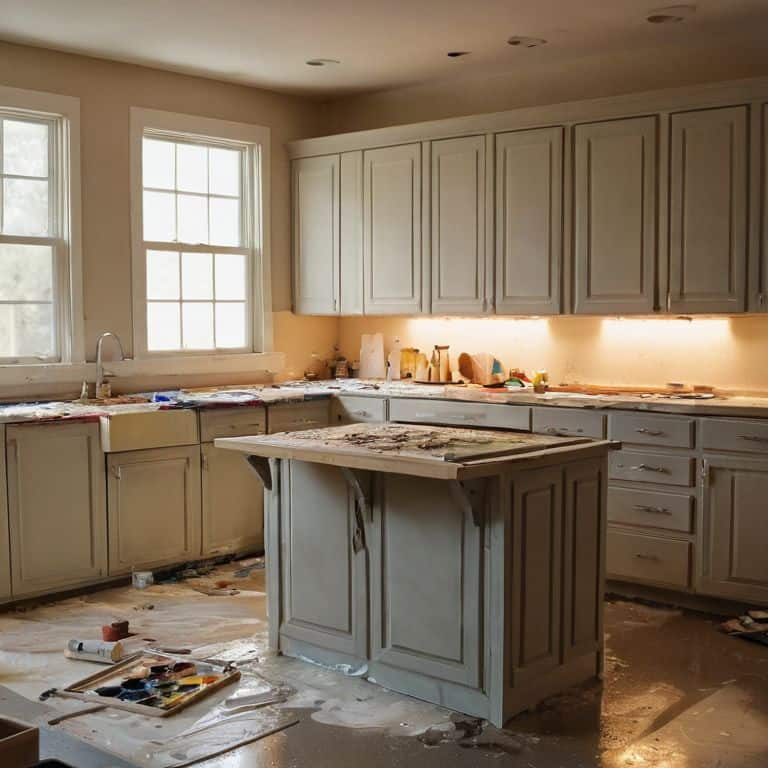
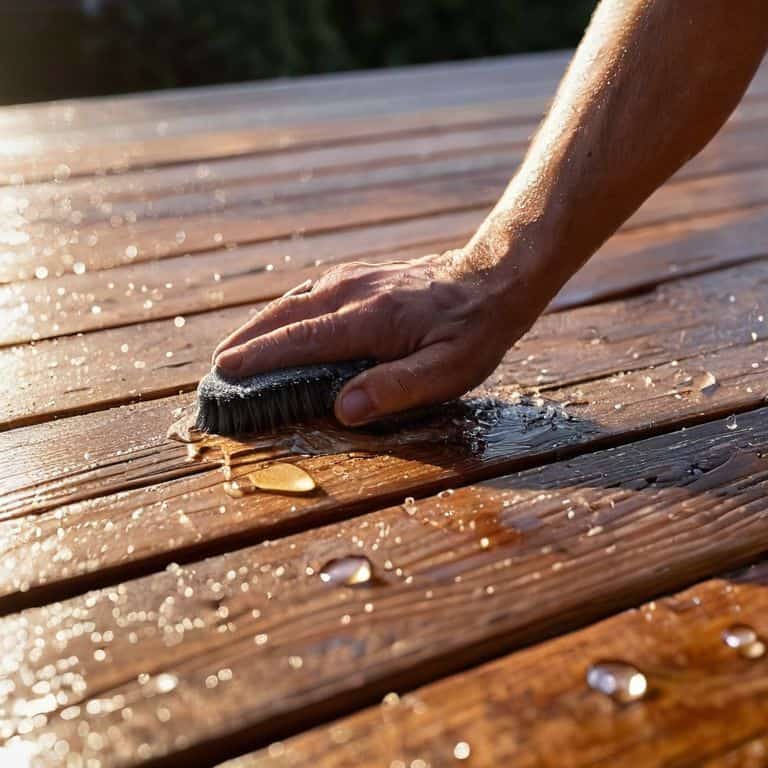
- 5. Once we’ve finalized our design, it’s time to prepare our surfaces. This step is all about creating a smooth, even foundation for our new countertops. I like to think of it as clearing the canvas, where we remove any imperfections or obstacles that might interfere with our design. Remove any existing countertops, and thoroughly clean and inspect the area. Make any necessary repairs, such as filling gaps or holes, to ensure a stable surface.
- 6. Now we’re ready to install our new countertops. This is the exciting part, where our design vision starts to take shape. Depending on the material you’ve chosen, this step may involve cutting and fitting the countertops to size, as well as applying adhesives or fasteners. Take your time, and don’t be afraid to seek help if you need it – after all, installing countertops can be a bit of a puzzle, but with patience and perseverance, you’ll be enjoying your new kitchen in no time.
- 7. Finally, let’s add the finishing touches to our kitchen countertops. This is where we get to weave our story together, adding all the little details that bring our design to life. Consider adding a decorative trim or edging, or perhaps a few well-placed accessories, such as a vintage teapot (my personal favorite!) or a charming kitchen sign. The key is to have fun and make your space truly yours, a reflection of your personality and style.
Whimsy on a Budget
As I sit in my “Elizabeth Bennet” room, surrounded by vintage teapots and warm lighting, I ponder the art of infusing whimsy into our kitchen renovations. When it comes to affordable countertop materials, we can get creative with options like butcher block or laminate. These choices not only fit our budget but also add a touch of personality to our kitchens. I adore how a beautifully crafted butcher block countertop can evoke a sense of nostalgia, reminiscent of my grandmother’s old kitchen.
To make our countertop replacement journey even more eco-friendly, we can consider repurposing or upcycling old materials. This not only reduces waste but also gives our kitchen a unique, storytelling quality. As someone who loves collecting vintage teapots, I appreciate the value of giving old items a new life. By embracing budget-friendly countertop options, we can achieve a stunning kitchen renovation without breaking the bank.
In the spirit of frugal elegance, let’s explore diy countertop installation tips that can help us save even more. With a little patience and creativity, we can transform our kitchens into warm, inviting spaces that reflect our personalities. Whether you’re a fan of classic literature or simply a lover of all things vintage, I encourage you to join me in this journey of discovering the magic in our homes, one kitchen countertop at a time.
Affordable Materials for Dreamers
As I sit in my “Elizabeth Bennet” parlor, surrounded by vintage teapots and the warmth of good company, I’m reminded that affordability and whimsy can indeed coexist. For those dreamers on a budget, I recommend exploring affordable materials that still evoke a sense of wonder. Consider reclaimed wood, butcher block, or even laminate countertops with a touch of vintage flair. These options not only save you pennies but also add a unique story to your kitchen, much like the tales whispered between the pages of my favorite novels.
With a little creativity, these materials can be transformed into timeless treasures that reflect your personal narrative. I adore how a beautifully refinished butcher block countertop can become the centerpiece of a cozy kitchen, inviting conversations and laughter around the breakfast table. By choosing materials that speak to your heart, you’ll be weaving a tale of warmth and personality into the very fabric of your home.
Eco Friendly Choices for Kitchen Renewal
As I sip tea from my favorite vintage teapot in my “Elizabeth Bennet” parlor, I ponder the beauty of eco-friendly choices for kitchen renewal. Reclaimed wood countertops, made from salvaged trees or old barns, add a touch of history and character to our kitchens. Bamboo, a highly renewable resource, is another option, offering a durable and stylish alternative to traditional materials.
I adore how these eco-conscious choices not only reduce waste but also bring a sense of storytelling to our kitchens, don’t you? By choosing reclaimed or sustainable materials, we’re weaving a tale of environmental stewardship and whimsy into the very fabric of our homes.
Countertop Magic on a Shoestring: 5 Enchanted Tips
- Let the treasure hunt begin: Scour thrift stores, Habitat for Humanity ReStores, and local online marketplaces for gently used or reclaimed materials to give your countertops a one-of-a-kind charm
- Measure twice, imagination once: Before making any purchases, ensure you have accurate measurements of your kitchen to avoid costly mistakes and wasted materials
- A dash of DIY magic: Consider enlisting the help of a handy friend or family member to tackle the installation process, saving you money on labor costs and creating memories along the way
- Material musings: Explore affordable, eco-friendly alternatives like bamboo, recycled glass, or repurposed wood to add a touch of personality to your kitchen without breaking the bank
- Sealing the deal with style: Finish your countertops with a durable, water-resistant sealant and add decorative trim or edging to give your kitchen a polished, high-end look without the hefty price tag
Timeless Treasures to Take Away
I’ve learned that with a dash of creativity, you can transform your kitchen countertops into stunning focal points without draining your wallet, all while infusing your space with a sense of storytelling and personality
Embracing whimsy on a budget means exploring unconventional materials and eco-friendly choices that not only reduce waste but also add a unique charm to your kitchen, making it a true reflection of your personal narrative
By combining practical advice with a touch of imagination, you can turn the often-daunting task of replacing kitchen countertops into an exciting adventure of self-expression, where every tile and every finish tells a part of your story
A Dash of Whimsy
As we embark on the journey of replacing our kitchen countertops on a budget, remember that it’s not just about the materials we choose, but the stories we weave into every tile, every grain, and every brushstroke – for it’s in these details that our homes become the warm, golden pages of our own personal fairy tales.
Margaret Silva
Weaving a Tapestry of Transformation
As we conclude our journey through the realm of budget-friendly kitchen countertop replacements, let’s take a moment to reflect on the key takeaways. We’ve explored the step-by-step process of transforming our kitchen spaces, from initial planning to final installation. We’ve also delved into the world of whimsy on a budget, discovering affordable materials that can bring our dream kitchens to life without breaking the bank. Additionally, we’ve touched upon the importance of eco-friendly choices, ensuring that our kitchen renewal is not only beautiful but also sustainable.
As you embark on your own kitchen transformation, remember that it’s not just about replacing countertops – it’s about crafting a narrative that reflects your personality and style. It’s about creating a space that feels like a warm hug, where every element, from the countertops to the teapots on your shelves, tells a story of love, comfort, and timeless beauty. So, go ahead, get creative, and make your kitchen a living tale that you’ll cherish for years to come.
Frequently Asked Questions
What are some creative ways to repurpose or upcycle old kitchen countertops to reduce waste and save money?
I just adore giving old countertops a new life. Consider repurposing them as a kitchen island, potting bench, or even a one-of-a-kind desk for your home office – the possibilities are endless, and it’s a wonderful way to reduce waste while adding a touch of unique character to your space.
How can I balance my desire for unique, high-end materials with the need to stay within a tight budget for my kitchen countertop renovation?
For me, it’s all about mixing high-end flair with budget-friendly charm. I like to think of it as ‘curated contrast’ – pairing luxurious materials with more affordable alternatives, like combining quartz with butcher block or pairing marble with reclaimed wood, to create a look that’s uniquely yours without breaking the bank.
Are there any specific DIY-friendly materials or tools that are essential for a beginner to have when replacing their kitchen countertops on a budget?
For a beginner, I swear by butcher block, laminate, or tile – they’re budget-friendly and easy to work with. Essential tools include a circular saw, drill press, and a trusty notepad to sketch out your design. Don’t forget a pencil to mark your cuts, and a putty knife for those finishing touches!