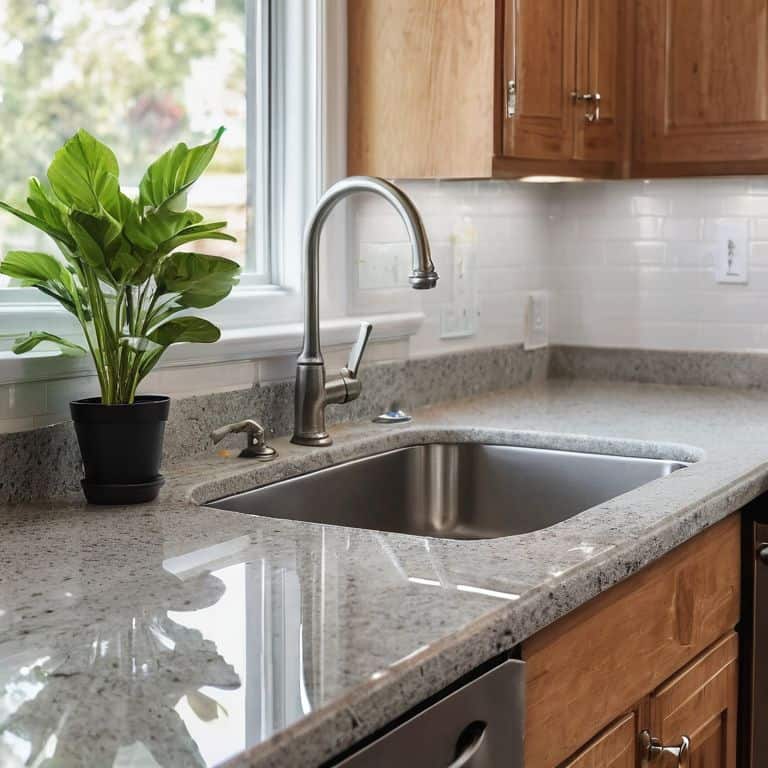
As I sit in my cozy kitchen, named after the quaint charm of Anne of Green Gables, I often ponder the myths surrounding home renovations. One such myth that irks me is the notion that how to paint kitchen cabinets without sanding is a tedious, impossible task. I’ve heard friends and family members lament about the hassle of sanding, only to be left with a mess and a half-finished project. But, I’m here to tell you that it’s not only possible to paint your kitchen cabinets without sanding, but it’s also a relatively straightforward process.
In this article, I’ll share my personal experience and expertise on how to paint kitchen cabinets without sanding, guiding you through the process with honest, no-nonsense advice. You can expect to learn about the essential materials needed, the best techniques for a smooth finish, and some clever tips to avoid common pitfalls. Whether you’re a seasoned DIY enthusiast or a beginner looking to give your kitchen a fresh new look, this guide is designed to help you achieve professional-looking results without the hassle of sanding. So, let’s get started on this whimsical journey to transform your kitchen cabinets into beautiful, story-filled pieces that reflect your personal style.
Table of Contents
Guide Overview: What You'll Need
Total Time: 4 hours 30 minutes
Estimated Cost: $50 – $100
Difficulty Level: Intermediate
Tools Required
- Paintbrushes various sizes
- Roller Extension Pole for large surfaces
- Paint Tray with a grid
- Drop Cloths or old sheets for protection
- Cleaning Cloth for wiping down cabinets
Supplies & Materials
- Degreaser for cleaning cabinets
- Tack Cloth for removing dust
- Primer specifically designed for cabinets, no sanding required
- Cabinet Paint choose your desired color and finish
- Clear Coat optional, for added protection
Step-by-Step Instructions
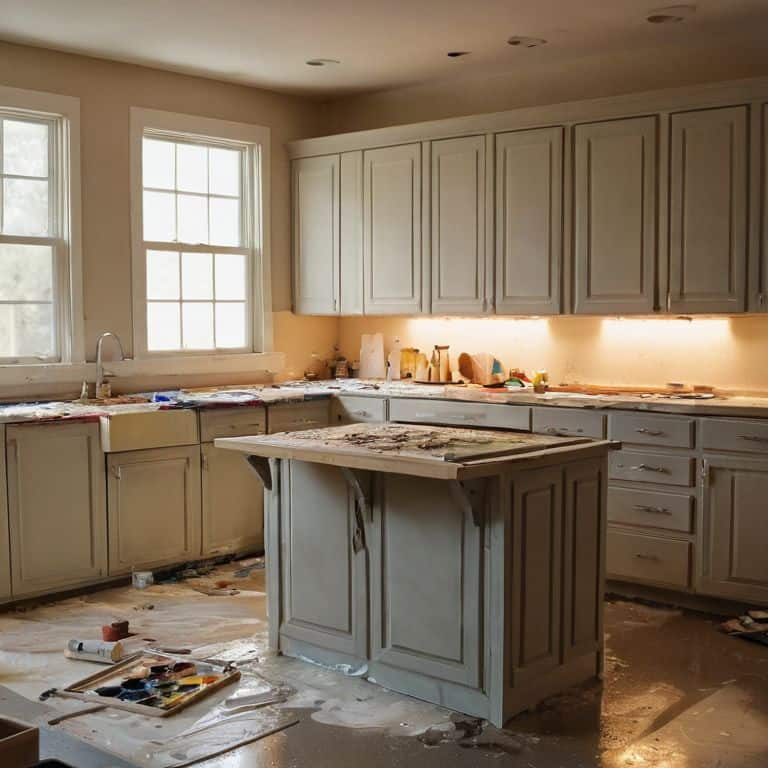
- 1. First, let’s start by preparing our space, just as my grandmother used to do in her sewing room, which I lovingly refer to as the Jo March Corner. Clear out the kitchen, covering the countertops, floor, and any surrounding areas with drop cloths or plastic sheets to protect them from any potential paint spills or stains. This is where the magic begins, and we want to ensure our workspace is ready for transformation.
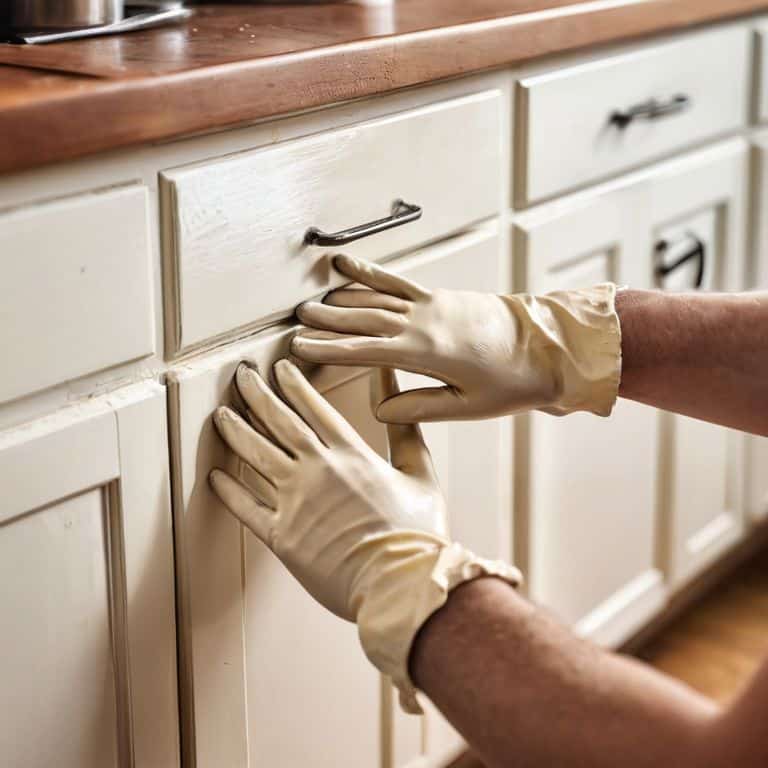
- 2. Next, remove all the hardware from the cabinets, such as knobs or handles, and set them aside in a safe place. I like to store mine in a small, vintage teapot I have, which adds a touch of whimsy to the process. This step is crucial as it allows us to paint the cabinets without any obstacles and ensures a smooth, even finish. Take a moment to appreciate the bare cabinet fronts – it’s exciting to think about the new story we’re about to tell with them.
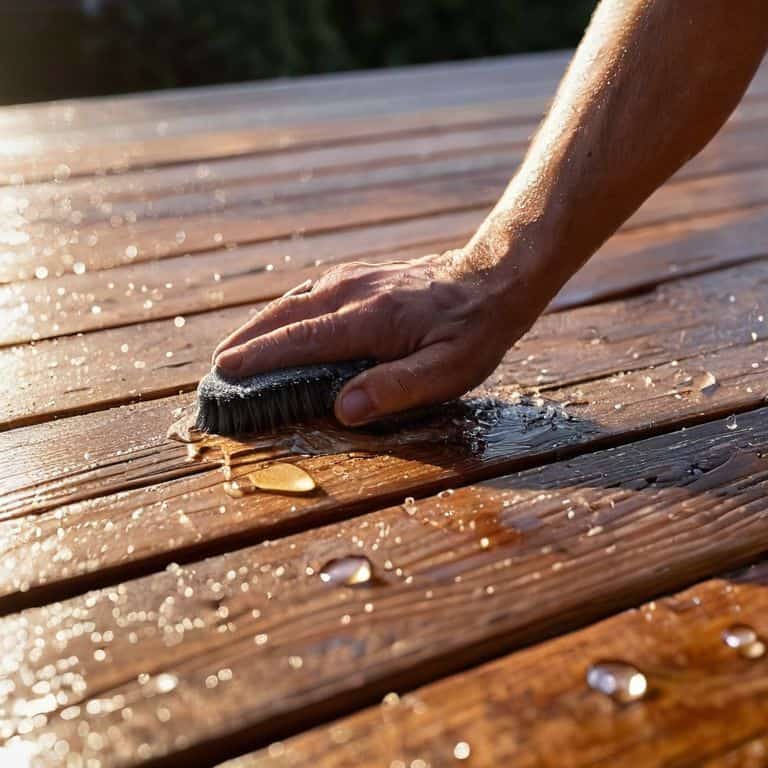
- 3. Now, it’s time to clean the cabinet surfaces thoroughly. Use a gentle cleanser and a soft cloth to wipe down each cabinet, removing any grease, grime, or food residue. This step is essential for ensuring the paint adheres properly to the surface. As I always say, a clean slate is the best canvas for a new narrative, and in this case, a pristine surface is key.
- 4. With our cabinets clean, we can move on to the fun part – applying a special cabinet primer that doesn’t require sanding. Yes, you read that right! There are wonderful products out there designed specifically for this purpose, making our journey to beautifully painted cabinets much easier. Apply the primer according to the manufacturer’s instructions, usually with a high-quality brush or roller, and watch as your cabinets start to transform before your eyes. It’s a bit like watching a character in a novel come to life, isn’t it?
- 5. After the primer has dried completely, it’s time to apply the paint. Choose a color that tells a story – perhaps a soft, creamy white that reminds you of a vintage novel, or a bold, rich tone that evokes the feeling of a cozy library. Apply the paint in thin, even coats, allowing each coat to dry before adding the next. This is where patience and imagination come together, as we’re not just painting cabinets, we’re crafting a narrative that will unfold every time we step into the kitchen.
- 6. As we wait for the final coat of paint to dry, let’s think about the hardware we removed earlier. Perhaps this is the perfect opportunity to update those knobs or handles to something that better fits the story of our kitchen. I’ve found that small, antique knobs can add a charming touch, much like the tiny details in a Dickens novel. Once the paint is completely dry, we can reinstall our chosen hardware, and our cabinets will be transformed.
- 7. The final step is to add a clear coat of sealant to protect the paint and make cleaning easier. This is a bit like adding the last page to a beloved book – it completes the story and ensures it remains vibrant for years to come. Apply the sealant according to the product’s instructions, and then step back to admire your handiwork. Our kitchen cabinets are now not just functional pieces of furniture but characters in the story of our home, each one telling a tale of whimsy and refinement.
Whimsical Cabinet Revival
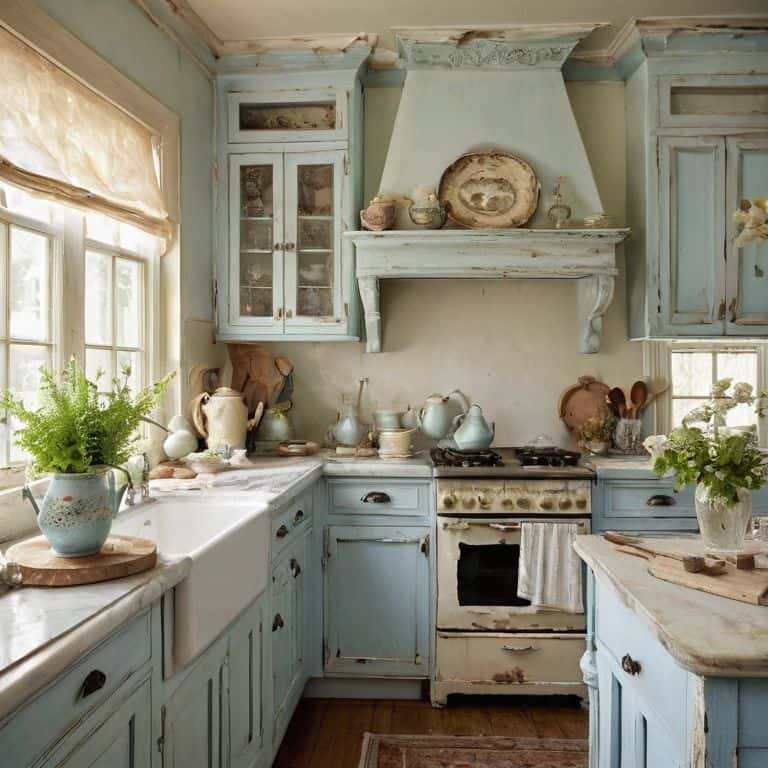
As I sit in my “Elizabeth Bennet” parlor, surrounded by vintage teapots and the warmth of a crackling fire, I am reminded that the true magic of a kitchen lies not just in its functionality, but in the whimsical touches that make it feel like home. When it comes to cabinet painting techniques, it’s all about embracing the unique character of your space. Consider the best paint for kitchen cabinets that will complement your kitchen’s personality, whether it’s a soft pastel or a rich, bold hue.
To achieve a truly enchanting kitchen cabinet makeover, don’t be afraid to think outside the box. Painting over stained cabinets can be a great way to give your kitchen a fresh new look without breaking the bank. And, with the right techniques, you can even refinish your cabinets without sanding, making the process faster and more enjoyable. I like to call this approach cabinet refinishing without sanding, and it’s a game-changer for those looking to revamp their kitchen decor on a budget.
As you embark on your own kitchen cabinet revival, remember to have fun and get creative. Whether you’re browsing through kitchen decor on a budget blogs or scouring vintage shops for inspiration, the key is to stay true to your vision and let your personality shine through. By doing so, you’ll create a space that’s not only beautiful, but also tells a story that’s uniquely yours.
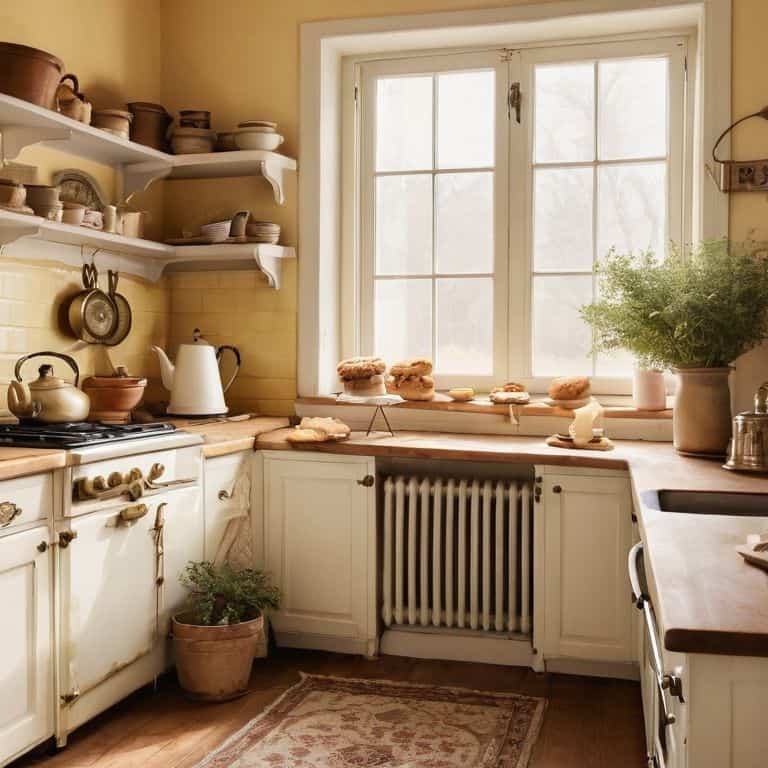
Budget Friendly Kitchen Makeover Magic
As I sit in my “Elizabeth Bennet” breakfast nook, surrounded by vintage teapots and the warm glow of morning light, I’m reminded that a kitchen makeover doesn’t have to break the bank. With a little creativity, you can breathe new life into your space without sacrificing your savings. Consider repurposing items you already own, like turning old mason jars into charming storage containers or transforming a vintage ladder into a unique shelving unit.
By embracing this budget-friendly approach, you’ll not only save money but also infuse your kitchen with a sense of personality and whimsy. Plus, the thrill of the hunt for hidden gems at thrift stores or antique shops can be just as rewarding as the end result. As I always say, it’s the stories behind the objects that truly make a space come alive.
Uncovering Cabinet Painting Secrets
As I delve into the world of cabinet painting, I’m reminded of the secret compartment in my “Heathcliff” study, where a beautifully distressed finish reveals a hidden story. To achieve such unique effects, I swear by layering thin coats of paint, allowing each to dry before gently sanding with a fine-grit sponge. This technique, much like the whispers of my “Elizabeth Bennet” parlour, adds a soft, romantic glow to the cabinets. By experimenting with different brushstrokes and textures, you can uncover the perfect blend of elegance and whimsy for your kitchen.
Painting Perfected: 5 Enchanted Tips to Transform Your Kitchen Cabinets
- Embrace the power of primer: just as a good story starts with a captivating first page, a quality primer sets the stage for a beautiful, sand-free paint job
- Choose your paint wisely: opt for a high-quality, water-based paint that’s as gentle as a spring morning and as durable as a timeless novel
- Prepare for a whimsical adventure: clear your kitchen of any clutter, cover your countertops, and don your favorite painting attire – we’re about to get creative
- Unleash your inner artist: use a soft-bristled brush to paint the intricate details and a foam roller for larger surfaces, just as an author weaves together words and worlds
- Seal your masterpiece with love: apply a clear coat to protect your cabinets and give them a warm, honey-like glow, reminiscent of a vintage teapot on a cozy afternoon
Cozy Cabinet Revival Essentials
I’ve discovered that the key to a successful cabinet painting journey is to prep with love, choosing the right primer and paint for your kitchen’s unique story
A soft, dry cloth and a gentle touch can work wonders in removing dust and grime, allowing your cabinets to whisper their secrets and reveal their hidden beauty
By embracing the whimsy of vintage treasures and literary inspirations, we can transform our kitchens into enchanting realms where every cabinet tells a tale of warmth and welcome
A Brush with Whimsy
As we transform our kitchen cabinets with a fresh coat of paint, sans sanding, we’re not just renewing their exterior – we’re unlocking the stories they hold within, and weaving a tapestry of love, laughter, and warmth that will be retold for generations to come.
Margaret Silva
Bringing Your Kitchen Story to Life
As we conclude our whimsical journey to paint kitchen cabinets without sanding, let’s reflect on the key takeaways that will help you unlock the hidden narrative of your kitchen. From the initial preparation to the final touches, we’ve explored the essence of cabinet revival, including the importance of choosing the right primer and paint, and the magic of budget-friendly makeover options. By embracing these steps, you’ll not only give your kitchen a fresh new look but also infuse it with a sense of nostalgia and wonder. Remember, the goal is to create a space that feels like a living story, where every corner sparks imagination and warmth.
As you put down your brush and step back to admire your handiwork, I hope you feel a deep sense of pride and accomplishment. You’ve not only transformed your kitchen cabinets but have also become a part of the story they tell. So, go ahead, pour yourself a cup of tea from your favorite vintage teapot, and let the warmth and coziness of your newly revived kitchen envelop you. In this cozy haven, may you find inspiration to continue weaving your own unique tale, one brushstroke at a time, and may your home forever be a reflection of the beauty and wonder that resides within you.
Frequently Asked Questions
What type of paint is best suited for kitchen cabinets to ensure durability and easy cleaning?
For my kitchen cabinets, I adore using a high-quality, water-based acrylic enamel paint – it’s a dream to clean and withstands the hustle and bustle of daily life beautifully.
How do I prepare the cabinets for painting if they have a glossy or laminate finish?
To prep those glossy or laminate cabinets for painting, I swear by a good deglosser or a light scuffing with sandpaper to roughen up the surface, allowing the paint to adhere like a charm. It’s like preparing a delicate teapot for its first brew – we want to ensure a smooth, even finish.
Can I use a paint with a built-in primer to save time and effort in the painting process?
I just adore a good shortcut to a beautiful space. Using a paint with a built-in primer can indeed save you time and effort, and it’s a great option for kitchen cabinets. Just ensure you choose a high-quality one that suits your cabinet material, and you’ll be sipping tea from your favorite vintage teapot in your newly revamped kitchen in no time.