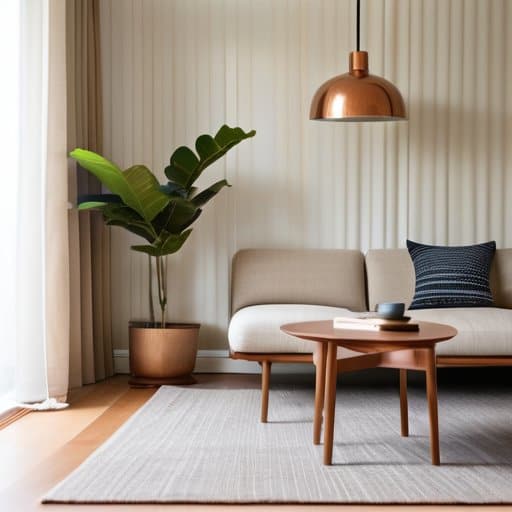
As I sit in my cozy little nook, named after the beloved Elizabeth Bennet from Jane Austen’s Pride and Prejudice, I am reminded of the countless times I’ve heard people say that learning how to paint a room is a daunting task. But, I’m here to tell you that it’s quite the opposite – with the right guidance, it can be a truly transformative experience. I still recall the first time I painted a room in my family’s old Victorian house, under the watchful eye of my father, who restored antique furniture. It was a moment that sparked my passion for interior design and storytelling through spaces.
In this article, I promise to share my honest, no-nonsense advice on how to paint a room that reflects your personality and becomes a living story. You’ll learn how to choose the perfect colors, prepare your space, and bring your vision to life. Whether you’re a beginner or a seasoned DIY enthusiast, I’ll guide you through the process with practical tips and whimsical touches that will make your space truly special. So, let’s get started on this journey to uncover the magic in our homes, one brushstroke at a time, and turn them into cozy, uplifting realms that echo with the whispers of literary characters and vintage treasures.
Table of Contents
Guide Overview: What You'll Need
Total Time: 4 hours 30 minutes
Estimated Cost: $50 – $100
Difficulty Level: Intermediate
Tools Required
- Paint Roller (with extension pole)
- Paintbrush (various sizes)
- Paint Tray
- Drop Cloths (for floor protection)
- Sandpaper (for light surface preparation)
- Tape (for trimming and edges)
- Ladder (sturdy, 6 feet tall)
- Cleaning Rags
Supplies & Materials
- Paint (choose your color and finish)
- Primer (optional, depending on wall condition)
- Wall Repair Compound (for filling holes or cracks)
- Masking Film (for protecting windows and doors)
Step-by-Step Instructions
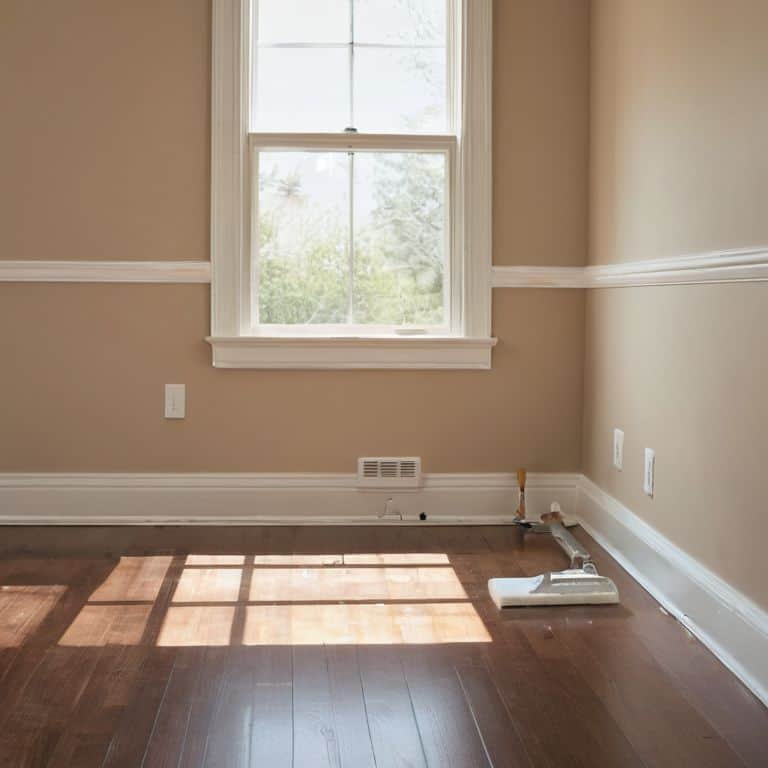
- 1. First, let’s start by preparing the space for our painting adventure. This means clearing the room of any furniture, curtains, or rugs that could get in the way or be damaged by paint splatters. If you can’t remove the furniture, cover it with drop cloths or plastic sheets to protect it. I like to think of this step as setting the stage for our story, where every item is a character that needs to be placed just so.
- 2. Next, we need to clean the walls to ensure a smooth paint application. Dust, dirt, and grime can interfere with the paint’s adhesion, so it’s essential to wipe down the walls with a damp cloth. I find that this step is a bit like _dusting off old books_ on a shelf – it’s a gentle process that reveals the true beauty beneath. As I work, I imagine the walls as a blank page waiting for the story to begin.
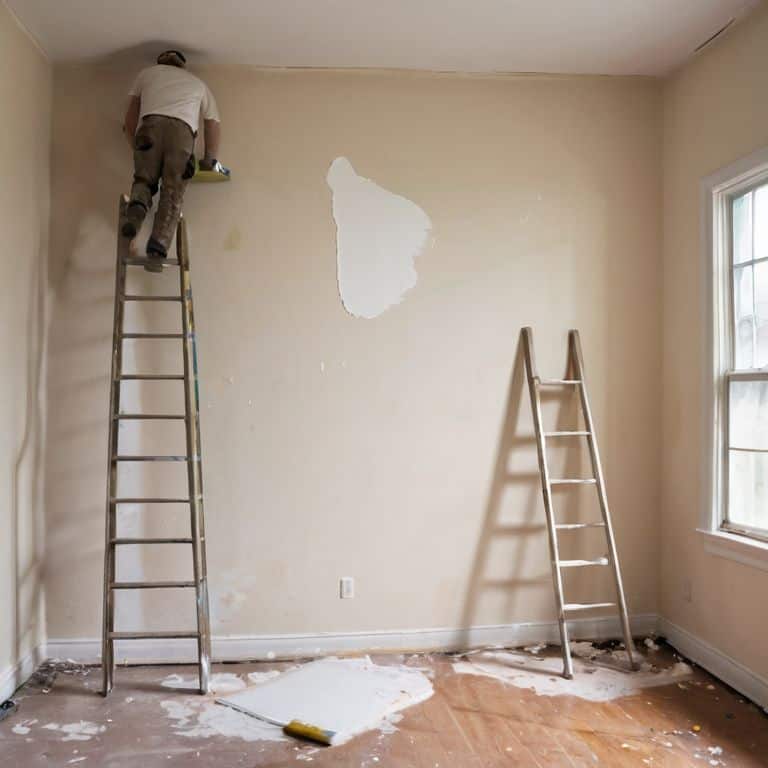
- 3. Now, it’s time to fix any holes or cracks in the walls. This is where the magic of transformation begins, and our space starts to feel like a _cozy little nook_. Use spackling compound to fill in the holes and cracks, and then sand it down to a smooth finish. I like to think of this step as mending the pages of a beloved book, where every tear and crease tells a story.
- 4. With our walls prepared, we can move on to taping off the trim. This is where we get to be a bit like the _conductor of an orchestra_, carefully guiding each element into place. Use painter’s tape to mask off the trim, baseboards, and any other areas you don’t want to paint. Apply the tape carefully, making sure it’s straight and smooth.
- 5. The moment of truth has arrived – it’s time to prime the walls (if necessary). This step is a bit like _unfolding a map_ to a hidden treasure, where every crease and fold reveals a new path. If you’re using a dark color or covering a light color, or if the walls have stains or uneven textures, primer is your best friend. Apply it according to the manufacturer’s instructions and let it dry completely before moving on to the next step.
- 6. Now we get to the fun part – painting the walls! This is where our story really starts to come alive, and every brushstroke feels like _turning the page_ to a new chapter. Start painting from the top of the wall and work your way down, using a roller for large areas and a brush for edges and corners. I like to imagine the paint as a rich, velvety fabric that’s wrapping our room in warmth and comfort.
- 7. As we near the end of our journey, it’s time to remove the tape and clean up. This is a bit like _closing the book_ on a satisfying story, where every element has come together in perfect harmony. Remove the tape carefully to avoid pulling off the paint, and then clean your tools and wash your hands. Take a step back and admire your handiwork – our room is now a beautiful, _cozy little sanctuary_ that tells a story all its own.
Weaving Tales on Walls
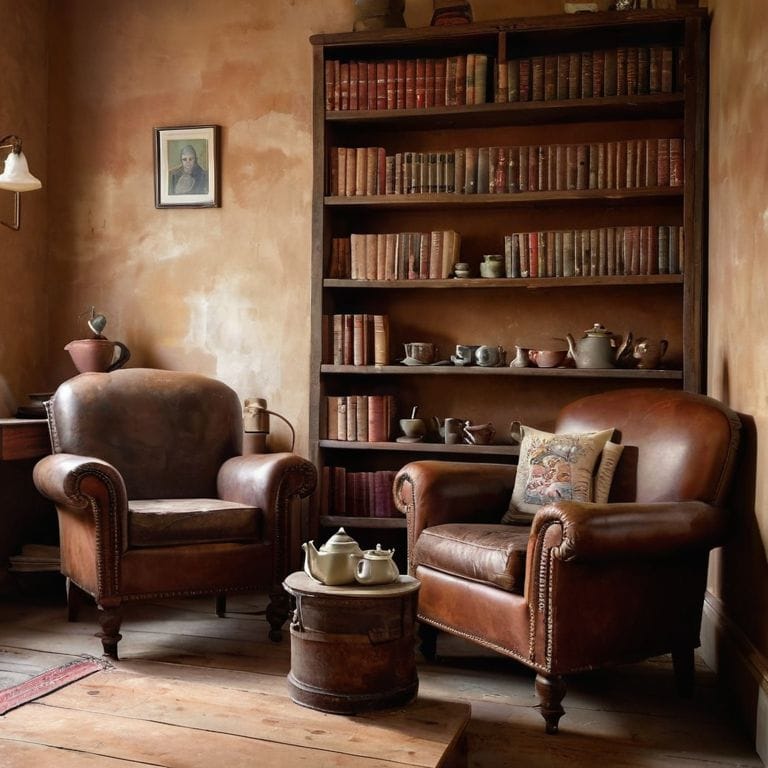
As I step into my “Heathcliff” study, surrounded by vintage teapots and classic novels, I’m reminded of the power of color selection tips in setting the tone for a room. The warm, earthy hues on these walls evoke a sense of coziness, inviting me to get lost in the pages of my favorite books. When choosing a color palette, consider the natural light and the mood you want to create. For a smooth finish, it’s essential to prepare your walls properly, filling any holes or cracks before applying the first coat.
I’ve found that painting techniques for smooth finish can make all the difference in achieving a professional-looking result. One of my favorite tips is to use high-quality paintbrushes, which can help prevent streaks and unevenness. By investing in the right tools and taking the time to prepare your walls, you’ll be rewarded with a beautiful, long-lasting finish. Whether you’re painting a small room or a large one, the key is to work methodically and take your time.
To minimize mess and ensure a successful painting experience, remember to prepare your space before you begin. Cover your furniture and floors, and remove any switch plates or outlet covers. By taking these simple precautions, you’ll be able to focus on the creative process, rather than worrying about making a mess. With a little patience and practice, you’ll be able to achieve a smooth finish that will make your walls look like new.
Choosing Colors That Whisper Stories
As I wander through my “Heathcliff” study, surrounded by vintage teapots and worn leather tomes, I’m reminded that colors can be the gentle whispers of old tales. Choosing the right hue is akin to selecting a chapter from a beloved novel – it sets the tone for the entire narrative. For a room like my “Elizabeth Bennet” parlour, a soft, warm beige evokes the sense of a sunny English countryside, perfect for sipping tea and getting lost in the pages of Pride and Prejudice.
In my own home, I’ve found that earthy tones like sage green and sandy beige have a way of conjuring up memories of lazy afternoons spent reading by the window. When selecting colors, consider the story you want to tell – is it one of cozy comfort, or perhaps vibrant adventure? Let the colors whisper their tales to you, and together, you’ll craft a space that feels like a living, breathing story.
Painting Techniques for a Smooth Finish
To achieve a smooth finish, I swear by the “wet-on-wet” technique, where I apply a second coat of paint before the first one has fully dried. This allows the colors to meld together seamlessly, much like the pages of a well-loved novel. I also make sure to work in small sections, using gentle, sweeping strokes to mimic the soft whispers of literary characters that inspire my rooms – like the soothing ambiance of my “Elizabeth Bennet” reading nook.
By employing these techniques, you’ll be able to craft a canvas that not only tells a story but also invites you to step into its narrative. As I always say, a beautifully painted room is like turning the page to a new chapter – full of promise and wonder.
Unveiling the Secrets of a Storyteller's Brush: 5 Enchanting Tips to Paint a Room
- Let the walls whisper secrets: Choose a paint color that echoes the essence of the room’s literary namesake, like my ‘Heathcliff’ study, where moody blues meet rustic wooden accents
- Prepare the canvas of memories: Clean the walls thoroughly, and fill any holes or cracks with a mixture that’s as smooth as a well-loved novel, to create a surface worthy of your storytelling brush
- Summon the magic of layering: Apply a primer if necessary, and then paint in smooth, even strokes, allowing each coat to dry before adding the next, just as a master storyteller weaves a tale layer by layer
- Conjure the ambiance of a vintage tea party: Consider the lighting in the room, and how it will dance across your freshly painted walls, much like the warm glow of my vintage teapot collection in my ‘Elizabeth Bennet’ parlor
- Seal your story with a gentle touch: Once the paint is dry, add any finishing touches, like new trim or molding, to frame your masterpiece, and remember, the true magic lies not in the paint itself, but in the memories and tales it helps to unfold
Timeless Tips to Treasure
Let the essence of your space guide your color palette, just as the characters in your favorite novels transport you to new worlds
Embrace the imperfections of handmade touches, like the gentle strokes of a brush or the soft whisper of a vintage fabric, to infuse your walls with personality
Remember, the true magic happens in the layers – of paint, of story, of memory – so don’t be afraid to get creative and make your mark on the canvas of your home
A Brush with Destiny
As we paint a room, we’re not just applying colors to walls, we’re penning the first lines of a story that will unfold with every laugh, every tear, and every moment of joy that fills the space.
Margaret Silva
Bringing Your Story to Life

As we conclude our whimsical journey to painting a room that tells your story, let’s reflect on the key elements that bring a space to life. From the initial steps of preparation to the final strokes of paint, every decision is an opportunity to infuse your space with personality and character. We’ve explored the importance of choosing colors that whisper stories, and the techniques that ensure a smooth, professional finish. By embracing these steps, you’re not just painting a room – you’re crafting a narrative that welcomes all who enter.
Now, as you stand back to admire your handiwork, remember that the true magic lies not in the paint itself, but in the emotional connection you’ve created with the space. Your room is a canvas of memories, a living story that evolves with each passing day. So, go ahead, pour yourself a cup of tea, sit back, and let the warmth of your newly painted room envelop you, inspiring you to create many more chapters in the story of your home.
Frequently Asked Questions
What if I'm unsure about the color palette that would best fit my room's unique character and the story I want to tell?
Don’t worry, my friend! I totally understand. Let’s take a step back and imagine the story you want to tell in that room. Think about the mood, the era, and the literary character that inspires it – like my ‘Elizabeth Bennet’ reading nook. Consider the natural light, furniture, and decor. Ask yourself, what colors would Elizabeth surround herself with?
How can I achieve a vintage, distressed look on my walls to match my collection of antique teapots and literary-inspired decor?
To achieve a vintage, distressed look, I adore using a technique called ‘layered glazing’ – it’s like adding a warm, nostalgic whisper to your walls. Apply a base coat, then gently layer on a glaze, allowing each coat to dry before softly sanding for a beautifully worn effect that complements my own vintage teapot collection perfectly.
Are there any specific painting techniques or tools that can help me create a smooth, even finish on surfaces with intricate moldings or uneven textures?
For those lovely intricate moldings or uneven textures, I swear by high-quality brushes with synthetic bristles and a trusty putty knife for filling in gaps. A gentle touch and a steady hand also work wonders, don’t you think?