As I sit in my cozy little nook, named after the enchanting Elizabeth Bennet from Jane Austen’s Pride and Prejudice, I am reminded of the countless times I’ve heard friends and family members lament about the daunting task of _replacing a faucet cartridge_. It’s a chore that often gets pushed to the backburner, but trust me, dear reader, it’s not as intimidating as it seems. In fact, having a guide to replacing a faucet cartridge can be a total game-changer, and I’m excited to share my own experiences with you.
In this article, I promise to walk you through the process with _honest, no-hype advice_ and practical tips that will make you feel like a pro in no time. We’ll dive into the world of faucet repair, and I’ll share my favorite tricks for making the process as smooth as possible. Whether you’re a seasoned DIY enthusiast or a beginner, my goal is to empower you with the knowledge and confidence to tackle this task and give your kitchen a fresh new look. So, let’s get started on this journey together, and turn that pesky faucet into a beautiful, functioning masterpiece!
Table of Contents
- Guide Overview: What You'll Need
- Step-by-Step Instructions
- A Guide to Replacing a Faucet Cartridge
- Tuning the Faucet's Melody: 5 Whimsical Tips for a Successful Cartridge Replacement
- Timeless Takeaways for a Faucet Makeover
- Tuning the Heart of the Home
- Embracing the Journey: A Faucet Cartridge Replacement Story
- Frequently Asked Questions
Guide Overview: What You'll Need
Total Time: 1 hour 15 minutes
Estimated Cost: $20 – $50
Difficulty Level: Intermediate
Tools Required
- Adjustable wrench for removing old faucet cartridge
- Channel-type pliers for gripping small parts
- Needle-nose pliers for reaching tight spaces
- Teflon tape for threading new connections
Supplies & Materials
- New faucet cartridge compatible with existing faucet
- O-rings or gaskets for replacing worn-out seals
- Silicone-based lubricant for easing cartridge installation
Step-by-Step Instructions
- 1. First, let’s get started by gathering our tools and supplies, because, just like my grandmother used to say, “A good story begins with the right materials.” We’ll need a new faucet cartridge, a wrench or basin wrench, channel-type pliers (for removing old O-rings or gaskets), a screwdriver, and some Teflon tape. I like to lay everything out on my “Heathcliff” table, named after the brooding hero from Wuthering Heights, to get a sense of the task at hand.
- 2. Next, we’ll need to turn off the water supply to the faucet. This is a crucial step, as we don’t want any unexpected surprises, like water spraying everywhere. Locate the shut-off valves under the sink and turn them clockwise until they stop. Open the faucet to drain the water from the pipes. I find that this step is a bit like preparing for a tea party – you want to make sure everything is just so before the guests arrive, or in this case, before you start the repair.
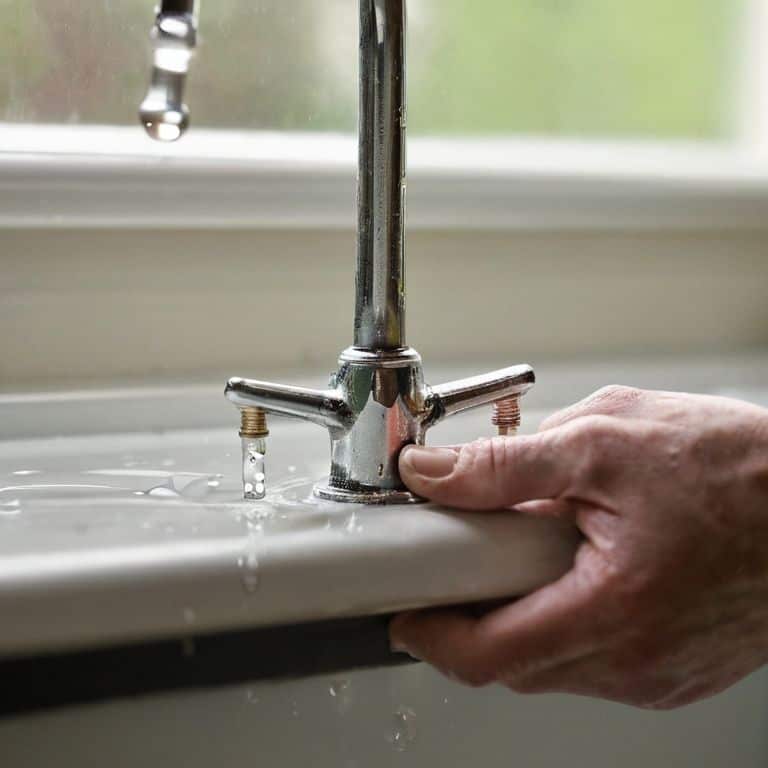
- 3. Now, let’s disassemble the faucet to access the old cartridge. This might involve removing the handle or any decorative caps. Use your screwdriver to carefully pry off any covers or to remove screws. As you work, imagine you’re uncovering the layers of a story, each part revealing a new character or plot twist. My “Elizabeth Bennet” room, with its soft, golden lighting, is where I often find inspiration for such thoughtful, meticulous work.
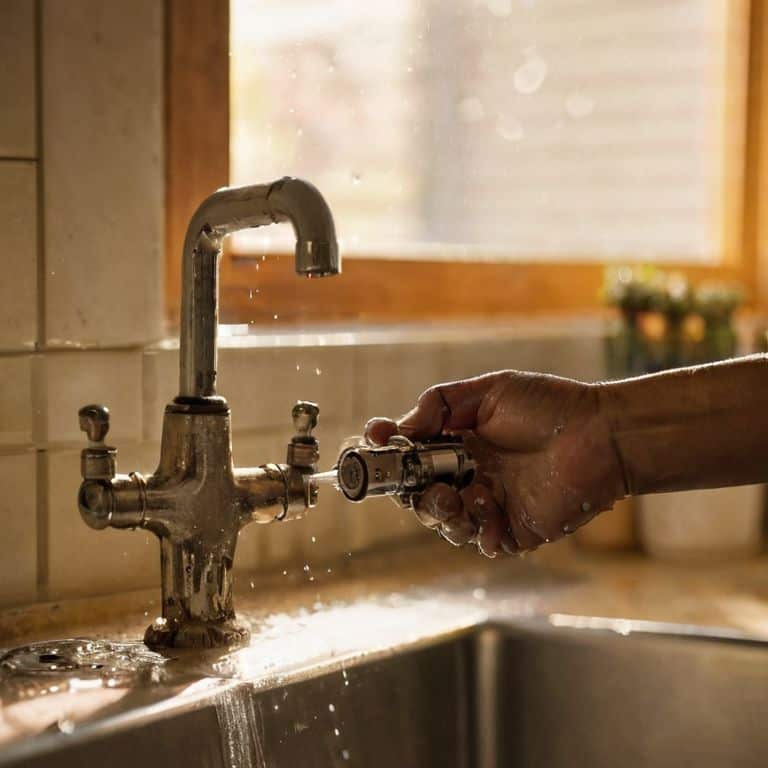
- 4. With the faucet open, we can now locate and remove the old cartridge. This is the heart of our story, the moment when we confront the problem and decide to make a change. Use your wrench or pliers to loosen any nuts or clips holding the cartridge in place. Gently pull out the old cartridge, taking note of any O-rings or gaskets that might need to be replaced. I like to think of this step as the climax of our narrative, where the old gives way to the new.
- 5. Before installing the new cartridge, let’s clean and prepare the area. Remove any mineral buildup or debris from the faucet body. This is a bit like editing a manuscript – you want to make sure the foundation is strong and clear before adding the new story elements. Use a soft brush or cloth to wipe away any dirt or old gasket material. My “Jo March” desk, with its vintage typewriter, is where I often sit to reflect on the importance of a clean slate.
- 6. Now, it’s time to install the new cartridge. Take your new cartridge and insert it into the faucet body, making sure it’s securely seated and any O-rings or gaskets are properly aligned. Use your wrench or pliers to tighten any nuts or clips. This step is akin to writing the final chapter of our story – everything comes together, and we can see the narrative unfold. As I sit in my “Sherlock Holmes” study, surrounded by vintage teapots and the musty scent of old books, I feel a sense of satisfaction in solving the puzzle of the faucet.
- 7. With the new cartridge in place, we can reassemble the faucet. Put back any handles, decorative caps, or screws you removed earlier. Make sure everything is securely fastened but not over-tightened. This is like adding the final touches to our story – the characters are in place, the plot is resolved, and the setting is just right. As I pour a cup of tea from my favorite vintage teapot, “The Duchess,” I feel grateful for the journey and the sense of accomplishment that comes with it.
- 8. Finally, turn the water supply back on and check the faucet for leaks. Run some water through the faucet to test it and make any necessary adjustments. This is the moment when our story comes alive, when all the elements we’ve carefully crafted come together to create a cohesive, beautiful narrative. And, just as a good story can transport us to another time and place, a well-functioning faucet can be the unsung hero of our daily routines, making every moment a little more magical.
A Guide to Replacing a Faucet Cartridge
As I sit in my “Heathcliff” study, surrounded by vintage teapots and the warm glow of afternoon sunlight, I’m reminded that even the most mundane tasks, like faucet cartridge replacement, can be opportunities for storytelling. The cost of replacing a faucet cartridge can vary, but with the right tools and a bit of patience, it’s a relatively inexpensive process. I like to think of it as a chance to give my kitchen a new narrative, one that unfolds with every turn of the faucet handle.
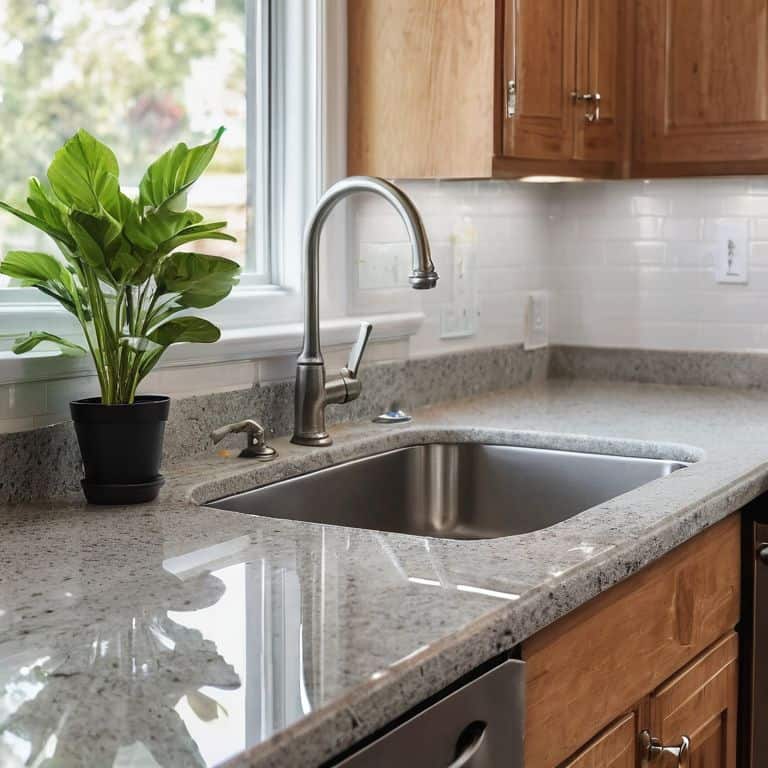
When it comes to types of faucet cartridges, it’s essential to choose the right one for your faucet. Single handle faucet repair tips often emphasize the importance of compatibility, and I’ve found that taking the time to research and select the correct cartridge makes all the difference. My “Elizabeth Bennet” kitchen, with its soft hues and elegant lines, is the perfect backdrop for a beautifully functioning faucet. By considering the unique characteristics of your faucet, you can ensure a successful replacement and avoid common faucet problems.
In my experience, double handle faucet maintenance is just as crucial as replacement. Regular checks and gentle cleaning can help prevent issues down the line. With the right faucet repair tools and equipment, you’ll be well on your way to creating a kitchen that tells a story of warmth and hospitality. As I pour myself a cup of tea from my favorite vintage teapot, I’m reminded that even the smallest details can make a big impact on the overall narrative of our homes.
Navigating Types of Faucet Cartridges With Ease
As I sit in my “Heathcliff” study, surrounded by vintage teapots and the whispers of Wuthering Heights, I find myself pondering the world of faucet cartridges. It’s amazing how something so small can have such a significant impact on our daily lives. When it comes to navigating types of faucet cartridges, it’s essential to understand the differences between them. From single-handle to double-handle, and from ceramic to brass, each type has its unique characteristics and requirements.
Let’s take a cozy approach to exploring these options, shall we? By considering factors like water pressure, handle type, and spout design, you’ll be well on your way to finding the perfect faucet cartridge for your home. Remember, it’s all about creating a space that tells a story, and the right faucet cartridge can be the unsung hero of your kitchen’s narrative.
Unveiling Faucet Cartridge Replacement Cost Secrets
As I sit in my “Elizabeth Bennet” parlor, surrounded by vintage teapots and the warmth of a crackling fire, I ponder the practical side of our faucet journey. The cost of replacing a faucet cartridge can vary, much like the plot twists in our favorite novels. On average, a replacement cartridge can range from $20 to $100, depending on the brand and quality. It’s essential to consider these costs when embarking on our DIY adventure, ensuring that our wallet isn’t as dry as a worn-out page.
By being mindful of these expenses, we can create a storytelling space that not only delights our senses but also respects our budget. As I always say, a well-designed home is like a well-crafted story – every element, including the faucet, plays a vital role in the narrative.
Tuning the Faucet's Melody: 5 Whimsical Tips for a Successful Cartridge Replacement
- Listen to the rhythm of your tools: Before you begin, ensure you have a symphony of necessary tools, including a wrench, pliers, and a bucket to catch any stray water droplets, just like my grandmother used to prepare for her sewing projects
- Harmonize with the faucet’s heartbeat: Turn off the water supply to the faucet, and open the faucet to drain the water from the pipes, much like the way I clear my mind before selecting the perfect vintage teapot for my collection
- Unravel the mystery of the old cartridge: Gently remove any mineral buildup or debris from the old cartridge, taking care not to damage the surrounding areas, just as I delicately handle the intricate patterns on my grandmother’s antique fabrics
- Conduct the dance of installation: Carefully insert the new cartridge, ensuring it’s properly aligned and seated, much like the way I arrange my teapot collection in the ‘Heathcliff’ room, named after the brooding literary character
- Orchestrate the final flourish: Turn the water supply back on, and check the faucet for any leaks, feeling the satisfaction of a job well done, just like the sense of wonder I feel when I step into my ‘Elizabeth Bennet’ room, filled with soft, golden light and the promise of new stories to be told
Timeless Takeaways for a Faucet Makeover
Embracing the process of replacing a faucet cartridge as an opportunity to breathe new life into your kitchen’s story, where every detail counts and every corner whispers tales of warmth and hospitality
Understanding that navigating the realm of faucet cartridges is not just about functionality, but about finding the perfect blend of form and function that resonates with the unique essence of your home, much like finding the ideal vintage teapot to adorn your cozy little nook
By approaching this project with a sense of adventure and a dash of whimsy, you’ll not only replace a faucet cartridge but also uncover the magic that happens when practicality meets personality, transforming your kitchen into a living, breathing narrative that welcomes you home every day
Tuning the Heart of the Home
Just as a good story needs a strong narrative heartbeat, a well-functioning faucet is the rhythm that keeps our kitchens singing – and replacing its cartridge is the unsung hero of home maintenance, a small act that brings harmony back to our daily routines.
Margaret Silva
Embracing the Journey: A Faucet Cartridge Replacement Story
As we conclude our whimsical journey through the world of faucet cartridge replacement, let’s take a moment to reflect on the key takeaways. We’ve navigated the step-by-step process, unveiling the secrets of replacement costs, and explored the various types of faucet cartridges with ease. By embracing this DIY adventure, you’ve not only saved money but also gained a deeper understanding of your home’s story, one faucet at a time. Remember, it’s all about creating a space that feels like a living narrative, where every corner sparks a sense of nostalgia and wonder.
So, as you stand back to admire your handiwork, remember that every room is a chapter in the story of your home. Just like my own ‘Heathcliff’s Haven’ or ‘Elizabeth’s Enchanted Library’, each space has the potential to transport you to another world. By replacing that faucet cartridge, you’ve become the author of your own home’s tale, weaving a narrative that’s uniquely yours. Now, go forth and fill those pages with love, laughter, and maybe even a few vintage teapots – after all, it’s the little things that make a house a home.
Frequently Asked Questions
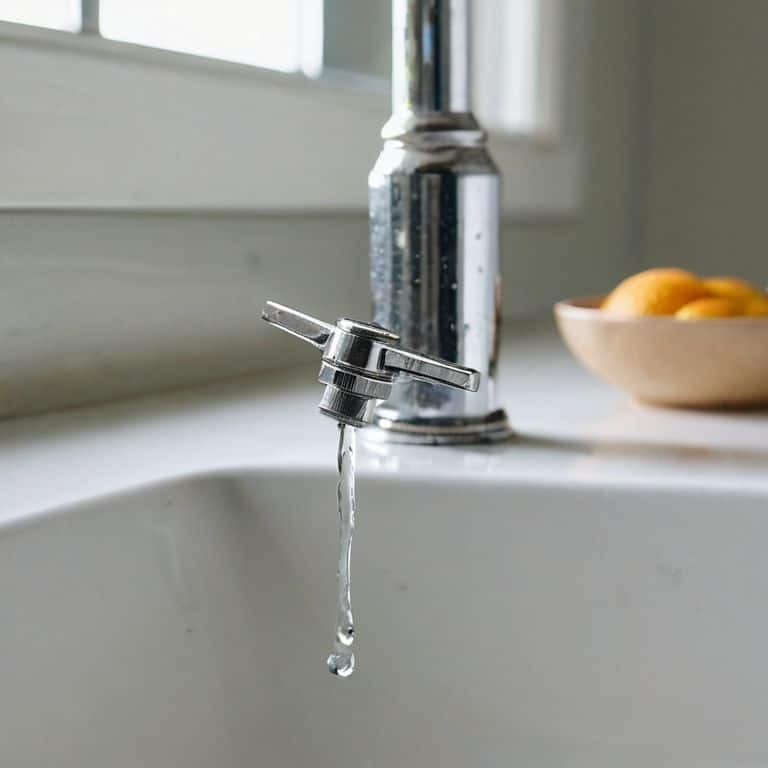
What are the most common symptoms that indicate a faucet cartridge needs to be replaced?
The telltale signs of a faucet cartridge in distress! You might notice a steady drip, uneven water pressure, or a stubborn handle that’s lost its smooth swing. Perhaps the water temperature is playing a frustrating game of hot-and-cold. These whispers from your faucet are hints that it’s time to replace the cartridge and restore harmony to your kitchen’s heartbeat.
How do I determine which type of faucet cartridge is compatible with my existing faucet?
Let’s sleuth out the perfect cartridge for your faucet, shall we? To determine compatibility, check your faucet’s manual or manufacturer’s website for specs, or look for a model number on the faucet itself – it’s like uncovering a hidden treasure, and I just adore a good mystery in the “Heathcliff” room, my cozy little study.
Are there any additional tools or materials I'll need to have on hand to replace a faucet cartridge beyond the basic instructions?
As I sit in my ‘Elizabeth Bennet’ parlor, surrounded by vintage teapots, I’m reminded that sometimes the smallest details make the biggest difference. For a faucet cartridge replacement, you may also want to have a bucket, some towels, and a wrench or pliers on hand to make the process smoother and less messy.