As I sit in my cozy little nook, surrounded by vintage teapots and the warm glow of afternoon sunlight, I am reminded of the importance of a well-insulated home. You see, I’ve always believed that a home is a living, breathing entity that wraps itself around our hearts, and a key part of that is having a warm and welcoming space. That’s why I want to share with you my thoughts on a guide to adding insulation to your attic, because let’s face it, a cold and drafty home is not exactly the epitome of comfort. I recall my grandmother telling me stories of how she used to insulate our old Victorian house with love and care, making sure every corner was snug and warm.
In this article, I promise to give you the honest truth about adding insulation to your attic, without any of the technical jargon or overwhelming instructions. I’ll share with you my personal experience and practical tips on how to make your home a cozy haven, one insulation roll at a time. You can expect to learn how to choose the right insulation, navigate the installation process, and even some clever ways to make the most of your attic space. So, grab a cup of tea, get comfortable, and let’s dive into the world of attic insulation together, shall we?
Table of Contents
Guide Overview: What You'll Need
Total Time: 4 hours 30 minutes
Estimated Cost: $200 – $500
Difficulty Level: Intermediate
Tools Required
- Staple Gun (with extra staples)
- Measuring Tape
- Ladder (6 feet or taller)
- Utility Knife (with extra blades)
- Gloves (for protection)
- Goggles (for safety)
- Rake (for spreading insulation evenly)
Supplies & Materials
- Fiberglass Insulation Batts (12 inches x 24 inches x 6 inches thick)
- Cellulose Insulation (loose fill for 6 inches of clearance)
- Insulation Mask (for breathing protection)
- 2-in x 4-in lumber (for creating a storage platform)
- Plastic Sheets (6 mil thick, for vapor barrier)
Step-by-Step Instructions
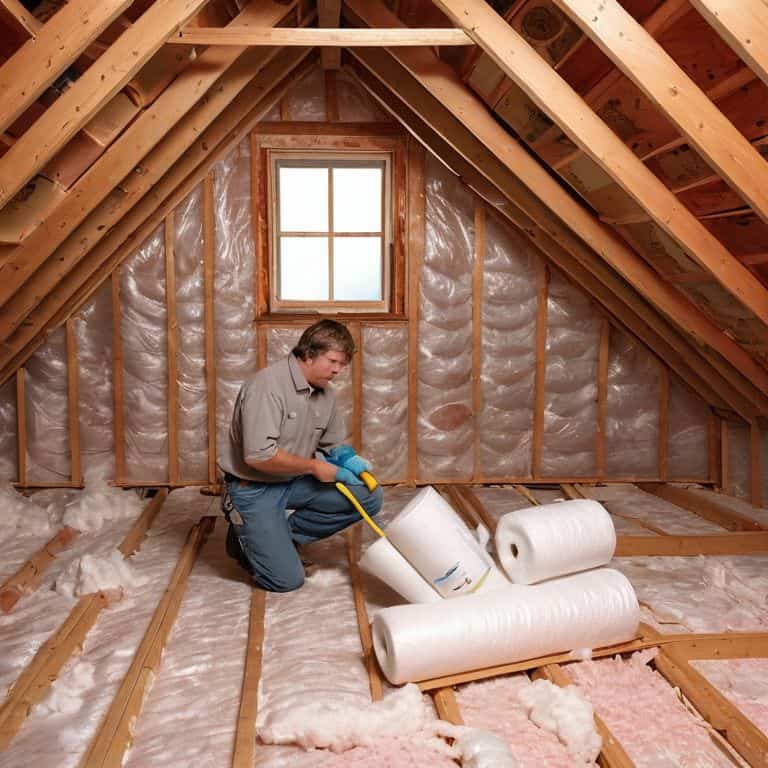
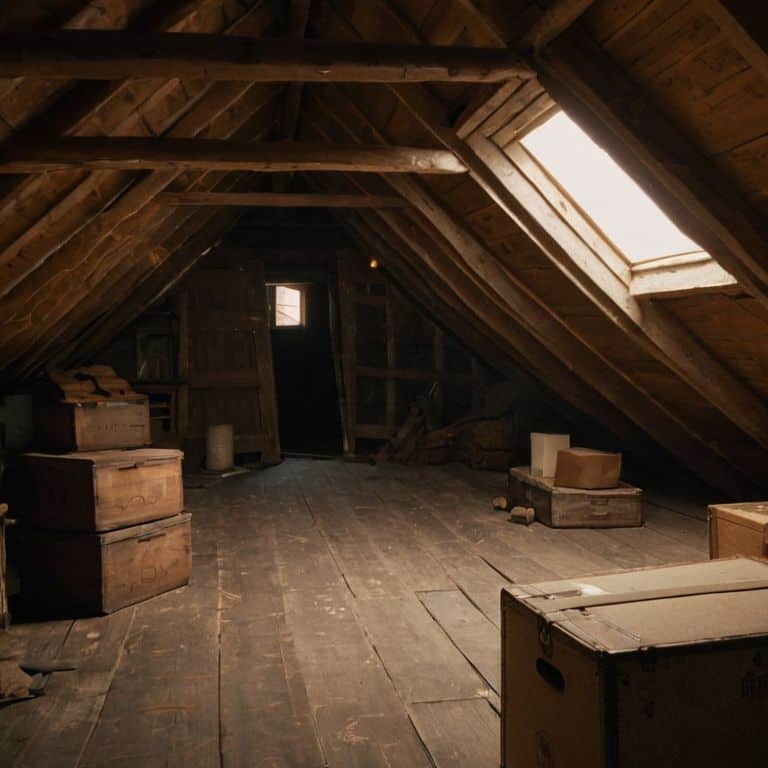
- 1. First, let’s start by preparing our attic space for the insulation process. This means clearing out any clutter that may have accumulated over the years, from old trunks to forgotten boxes. As I always say, a clean slate is the best canvas for a beautiful story, and in this case, our story is one of warmth and coziness.
- 2. Next, we need to assess the condition of our attic, checking for any _air leaks_ or gaps that might compromise the effectiveness of our insulation. This is a crucial step, as it will help us determine the best course of action for our specific attic. I like to think of it as getting to know the characters in our story, understanding their quirks and nuances.
- 3. Now, it’s time to choose the right insulation material for our attic. There are several options available, each with its own unique benefits and drawbacks. As someone who loves vintage charm, I’m particularly fond of natural fiber insulation, which not only provides excellent thermal performance but also adds a touch of warmth and character to our attic space.
- 4. With our insulation material in hand, we can begin the installation process. This typically involves rolling out the insulation and cutting it to fit between the attic’s joists. It’s a bit like _weaving a tapestry_, carefully crafting each piece to create a beautiful, cohesive whole. As we work, I like to imagine the stories that will unfold in this space, the memories that will be made.
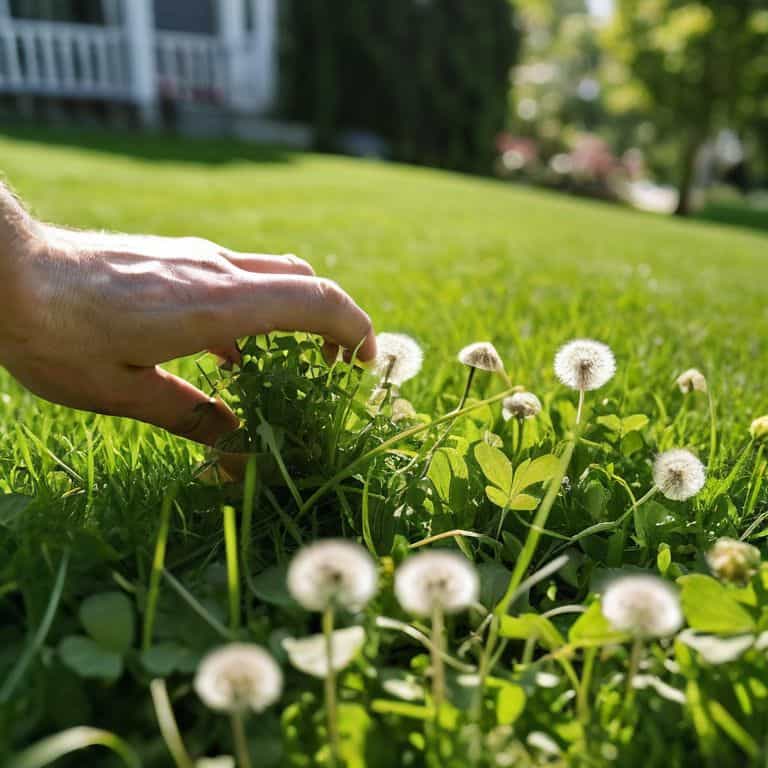
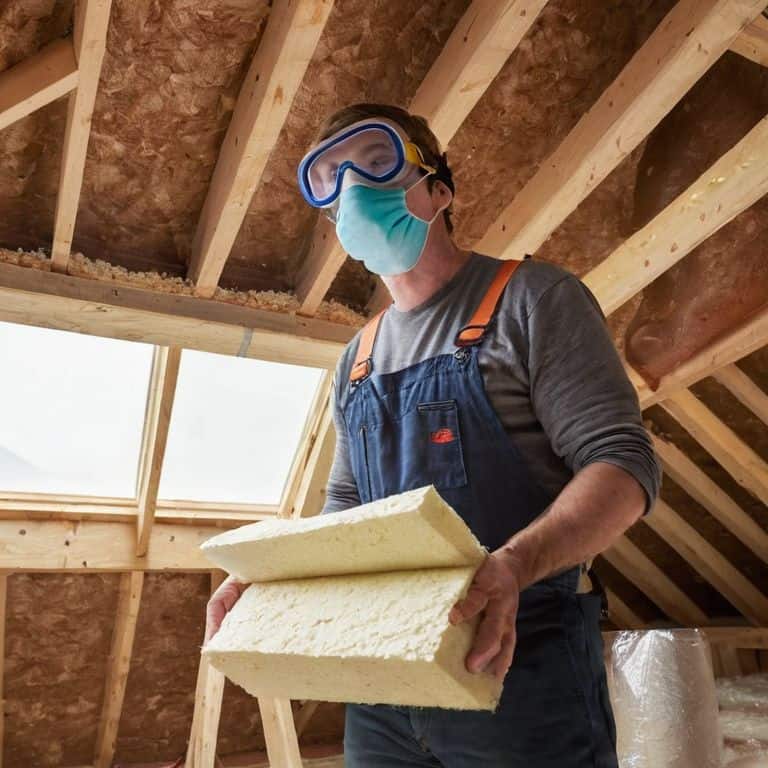
- 5. As we install the insulation, it’s essential to wear the proper protective gear, including a mask, gloves, and safety glasses. This will help us avoid any potential health risks associated with insulation materials. I always say that safety first is not just a motto, but a way of life, especially when it comes to our homes and the people we love.
- 6. Once the insulation is in place, we need to ensure that it’s properly secured to prevent it from shifting or settling over time. This can be done using a variety of fastening systems, depending on the type of insulation we’ve chosen. It’s a bit like _tying up loose ends_, making sure that every detail is taken care of, and our attic is warm and cozy.
- 7. Finally, let’s take a step back and admire our handiwork. A well-insulated attic is not only more energy-efficient, but it’s also a cozy retreat that invites relaxation and contemplation. As we gaze up at the insulated rafters, I like to imagine the literary characters that might inhabit this space, the stories that will unfold beneath the warm, fuzzy blanket of our insulation.
A Guide to Adding Insulation
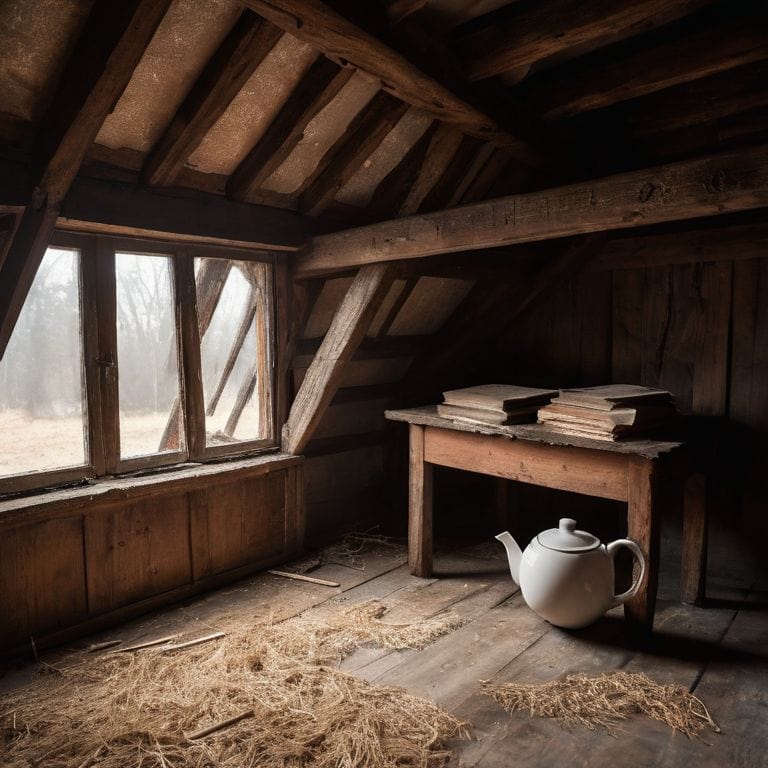
As I sit in my “Heathcliff” room, surrounded by vintage teapots and the whispers of literary characters, I am reminded of the importance of proper attic ventilation. It’s a crucial aspect to consider when adding insulation to your attic, as it ensures that the space remains dry and free from moisture. Energy saving benefits of attic insulation are numerous, but they can be hindered if the ventilation is not up to par. I like to think of it as brewing the perfect cup of tea – you need the right balance of ingredients to bring out the full flavor.
When it comes to comparing insulation materials for attics, it’s essential to consider factors such as durability, eco-friendliness, and attic insulation cost estimate. Some materials may be more expensive upfront, but they can provide long-term savings and benefits. I’ve found that DIY attic insulation installation can be a fun and rewarding project, but it’s crucial to do your research and choose the right materials for your space. As I always say, a well-insulated attic is like a warm hug for your home – it keeps the chill out and the charm in.
As you embark on your insulation journey, remember to avoid common attic insulation mistakes, such as inadequate ventilation or incorrect installation. Using an attic insulation R-value calculator can help you determine the right amount of insulation for your space. By taking the time to get it just right, you’ll be rewarded with a cozier, more energy-efficient home that’s full of character and charm. And who knows – you might just find yourself curled up in your favorite room, surrounded by the magic of a well-insulated attic, feeling like you’re wrapped in a warm blanket on a cold winter’s day.
Unlocking Energy Savings With Diy Installation
As I sit in my “Elizabeth Bennet” reading nook, surrounded by vintage teapots and the warmth of a well-insulated home, I’m reminded that DIY installation can be a delightful adventure. With the right materials and a bit of patience, you can unlock significant energy savings and add a touch of personality to your attic. The cost of insulation is a worthy investment, as it wraps your home in a cozy blanket of warmth, much like my grandmother used to wrap me in her handmade quilts.
By taking the reins of your insulation installation, you’ll not only save on energy bills but also infuse your space with a sense of accomplishment and whimsy. So, go ahead and get creative with your attic’s transformation – after all, it’s a chance to turn a often-overlooked area into a charming reflection of your personal style.
Weaving Warmth With Attic Insulation Cost
As I sit in my “Heathcliff’s Haven” study, surrounded by vintage teapots and the warm glow of lamp light, I ponder the practical side of adding insulation to our attics. The cost, much like the perfect blend of tea, can vary depending on the type and amount of insulation we choose. On average, the cost of attic insulation can range from $800 to $2,000, depending on the size of our attic and the type of insulation we select. For instance, fiberglass batts tend to be more budget-friendly, while spray foam insulation offers a more premium, albeit pricier, option.
By investing in attic insulation, we’re not only wrapping our homes in a cozy blanket of warmth but also potentially saving up to $300 per year on energy bills. As someone who delights in turning houses into homes, I believe that this initial investment is a small price to pay for the magic that unfolds within our walls.
Whispers from the Attic: 5 Enchanting Tips to Wrap Your Home in Warmth
- Let the magic begin with a thorough assessment of your attic’s current insulation, much like my grandmother would measure every seam before stitching a new quilt
- Choose the perfect insulation material, whether it’s fiberglass, cellulose, or spray foam, to create a cozy haven that’s as unique as my vintage teapot collection
- Mind the gaps, just as my father would meticulously restore the intricate carvings on an antique dresser, to ensure every nook and cranny is sealed and ready for insulation
- As you weave warmth into the rafters, remember to wear protective gear, including a mask, gloves, and safety glasses, to keep the process as safe as a warm cup of tea on a chilly morning
- Finally, don’t forget to check for any necessary permits or local building codes, much like naming each room in my home after a beloved literary character, to add a touch of personality and whimsy to your insulation journey
Cozying Up with Key Takeaways
As we wrap up our whimsical journey to a warmer home, remember that attic insulation is like adding a plush throw blanket to your decor – it keeps the chill out and the charm in, making your space feel like a living story
By choosing the right insulation materials and installing them with love, you’ll not only save energy but also create a snug haven that invites memories and magic to unfold, much like the comforting ambiance of my ‘Heathcliff’s Haven’ reading nook
Whether you’re a DIY enthusiast or a curious homeowner, the true magic lies in transforming your attic from a forgotten space to a cozy sanctuary, where every beam and rafter whispers tales of wonder, and the warmth of your home is as much a part of the story as the vintage teapots on my ‘Elizabeth’s Tea Room’ shelf
Wrapping Your Home in Warmth
As we tenderly wrap our attics in insulation, we’re not just keeping the chill out, we’re weaving a tapestry of warmth and wonder that whispers stories of cozy nights and cherished memories.
Margaret Silva
Wrapping Up Our Cozy Attic Retreat
As we conclude our journey to adding insulation to your attic, let’s reflect on the key points that will make your space not only energy-efficient but also a haven that tells a story. We’ve discussed the importance of proper insulation, the cost-effective measures to achieve it, and the DIY installation process that can make this project a labor of love. By choosing the right materials and considering factors like climate and existing infrastructure, you’re not just saving energy, you’re crafting a cozy narrative that envelops every corner of your home.
Now, as you stand in your newly insulated attic, surrounded by the whispers of warmer days and the promise of snug nights, remember that home is where the heart is, and the heart of your home beats stronger with every thoughtful touch. Let the magic of insulation be just the beginning of your storytelling journey, where every room, including your Emily Brontë library or Alice in Wonderland playroom, becomes a chapter in the ever-unfolding tale of your life and the memories you create within these lovingly designed walls.
Frequently Asked Questions
What are the most eco-friendly insulation materials I can use for my attic?
For an eco-friendly touch, I adore using recycled denim insulation or natural wool – they’re like wrapping your attic in a soft, green blanket. These materials not only reduce waste but also provide excellent thermal performance, making your home cozy and sustainable.
How do I know if my attic already has sufficient insulation, and what are the signs that it needs to be upgraded?
To uncover if your attic’s insulation is sufficient, peek into the space and look for signs like exposed joists, chilly drafts, or ice dams on the roof. If you spot any of these, it’s likely time for an upgrade. Think of it as giving your home a warm hug from the inside out!
Are there any specific safety precautions I should take when installing insulation in my attic, especially if I'm doing it myself?
As I always say, safety first in my ‘Heathcliff’s Haven’ attic space. When installing insulation, wear a mask, gloves, and protective eyewear to avoid inhaling fibers or getting poked by sharp objects. Ensure good ventilation and consider a buddy system, darling – it’s always more fun with a friend, and safer too!