As I sit in my “Heathcliff” study, surrounded by vintage teapots and the warmth of a crackling fire, I’m reminded of the countless times I’ve heard friends and family lament about the tedious process of how to properly prep a room for painting. The common myth that it’s a daunting, overwhelming task is one I’d like to debunk. In reality, prepping a room for painting is an opportunity to transform your space into a living story, where every brushstroke is a whisper of wonder. I’ve learned that with a few simple steps and a dash of creativity, you can turn this chore into a labor of love.
In this article, I promise to share my honest, no-hype advice on how to properly prep a room for painting, gleaned from years of experience as a home stylist and blogger. You can expect practical tips and real-life examples to help you navigate the process with ease. From clearing the clutter to selecting the perfect hues, I’ll guide you through the journey of transforming your walls into a vibrant tale of color. So, let’s get started and uncover the magic that awaits in the unlikeliest of places – the freshly painted walls of your home, where every room tells a story, just like my beloved “Elizabeth Bennet” bedroom.
Table of Contents
- Guide Overview: What You'll Need
- Step-by-Step Instructions
- Prepping Rooms With Whimsy
- Whispers from the Walls: 5 Enchanted Tips to Prep Your Room for a Magical Makeover
- Embracing the Art of Room Preparation: 3 Key Takeaways
- The Art of Preparation
- Bringing Your Vision to Life
- Frequently Asked Questions
Guide Overview: What You'll Need
Total Time: 2 hours 30 minutes
Estimated Cost: $50 – $100
Difficulty Level: Intermediate
Tools Required
- Utility Knife (with extra blades)
- Sandpaper (various grits)
- Drop Cloths (large enough to cover the floor)
- Masking Tape (for trimming)
- Putty Knife (for filling holes)
- Ladder (sturdy, 6 feet tall)
- Vacuum Cleaner (with brush attachment)
Supplies & Materials
- Drywall Patch Kit
- Spackling Compound
- Primer (optional)
- Paint
- Caulk (for filling gaps around trim)
- Masking Film (for protecting windows and doors)
Step-by-Step Instructions
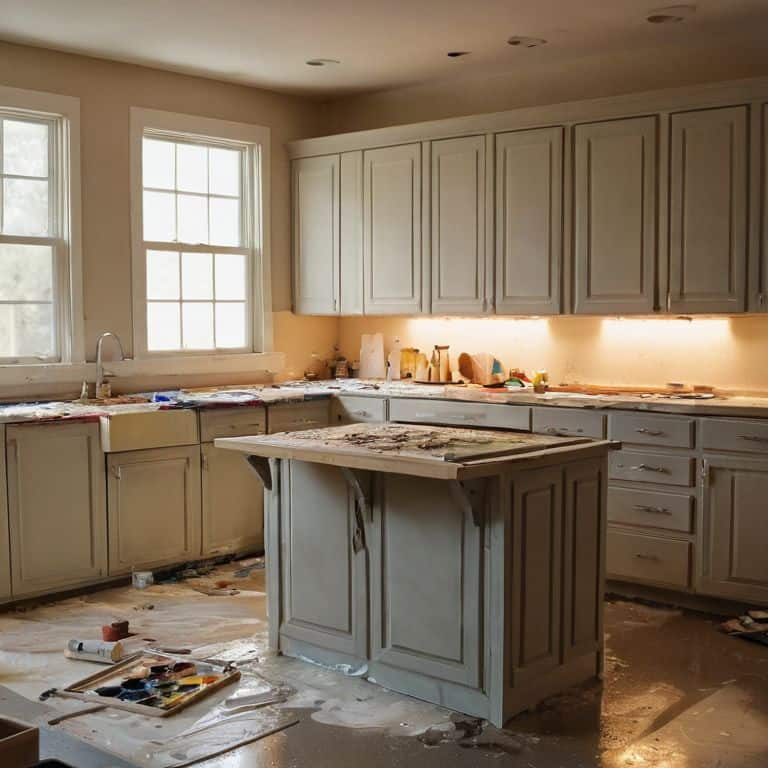
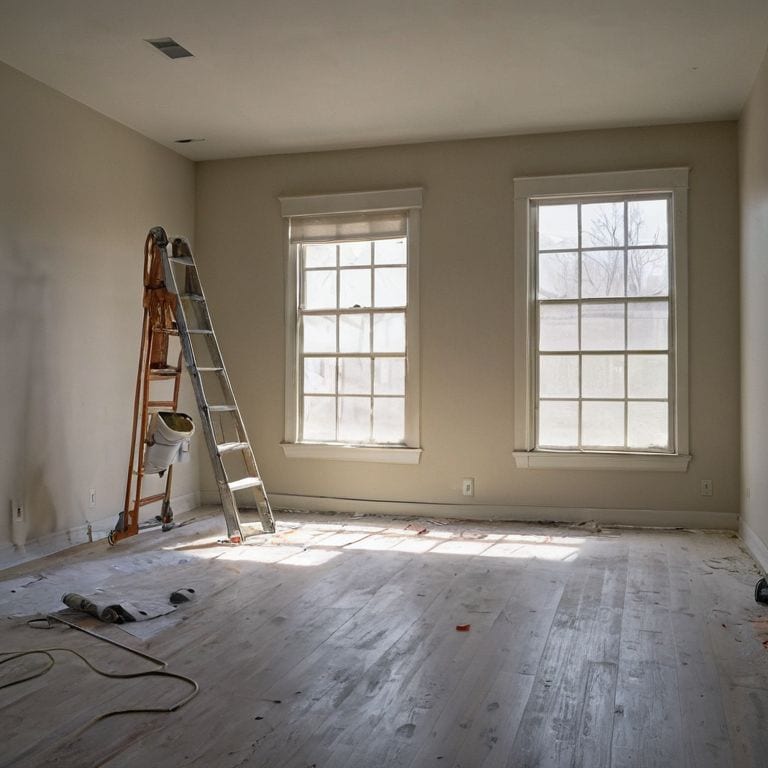
- 1. First, let’s get started by clearing the room of any furniture, curtains, and rugs to prevent them from getting damaged during the painting process. This will also give us a clean slate to work with, allowing us to envision the final result. I like to think of this step as setting the stage for a beautiful story to unfold, much like the empty pages of a novel waiting for the words to bring it to life.
- 2. Next, we need to protect the floors and any remaining furniture with drop cloths or plastic sheets. This is a crucial step, as it will save us from the hassle of cleaning up paint spills and stains later on. I always make sure to cover every inch of the floor, just like my grandmother used to cover her sewing machine with a delicate lace cloth to keep it dust-free.
- 3. Now, it’s time to remove outlet covers and switch plates to prevent paint from getting behind them. This is a small but important detail that can make a big difference in the overall finish of the room. As I remove these tiny covers, I’m reminded of the intricate details my father used to attend to when restoring antique furniture, and how those small touches can elevate the entire piece.
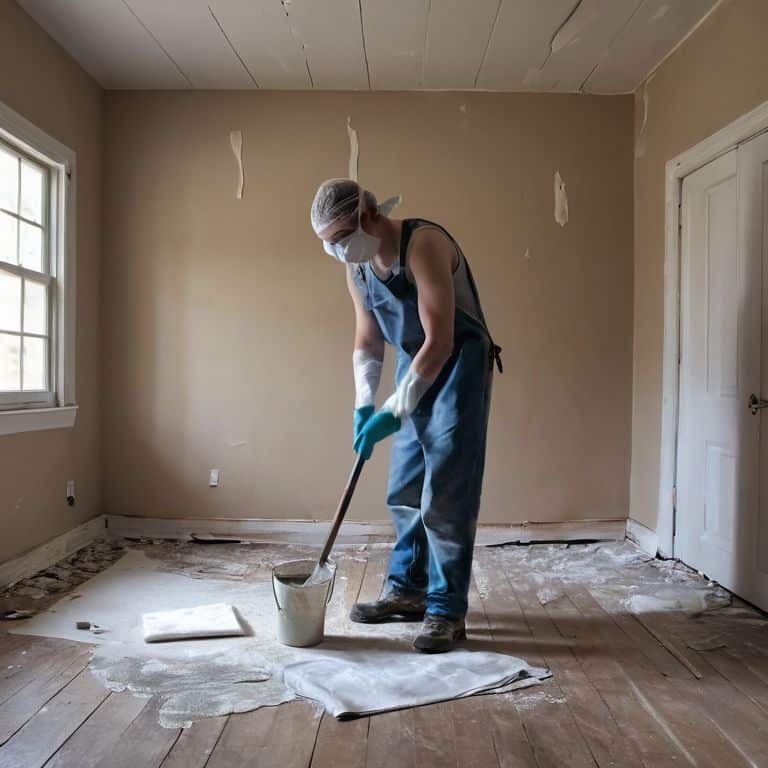
- 4. The fourth step is to wash the walls to remove any dirt, grime, or grease that may be accumulated. This will ensure a smooth and even paint application. I find this step to be quite therapeutic, much like sipping tea from my favorite vintage teapot, as it allows me to connect with the space on a deeper level.
- 5. After cleaning the walls, we need to fix any holes or cracks with spackling compound and sand them smooth. This will create a flawless surface for painting and give our room a polished look. As I work on this step, I imagine the walls as the pages of a well-loved book, with each imperfection carefully mended to preserve the story within.
- 6. Next up, we’ll be taping off the trim and moldings to protect them from paint. This requires some patience and attention to detail, but the end result is well worth the effort. I must admit, I find the process of applying tape to be quite meditative, much like the gentle rhythm of my grandmother’s sewing machine as she worked on her latest project.
- 7. Finally, we’ll prime the walls, if necessary, to create a uniform base for the paint. This step can make a significant difference in the final color and finish of the room. As I apply the primer, I imagine the walls coming alive, much like the characters in my favorite novels, ready to tell their story in vibrant hues and rich textures.
Prepping Rooms With Whimsy

As I step into my “Heathcliff” study, surrounded by vintage teapots and literary classics, I’m reminded that prepping a room for painting is not just about following steps, but about setting the stage for a beautiful story to unfold. When dealing with dark colors, for instance, it’s essential to consider the power of primer in creating a smooth canvas for your new hue.
To achieve a truly professional finish, don’t forget to sanding drywall for a smooth finish, allowing your paint to adhere evenly and bringing out the best in your chosen color. This extra step can make all the difference in the final result, giving your walls a soft, inviting glow that beckons you to linger.
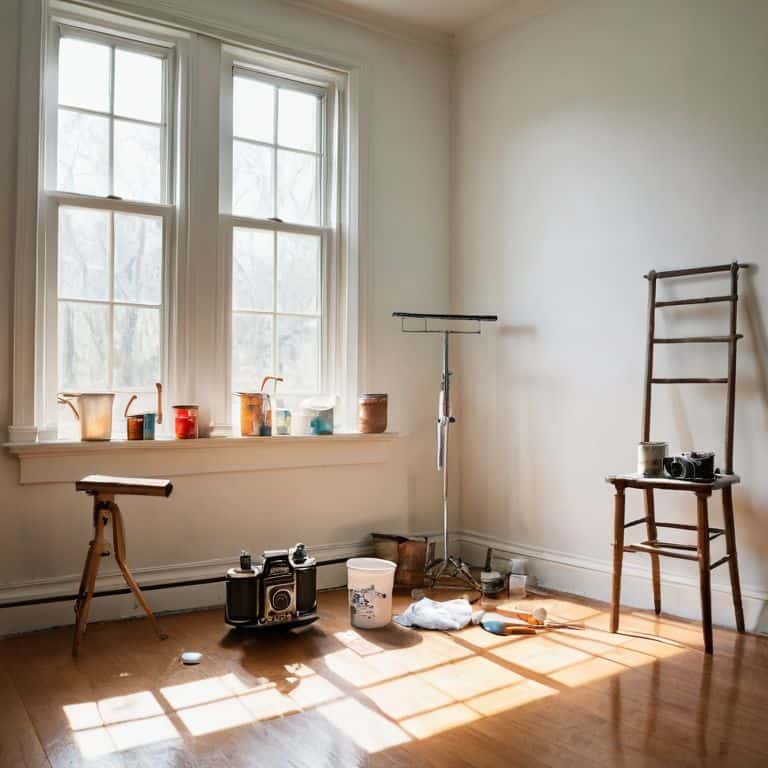
In my “Elizabeth Bennet” parlor, I’ve learned that even the smallest details can make a significant impact. Protecting flooring from paint spills is crucial, and choosing the right paint roller can ensure a flawless application. By taking these extra precautions and considering the unique character of each room, you’ll be well on your way to crafting a space that tells a story of warmth, comfort, and beauty.
Choosing Rollers for Vibrant Colors
As I wander through my “Elizabeth Bennet” library, surrounded by vintage teapots and classic novels, I’m reminded that the right tools can make all the difference in bringing a room to life. When it comes to choosing rollers for vibrant colors, I always opt for microfiber rollers – they’re as gentle as a summer breeze and pick up paint with the delicacy of a whispered secret. For me, it’s all about creating a sense of enchantment, and the right roller can be the key to unlocking a world of wonder.
With a microfiber roller, you can achieve a smooth, even finish that’s perfect for showcasing your favorite hues. I like to think of it as adding the final flourish to a beautifully crafted story – it’s the perfect blend of form and function, don’t you think?
Sanding Drywall for Smooth Finish
As I step into my “Elizabeth Bennet” room, I’m reminded that a smooth finish is akin to a well-crafted novel – it’s all about the details. Sanding drywall is an art that requires patience and a gentle touch. I like to think of it as whispering secrets to the walls, coaxing out the imperfections to reveal a canvas ready for its vibrant tale of color. With a light hand and a fine-grit sandpaper, I sweep away the bumps and scratches, unveiling a surface that’s as silky as the pages of a vintage book.
In this quiet moment, surrounded by the soft glow of table lamps and the comforting presence of my vintage teapots, I find solace in the gentle scratch of sandpaper on drywall. It’s a soothing melody that signals the start of a new story, one that will unfold with each brushstroke of paint. As the dust settles, I envision the walls coming alive with hues that dance across the room, much like the characters in my favorite novels.
Whispers from the Walls: 5 Enchanted Tips to Prep Your Room for a Magical Makeover
- Let the story begin: Clear the room of furniture, or cover it with drop cloths to protect it from dust and paint splatters, just like I do when I’m getting ready to display my vintage teapots in the ‘Heathcliff’ room
- Uncover the canvas: Remove outlet covers, light switch plates, and doorknobs to prevent paint from getting behind them, a trick my father taught me when he restored antique furniture
- Smooth out the tale: Fix any holes or cracks in the walls with spackling compound, and sand it down to create a seamless surface, much like the gentle curves of my favorite teapot, ‘Emily’
- A dash of whimsy: Use a vacuum cleaner or damp cloth to wipe down the walls and ceiling, removing dirt, grime, and cobwebs, which will help the paint adhere and bring out the unique character of each room, like the ‘Elizabeth Bennet’ library
- Setting the stage: Tape off trim, baseboards, and moldings with painter’s tape to create crisp, clean lines, and to preserve the original charm of the space, just as I do when I’m styling a room inspired by my favorite literary characters
Embracing the Art of Room Preparation: 3 Key Takeaways
By transforming the preparation process into a creative journey, you can turn your walls into a canvas that whispers secrets of a bygone era, much like the stories my grandmother used to tell me as we sipped tea from her exquisite vintage teapots
Infusing your space with whimsy, whether through the soft glow of string lights or the gentle curves of a vintage armchair, can elevate the painting experience and make it a truly immersive adventure, reminiscent of stepping into the world of my favorite literary characters, like Elizabeth Bennet’s English countryside
Ultimately, the art of prepping a room for painting is not just about following steps, but about crafting a narrative that unfolds with each brushstroke, and I hope that my own experiences, from growing up in a charming Victorian home to collecting vintage teapots, have inspired you to find the magic in your own space and turn it into a living, breathing story
The Art of Preparation
Just as a good story begins with a blank page, a beautifully painted room starts with a thoughtfully prepped canvas – where every scrape, every sand, and every careful consideration is a brushstroke of love and intention, setting the stage for a masterpiece that whispers tales of warmth and welcome.
Margaret Silva
Bringing Your Vision to Life
As we conclude our journey through the realm of room preparation for painting, let’s take a moment to bask in the excitement of transforming our spaces into vibrant tales of color. We’ve covered the essential steps, from prepping the canvas to choosing the perfect rollers for a smooth finish. We’ve also discovered how to add a touch of whimsy to our rooms, making the process a true labor of love. By embracing these techniques, you’ll be well on your way to creating a space that feels like a living story, where every corner sparks a sense of nostalgia and wonder.
Now, as you stand in your newly prepped room, surrounded by the promise of blank walls and the thrill of possibilities, remember that the true magic happens when you bring your unique vision to life. Don’t be afraid to experiment, to try new things, and to make mistakes – for it’s in these moments that we truly tap into the essence of our spaces, and they begin to tell the stories that make our hearts sing. So go ahead, pick up that brush, and let the tale of your dreams unfold on the canvas of your walls.
Frequently Asked Questions
What are some common mistakes to avoid when prepping a room for painting to ensure a professional-looking finish?
As I sip tea from my vintage teapot in my ‘Elizabeth Bennet’ parlor, I ponder the pitfalls to avoid when prepping a room for painting. Common mistakes include inadequate cleaning, insufficient sanding, and neglecting to fix holes and cracks, which can lead to a uneven finish and a less-than-polished look.
How do I determine the best type of paint and finish for my specific room and decor?
For me, choosing the perfect paint and finish is like selecting a teapot for a cozy afternoon – it’s all about the ambiance. Consider the room’s purpose, lighting, and decor. Do you want a soft, matte finish for a serene atmosphere or a satin sheen to reflect warm tones? Let’s brew a plan that blends beautifully with your space!
Are there any special considerations I should keep in mind when prepping a room with unique features, such as trim, molding, or uneven surfaces?
When prepping a room with charming trim, molding, or uneven surfaces, I like to think of it as preparing a vintage teapot for a cozy tea party – every detail matters. Take your time to carefully tape off those delicate moldings and consider using a specialized primer for uneven surfaces to ensure a smooth, even finish that will make your walls sing with character.