
I still remember the first time I attempted to make a simple miter joint – it was a bit of a disaster, but with some practice and patience, I finally got the hang of it. As a travel blogger, I’ve had my fair share of DIY projects, and I’ve learned that mastering the art of how to make a simple miter joint is essential for any woodworking enthusiast. The myth that it’s a complicated process that requires specialized tools and expertise is simply not true. With the right guidance, anyone can create a beautiful and sturdy miter joint.
As I sit here, surrounded by my treasure hunt finds from the local flea market, I’m excited to share my tips and tricks with you on how to make a simple miter joint. In this article, I’ll take you through a step-by-step guide on how to achieve a perfect miter joint, from preparing your wood to finishing the joint. You’ll learn how to use basic tools and techniques to create a strong and durable bond, and I’ll share some of my own experiences and mistakes to help you avoid common pitfalls. By the end of this guide, you’ll be confident in your ability to create beautiful and professional-looking miter joints, and you’ll be ready to take on your next woodworking project with ease.
Table of Contents
Guide Overview: What You'll Need
Total Time: 1 hour 15 minutes
Estimated Cost: $10 – $30
Difficulty Level: Intermediate
Tools Required
- Miter Saw (or a hand saw with a miter box)
- Tape Measure
- Square
- Clamps (bar clamps or C-clamps)
- Sandpaper (for smoothing out the joint)
- Marking Gauge (optional)
Supplies & Materials
- 2-in x 4-in lumber or similar wood for your project
- Wood Glue
- 2 1/4 inches wood screws (or nails for assembling the joint)
- Wood filler (optional for filling gaps)
Step-by-Step Instructions
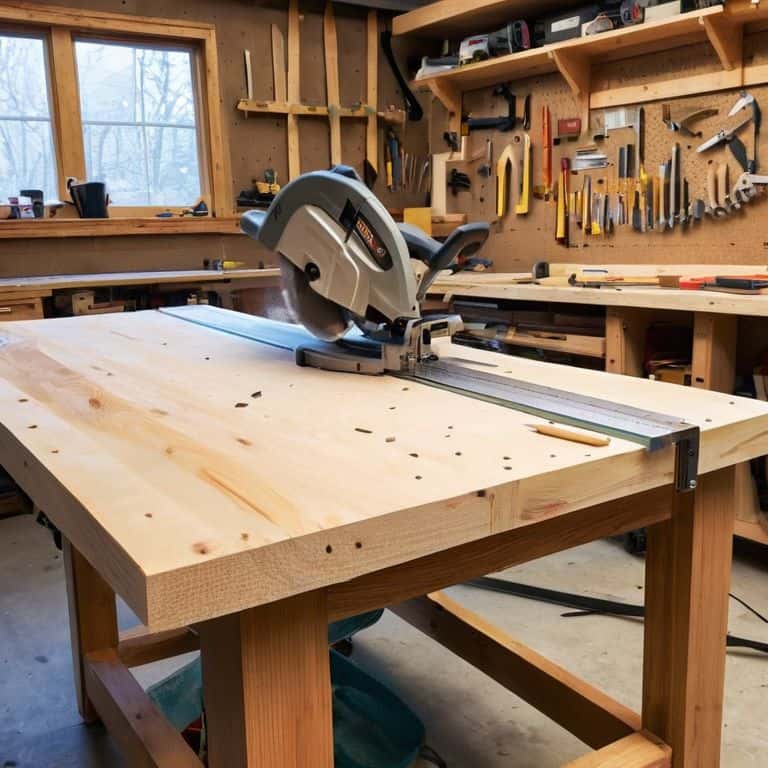
- 1. To start making a simple miter joint, gather your tools and materials, including a miter saw, a coping saw or a hand saw, a drill press, and a piece of wood for your project. I like to lay out all my tools and materials in a well-organized workspace to ensure I can focus on the task at hand.
- 2. Next, measure and mark your wood carefully, taking into account the specific dimensions required for your project. I always double-check my measurements to avoid any mistakes, and I find that using a pencil to mark the wood helps me see the lines more clearly.
- 3. Now it’s time to set up your miter saw, adjusting the angle to the desired setting for your miter joint. Make sure the saw is calibrated correctly to ensure accurate cuts, and always follow the manufacturer’s instructions for safe operation.
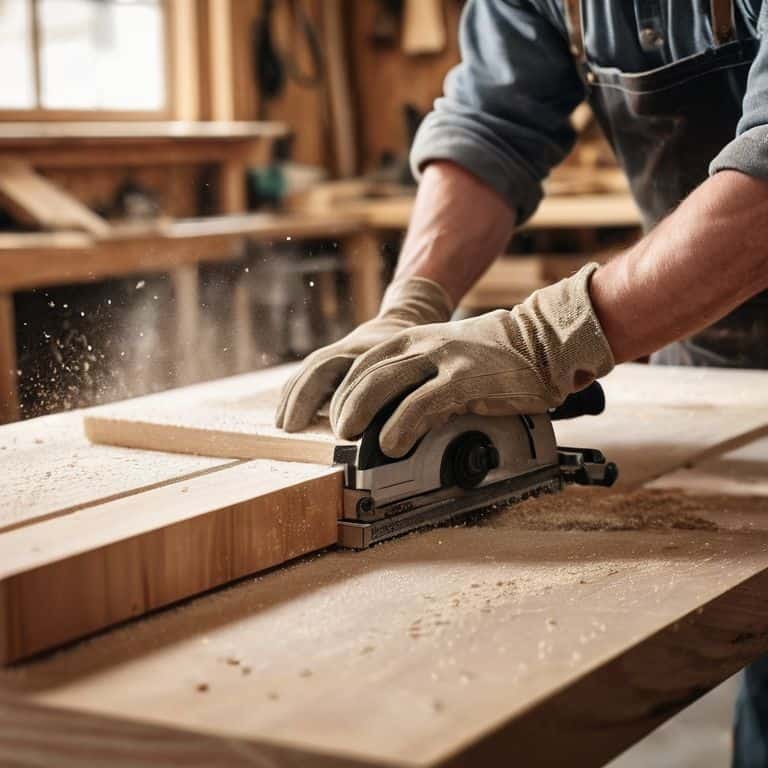
- 4. With your miter saw ready, make the first cut on one of the pieces of wood, carefully aligning the marked line with the saw blade. I find that taking my time and making smooth, steady cuts helps to achieve the best results.
- 5. To create the other half of the miter joint, repeat the cutting process with the second piece of wood, making sure to mirror the angle of the first cut. It’s essential to double-check your angles to ensure a precise fit between the two pieces.
- 6. Once you have made both cuts, use a coping saw or hand saw to remove any small imperfections or burrs from the cut edges. This step helps to create a smooth surface for the joint and ensures a strong bond between the two pieces of wood.
- 7. To assemble the miter joint, apply a small amount of wood glue to one of the cut edges and carefully align the two pieces of wood. Use clamps or other holding devices to secure the joint while the glue dries, making sure not to apply too much pressure, which can cause the wood to split or become misaligned.
Framing the Story
As I reflect on my journey with woodworking, I realize that mastering the art of creating a seamless joint is all about attention to detail. One of the most crucial aspects of achieving this is precision miter cutting, which can make or break the overall aesthetic of your project. I’ve found that taking my time to ensure accurate cuts is well worth the extra effort, as it saves me from potential headaches down the line.
When it comes to reinforcing my miter joints, I’ve developed a fondness for using wood glue for joints in conjunction with careful clamping a miter joint techniques. This combination has proven to be a game-changer in terms of stability and durability. By applying the right amount of pressure and allowing the glue to set, I can trust that my joints will withstand the test of time.
In my experience, avoiding common miter joint mistakes is just as important as mastering the techniques themselves. This is where miter saw techniques come into play, as a well-tuned saw can be a woodworker’s best friend. By staying mindful of my saw’s settings and taking the time to double-check my measurements, I can minimize errors and achieve professional-grade results that make my projects truly shine.
Clamping Secrets for Tight Joints
As I delve into the world of miter joints, I’ve come to realize that clamping is an art form in itself. It’s amazing how a well-clamped joint can make all the difference in the final product. I’ve learned to use a combination of bar clamps and cauls to apply even pressure, ensuring a tight and seamless joint. The key is to apply gentle yet firm pressure, allowing the glue to set without any gaps or bubbles.
By mastering the clamping process, I’ve been able to achieve professional-looking results, even with complex miter joints. It’s all about patience and attention to detail – taking the time to properly align and clamp each piece. With practice, you’ll develop a sense of how much pressure to apply, and your joints will become stronger and more precise.
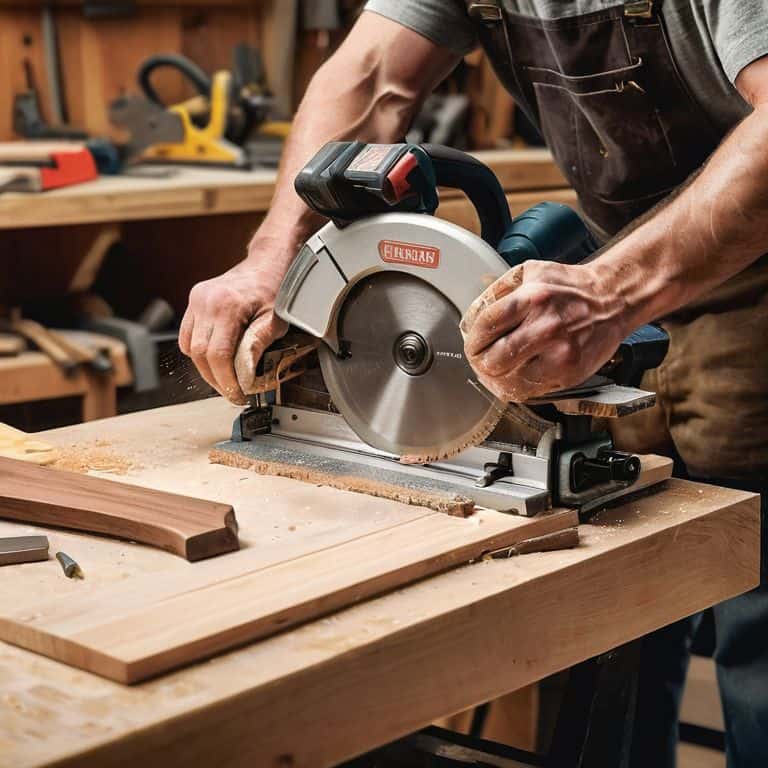
Unlocking Miter Saw Techniques
As I delve deeper into the world of miter joints, I’ve discovered that mastering the miter saw is an art form in itself. With practice, I’ve learned to coax precise cuts from this powerful tool, and it’s amazing how a slight adjustment in technique can make all the difference. I recall spending hours at my local hardware store, watching the staff work their magic on various projects, and picking up valuable tips along the way.
Now, I’m excited to share some of my favorite miter saw techniques with you, from clever ways to secure small pieces to innovative methods for achieving intricate cuts. Whether you’re a seasoned pro or just starting out, I’m confident that these tips will help you unlock the full potential of your miter saw and take your woodworking projects to the next level.
Miter Joint Mastery: 5 Essential Tips to Get You Started
- I still recall my first few attempts at making a simple miter joint – it was a trial by fire, but one tip that really helped me was to always ensure my miter saw is properly calibrated before starting a project
- Using the right type of clamp can make all the difference, I’ve found that pneumatic clamps provide even pressure and help prevent mistakes, especially when working with delicate materials
- Don’t be afraid to experiment with different types of wood – each has its unique characteristics, and understanding these can elevate your miter joint game, from the hardness of oak to the softness of pine
- A simple trick I learned from a fellow woodworker is to use a small piece of scrap wood as a test cut before making the actual miter joint, this helps you adjust your saw settings and ensures a perfect fit
- Lastly, practice patience and don’t rush the process – making a simple miter joint is all about precision and taking your time, remember, it’s the small details that make a big difference in the end result
Key Takeaways for Crafting the Perfect Miter Joint
I’ve learned that with a little practice, anyone can master the art of creating a simple miter joint – it’s all about patience and paying attention to those small details that make a big difference
From my own experience, I can attest that unlocking the full potential of your miter saw is crucial for achieving professional-looking results, whether you’re a seasoned woodworker or just starting out
By combining the right clamping techniques with a solid understanding of miter joint fundamentals, you’ll be well on your way to creating beautiful, tight joints that will elevate your woodworking projects to the next level
The Art of Connection
A simple miter joint is more than just a technique – it’s a testament to the beauty of precision and patience, a reminder that even the smallest details can frame the story of a lifetime.
Vera Kump
Bringing It All Together: The Simple Miter Joint
As I reflect on our journey to master the simple miter joint, I’m reminded of the importance of patience and practice in achieving perfection. From the initial steps of preparing our materials to the final touches of clamping and tightening, each stage requires attention to detail and a willingness to learn. By following the steps outlined in this guide, you’ve not only learned how to make a simple miter joint but have also gained a deeper understanding of the miter saw techniques and clamping secrets that will elevate your woodworking projects to the next level.
Now that you’ve grasped the fundamentals, I encourage you to think outside the box and explore the countless possibilities that this joint offers. Whether you’re a seasoned woodworker or just starting out, the simple miter joint is a versatile tool that can help you bring your most ambitious projects to life. So, don’t be afraid to experiment, try new things, and push the boundaries of what’s possible – and always remember, the art of woodworking is a journey, not a destination.
Frequently Asked Questions
What are the most common mistakes to avoid when making a simple miter joint?
I’ve learned from my own trial and errors that the most common mistakes to avoid when making a simple miter joint include incorrect blade angle, insufficient clamping, and not accounting for wood expansion – all of which can lead to a joint that’s less than perfect.
How do I choose the right type of wood for a miter joint project?
For me, choosing the right wood is all about the story I want to tell with my project. I consider the color, grain, and texture that will bring my miter joint to life. From rich walnut to rustic pine, each type of wood has its own unique character – and I love discovering the perfect match for my vision.
Can I use a handheld saw to make a miter joint, or is a miter saw always necessary?
While a handheld saw can work in a pinch, I’ve found that a miter saw is usually the way to go for precise, clean cuts. That being said, with some patience and careful technique, you can still achieve a decent miter joint with a handheld saw – I’ve done it myself at flea markets when I didn’t have access to my trusty miter saw!


