I still remember the first time I stumbled upon a beautifully restored wooden chest at a quaint Copenhagen flea market – the seller told me it was all thanks to a generous coat of Danish oil, and I’ve been hooked on the stuff ever since! As I delved deeper into the world of woodworking and furniture restoration, I realized that many people are unsure about what is Danish oil and how to use it. It’s astonishing how often this simple, effective finish is misunderstood or overlooked in favor of more expensive, flashy alternatives.
As someone who’s spent years exploring the world of woodworking and furniture restoration, I want to cut through the hype and share my honest, experience-based advice on using Danish oil. In this article, I’ll take you through the basics of what is Danish oil and how to use it, from preparation to application, and provide you with practical tips and tricks I’ve learned along the way. My goal is to empower you with the knowledge to bring out the best in your wooden treasures, whether you’re a seasoned woodworker or just starting out. So, let’s dive in and discover the secrets of Danish oil together!
Table of Contents
Unlocking Danish Oil Secrets
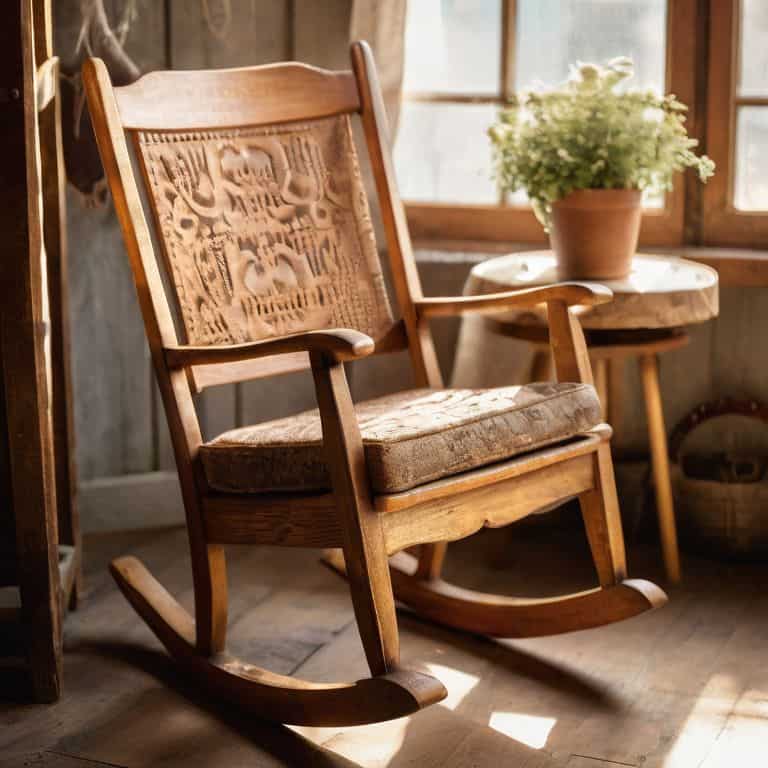
As I delved deeper into the world of wood finishing, I began to uncover the secrets of Danish oil. One of the most significant advantages I discovered was its ability to enhance the natural beauty of the wood grain, rather than obscuring it like some other finishes. I recall a particular visit to a flea market in Copenhagen, where I stumbled upon a stunning wooden rocking chair that had been treated with Danish oil – the way the light danced across its surface was truly mesmerizing.
When it comes to applying Danish oil to wood, I’ve found that the key is to start with a clean, dry surface. A gentle sanding can help to create a smooth finish, and then it’s simply a matter of wiping on a thin layer of oil with a soft cloth. I’ve also learned that it’s essential to allow each coat to dry completely before applying the next, as this helps to prevent a sticky or uneven finish. By following these simple steps, you can achieve a beautiful, durable finish that will protect your wood for years to come.
In comparing Danish oil vs polyurethane, I’ve come to realize that the former offers a more subtle, understated look that allows the natural character of the wood to shine through. This makes it an ideal choice for furniture restoration projects, where you want to preserve the original charm of the piece. Additionally, Danish oil provides excellent wood protection, shielding it from scratches and spills while still allowing it to breathe and age gracefully over time.
Applying Danish Oil to Wood Tips
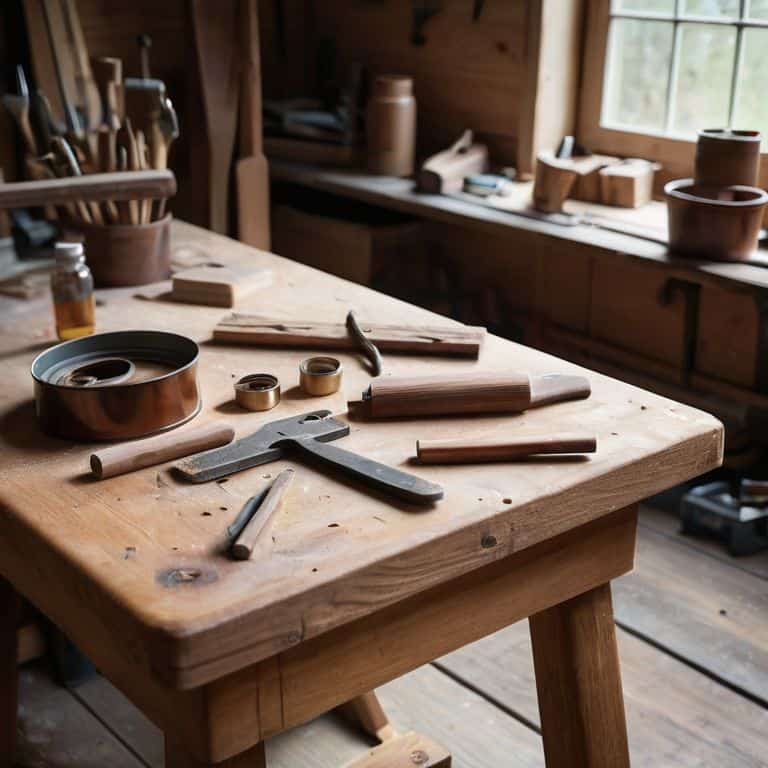
As I delved deeper into the world of Danish oil, I discovered the importance of proper application techniques. It’s not just about slapping the oil onto the wood; you need to make sure the surface is clean and dry before applying a thin, even coat. I’ve learned that using a soft cloth to rub the oil into the wood can make all the difference in achieving a beautiful, timeless finish.
When it comes to maintenance, I’ve found that regular applications of Danish oil can keep your wooden furniture looking its best. The key is to apply a small amount and let it soak in, rather than over-saturating the wood. By doing so, you’ll be able to maintain the wood’s natural beauty and prevent drying out over time.
Danish Oil vs Polyurethane the Charm
As I delved deeper into the world of wood finishing, I found myself drawn to the unique characteristics of Danish oil, particularly when compared to polyurethane. The warm glow it imparted to wooden surfaces was undeniable, and I became determined to understand what set it apart.
In my experience, traditional craftsmanship is what makes Danish oil truly special, allowing for a level of customization and personal touch that mass-produced polyurethane finishes often lack.
What Is Danish Oil and How to Use It
As I delve into the world of wood finishing, I find myself drawn to the danish oil vs polyurethane debate. While polyurethane provides a hard, durable finish, Danish oil offers a more subtle, nuanced approach. I’ve seen it used to stunning effect on antique furniture, where it enhances the natural grain of the wood without overpowering it. The result is a beautiful, timeless charm that’s hard to replicate with modern finishes.
When it comes to applying danish oil to wood, the key is to start with a clean, dry surface. I’ve learned that it’s essential to sand the wood thoroughly before application, as this helps the oil penetrate evenly. A soft cloth is then used to apply a thin, even coat, allowing the wood to absorb the oil slowly. This process can be repeated multiple times, building up a rich, danish oil finish on furniture that’s both protective and visually stunning.
One of the benefits of using danish oil is its ability to provide long-lasting protection for wood. It’s particularly effective at repelling water and preventing warping or cracking. I’ve seen it used to great effect on outdoor furniture, where it helps to safeguard the wood against the elements. By following a few simple danish oil application tips, you can achieve a beautiful, durable finish that will last for years to come.
Benefits of Danish Oil Finish on Furniture
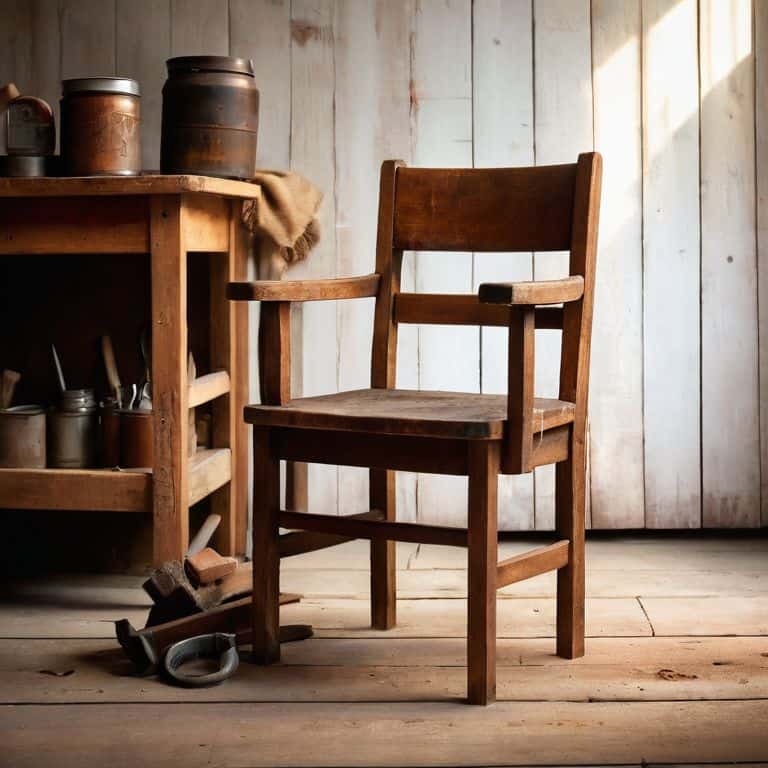
As I delve into the world of Danish oil, I’m constantly amazed by its ability to bring out the warmth of the wood. Whether it’s a vintage armchair or a newly crafted table, a Danish oil finish seems to add a layer of depth and character that’s hard to replicate with other finishes. I’ve seen it transform a flea market find into a stunning centerpiece for any room.
The durability of Danish oil is another aspect that I’ve grown to appreciate. Unlike some other finishes that may chip or fade over time, a well-applied Danish oil finish can withstand the wear and tear of daily life, maintaining its beauty and protecting the wood beneath. This makes it an ideal choice for furniture that’s meant to be used and loved, rather than just admired from afar.
Danish Oil for Wood Protection My Story
As I delved deeper into the world of wood finishing, I discovered the magic of Danish oil in protecting and preserving the natural beauty of wood. I recall a particularly memorable experience at a flea market in Copenhagen, where I stumbled upon an exquisite wooden rocking chair that had been meticulously restored using Danish oil. The seller shared with me the secrets of applying the oil to bring out the rich, warm tones of the wood.
My own experiments with Danish oil have been nothing short of enlightening, as I’ve learned to appreciate the subtle sheen it imparts to the wood, while also providing a durable barrier against the elements. Whether I’m working with reclaimed wood or newly crafted pieces, Danish oil has become an essential tool in my arsenal, allowing me to create unique and timeless pieces that tell a story.
Mastering the Art of Danish Oil: 5 Essential Tips to Get You Started
- Always read the label and choose a high-quality Danish oil that suits your project’s specific needs, whether it’s for furniture restoration or wood protection
- Prepare your wood surface by sanding it to a smooth finish, as this will help the Danish oil penetrate evenly and bring out the natural beauty of the grain
- Apply a thin, even coat of Danish oil using a clean cloth, and wipe off any excess to avoid a sticky finish – it’s all about building up thin layers for a durable and lustrous finish
- Allow each coat to dry completely according to the manufacturer’s instructions before applying the next one, as this will prevent the oil from becoming tacky or uneven
- Experiment with different ratios of Danish oil to solvent, such as mineral spirits or turpentine, to achieve the perfect balance of protection and sheen for your unique wood project
Key Takeaways: Unlocking the Power of Danish Oil
Danish oil brings a unique charm to wood surfaces, offering a softer, more natural look compared to polyurethane, making it ideal for those seeking a timeless, elegant finish
Applying Danish oil requires careful consideration of the wood type and preparation, but with the right tips and techniques, it can enhance the beauty and durability of your furniture and woodwork
Beyond its aesthetic benefits, Danish oil provides excellent protection against wear and tear, and with proper maintenance, it can ensure your treasured pieces remain vibrant and resilient for years to come
A Treasure Hunter's Insight
To me, Danish oil is more than just a finish – it’s a time machine that uncovers the hidden beauty in every wooden treasure, and the key to unlocking the stories they tell is in the gentle touch of its application.
Vera Kump
Embracing the Timeless Charm of Danish Oil
As I conclude my journey into the world of Danish oil, I want to summarize the key takeaways that have made this natural finish a staple in my woodworking and furniture restoration adventures. From understanding the difference between Danish oil and polyurethane, to learning the best practices for applying it to wood, it’s clear that Danish oil offers a unique blend of protection and aesthetic appeal. My personal story with Danish oil has shown me its benefits for wood protection, and I’m excited to see how you’ll use it in your own projects.
As you embark on your own adventures with Danish oil, remember that it’s not just about the finish – it’s about the story behind each piece. Whether you’re restoring a family heirloom or creating something new, Danish oil can help you achieve a timeless charm that tells a story of its own. So go ahead, get creative, and see where this incredible finish takes you!
Frequently Asked Questions
What are the different types of wood that can be treated with Danish oil?
I’ve had the pleasure of experimenting with Danish oil on various woods, from rich mahogany to rustic pine, and even exotic teak. It seems to bring out the unique character of each type, but I’ve found it pairs particularly well with oak, walnut, and cherry wood, enhancing their natural beauty and durability.
How often should I reapply Danish oil to my furniture to maintain its protective finish?
I reapply Danish oil to my treasured finds every 6-12 months, depending on wear and tear. For instance, my beautifully restored wooden chest from that Copenhagen flea market still looks stunning after a fresh coat every year. Regular touch-ups keep the wood healthy and vibrant, and I just love the way it brings out the grain!
Can I mix Danish oil with other finishes or products to achieve a unique look or enhanced protection?
I’ve experimented with mixing Danish oil with wax for a soft sheen and found it adds a lovely depth to the wood. However, I’d advise caution when combining it with other finishes, as it can alter the intended effect. Always test a small area first to ensure the desired result.