I still remember the time I found this gorgeous vintage armchair at a flea market, only to discover it had a few scratches – a common problem many of us face when dealing with how to repair wood furniture scratches. It’s a myth that these imperfections detract from the piece’s value; instead, they add character to the story of the furniture. As someone who’s spent countless hours scouring flea markets for unique treasures, I’ve learned that it’s often the imperfections that make a piece truly special. My polaroid camera has captured many such finds, each telling a story of its own, and I’ve found that with a little TLC, even the most worn-out furniture can be revived.
As I delved into the world of furniture restoration, I realized that breathing new life into worn-out pieces is not just about fixing scratches, but about preserving the history and essence of the item. In this article, I promise to share my honest, no-nonsense advice on how to repair wood furniture scratches, gained from my own experiences and experiments. From assessing the damage to applying the final touches, I’ll guide you through the process, ensuring that your treasured wood furniture regains its former glory. Whether you’re a seasoned restorer or a DIY novice, my goal is to empower you with the knowledge and confidence to tackle those pesky scratches and give your furniture a second chance at a beautiful story.
Table of Contents
Guide Overview: What You'll Need
Total Time: 1 hour 30 minutes
Estimated Cost: $15 – $30
Difficulty Level: Easy
Tools Required
- Fine-grit Sandpaper (for smoothing out scratches)
- Paintbrush (various sizes)
- Clamps (for holding pieces in place)
- Utility Knife (with extra blades)
Supplies & Materials
- Wood Filler (matching the color of the furniture)
- Wood Stain (optional, for touch-ups)
- Polyurethane (for protective coating)
- Rags (for cleaning and applying stain)
- 6 inches of Sanding Block (for flattening surfaces)
Step-by-Step Instructions
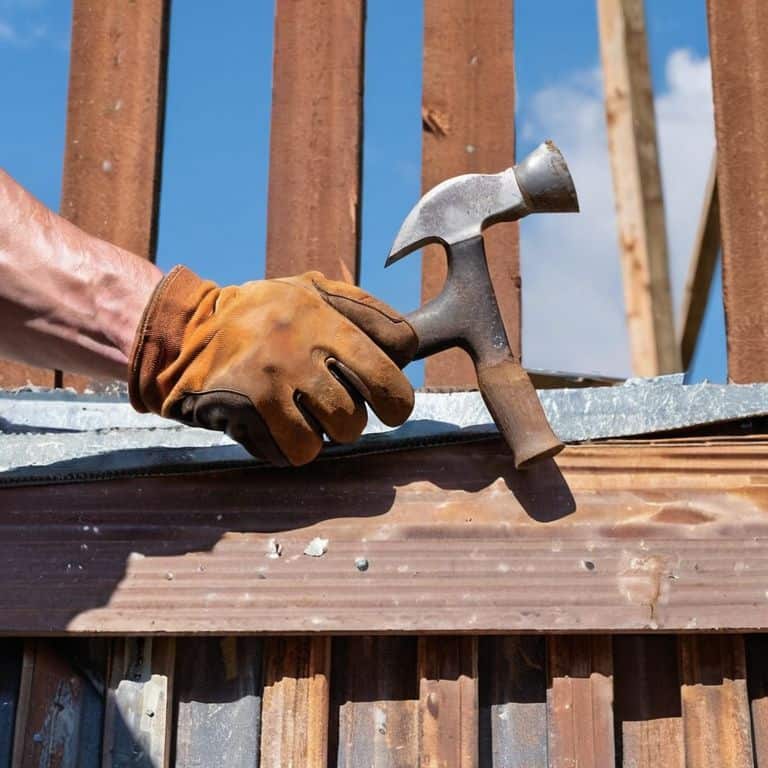
- 1. First, I like to start by assessing the damage to determine the best course of action for my treasured wood furniture find. This involves carefully examining the scratches to see how deep they are and if they’ve exposed any of the underlying wood. I recall a particularly beautiful vintage dresser I found at a flea market, which had a few scratches on its surface – it was the perfect candidate for a repair project.
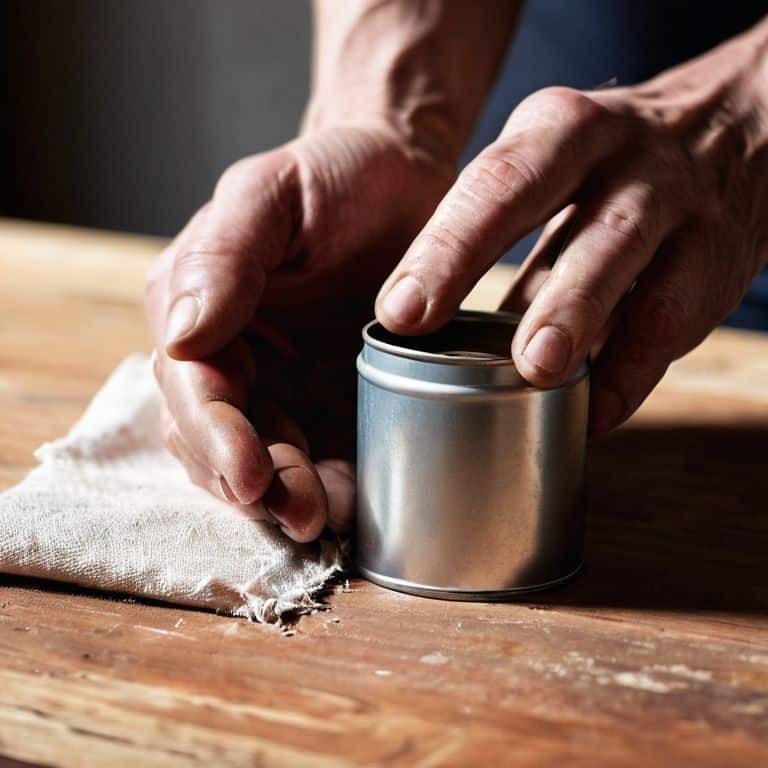
- 2. Next, I gather all the necessary materials, which usually include a wood furniture repair kit, a putty knife, some sandpaper, and a sealant. It’s also a good idea to have some clamps on hand to hold the wood in place while the repair dries. I’ve learned that having everything within reach makes the process much smoother and less frustrating.
- 3. Now, it’s time to clean the area around the scratch to remove any dirt or debris that might interfere with the repair. I use a soft cloth and a gentle cleaning product to wipe down the surface, making sure to follow the wood grain. This step is crucial in ensuring a seamless repair that blends in with the rest of the furniture.
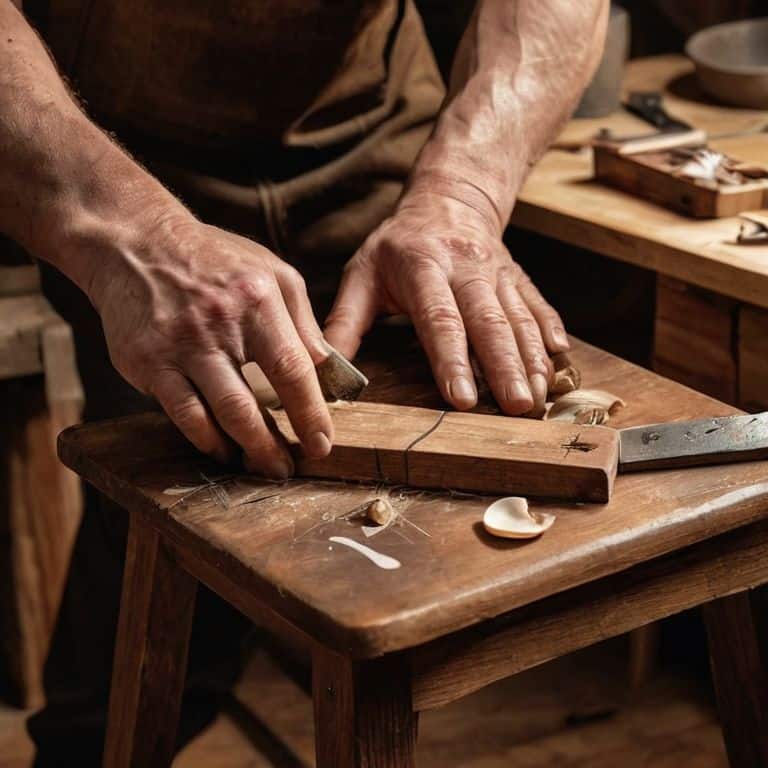
- 4. With the area clean, I apply a small amount of wood filler to the scratch, using the putty knife to spread it evenly and fill in the gap. It’s essential to work in small sections, allowing each area to dry completely before moving on to the next. I find that using a hairdryer on a low setting can help speed up the drying process.
- 5. Once the filler is dry, I use some medium-grit sandpaper to smooth out the area, feathering it out so that it blends in with the surrounding wood. This step requires some patience, as it’s easy to scratch the surface if you apply too much pressure. I’ve found that sanding in the direction of the wood grain helps to avoid any further damage.
- 6. After sanding, I apply a sealant to protect the wood and give it a beautiful finish. This is where the magic happens, and my repaired wood furniture starts to look like new again. I choose a sealant that matches the original finish as closely as possible to maintain the piece’s authenticity.
- 7. Finally, I allow the sealant to dry completely, following the manufacturer’s instructions for the recommended drying time. Once it’s dry, I use a soft cloth to buff the surface, giving it a nice sheen and removing any excess sealant. This final step is all about bringing out the beauty of the wood and making my treasured find look like it just came from the factory.
Reviving Wood Treasures
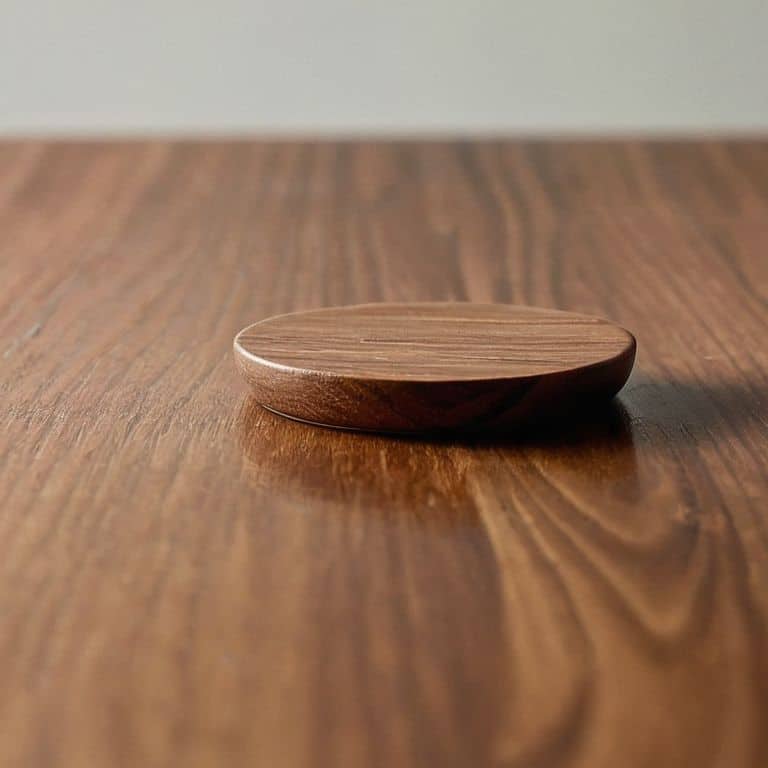
As I delve into the world of reviving wood treasures, I’m reminded of the countless flea market finds that have crossed my path. Each piece, with its unique story and character, has taught me the importance of wood furniture maintenance tips. A simple yet effective trick I’ve learned is to use natural wood scratch concealers, like walnut or cocoa, to camouflage minor scratches. These earthy solutions not only repair the damage but also add a touch of warmth to the wood.
When it comes to more pronounced scratches, I’ve found that furniture wax application methods can work wonders. By carefully applying a wax coating, you can protect the wood and fill in the scratches, leaving the surface smooth and lustrous. It’s amazing how a little TLC can revive a treasured piece of furniture. I recall finding an old, worn-out dresser at a market, and with some careful restoration, it became a stunning addition to my bedroom.
In my experience, understanding common wood scratch causes is key to preventing future damage. By being mindful of potential hazards, like pets or sharp objects, you can take proactive steps to safeguard your wood furniture. Meanwhile, exploring diy wood furniture touch up techniques can help you address any unexpected scratches that may occur. With a little patience and practice, you’ll be well on your way to becoming a wood furniture restoration expert, ready to breathe new life into your treasured pieces.
Natural Concealers for Timeless Charm
As I wandered through a quaint flea market in the French countryside, I stumbled upon an old, worn wooden chest with a beautiful patina. The seller, noticing my fascination, shared with me her secret to maintaining its timeless charm: using natural concealers like beeswax and coconut oil to gently fill in scratches. I was intrigued and decided to try it out on my own treasured wooden pieces. The result was nothing short of magical – the scratches seemed to disappear, leaving the wood with a warm, golden glow.
I’ve since experimented with other natural concealers like walnut oil and linseed oil, each imparting its own unique character to the wood. These eco-friendly alternatives not only repair scratches but also nourish the wood, bringing out its inherent beauty. By embracing these natural methods, you can revive your wood treasures and give them a story to tell, just like the old chest that started it all for me.
Wood Scratch Remover Secrets
As I delved deeper into reviving wood treasures, I discovered a few secrets to removing scratches that I just can’t wait to share with you. One of my favorite techniques involves using a combination of natural oils and waxes to gently fill in the scratches, leaving the wood surface smooth and supple. I recall finding an old wooden chest at a flea market, its surface etched with scratches and scuffs – but with a little TLC and the right products, it now sits proudly in my bedroom, its rich wood grain glowing warmly.
I’ve also experimented with DIY scratch removers, like mixing baking soda and olive oil to create a paste that’s gentle yet effective. It’s amazing how these simple, homemade solutions can breathe new life into worn and weathered wood pieces, restoring them to their former glory.
Scratch Savvy: 5 Tips to Revive Your Wood Furniture
- Embrace the Imperfections: Learn to Love the Patina
- Sand, Don’t Scour: The Gentle Art of Smoothing Out Scratches
- Stain to Match: Blending New with Old for a Seamless Finish
- Wax On, Wax Off: The Secret to a Scratch-Resistant Seal
- Hide and Seek: Mastering the Art of Concealing Deep Gouges with Natural Fillers
Treasured Tips to Take Away
I’ve learned that with a little patience and the right techniques, even the most worn-out wood furniture pieces can be revived to tell new stories, just like the vintage armchair I rescued from a flea market
By combining natural concealers like coconut oil and lemon juice with wood scratch remover secrets, you can breathe new life into your treasured wood pieces and give them a timeless charm that’s reminiscent of my coastal hometown
Whether you’re a fellow treasure hunter or just someone who loves giving old furniture a new lease on life, remembering that every scratch tells a story and that the journey of revival is just as important as the end result is key to truly appreciating the beauty of restored wood furniture
A Scratch in Time
Just as the lines on a well-loved postcard tell the story of a thousand journeys, the scratches on a piece of wood furniture whisper tales of laughter, tears, and countless moments in between – and it’s our job as treasure keepers to gently erase the imperfections, not the memories.
Vera Kump
Bringing New Life to Timeless Treasures
As I reflect on our journey to repair wood furniture scratches, I’m reminded of the importance of patience and the value of preserving the stories our belongings hold. From the initial steps of assessing the damage to the final touches of applying a wood scratch remover, each phase requires attention to detail and a willingness to experiment with natural concealers. By embracing the process and exploring the world of woodworking, you’ve not only restored your treasured pieces but have also become a part of their narrative, weaving your own story into the fabric of their history.
As you place your newly revived wood furniture back into your home, remember that the true beauty lies not just in the physical restoration, but in the emotional connection you’ve reestablished with these items. The scratches, now gone, once told a story of their own – of laughter, of tears, of countless memories made. And as you continue to collect and restore, always keep in mind that the real treasure lies in the stories we tell, and the love we infuse into every piece we bring back to life.
Frequently Asked Questions
What are the most common types of wood that are prone to scratches and how can I prevent them?
I’ve found that oak, pine, and cherry wood pieces are often prone to scratches. To prevent them, I always recommend using coasters, felt pads on the bottom of vases or decorative items, and applying a scratch-resistant finish to your treasured wood furniture – it’s a simple trick I learned from my flea market adventures!
Can I use natural concealers like coconut oil or beeswax to repair scratches on all types of wood finishes?
While coconut oil and beeswax can work wonders on some wood finishes, they might not be the best fit for all types. For instance, beeswax is perfect for nourishing and protecting oak or pine, but it can leave a residue on glossy finishes. Coconut oil, on the other hand, can enhance the grain of walnut or maple, but it might not provide enough protection for high-traffic pieces.
How do I determine the best wood scratch remover for a specific piece of furniture, considering its age, type of wood, and existing finish?
When it comes to choosing the perfect wood scratch remover, I consider the furniture’s age, wood type, and existing finish. For vintage pieces like my treasured flea market finds, I opt for gentle, non-toxic removers that won’t damage the original finish.