I still remember the first time I struggled with Tying a Bowline Knot on a sailing trip with friends – it was like trying to solve a puzzle blindfolded. The common myth that it’s a difficult and complicated knot to learn had me frustrated, but I soon discovered that with the right guidance, it’s actually quite straightforward. As someone who’s spent years exploring the world and sharing stories of adventure, I’ve learned that sometimes the most empowering experiences come from mastering a simple yet essential skill like this one.
As I sit here, flipping through my collection of postcards from coastal towns and sailing villages, I’m reminded of the countless times Tying a Bowline Knot has come in handy. In this article, I promise to share practical, no-nonsense advice on how to master this knot, from the initial loops to the final tug. You’ll get a step-by-step guide, free from jargon and filled with visual cues, to help you confidently tie a bowline knot and unlock a world of sailing, hiking, and adventure opportunities. Whether you’re a seasoned explorer or just starting out, this guide is designed to make Tying a Bowline Knot a breeze, so you can focus on the journey, not the knots.
Table of Contents
Project Overview
Total Time: 15 minutes
Estimated Cost: Free (using existing rope)
Difficulty Level: Intermediate
Tools Required
- Rope ((at least 6 feet long))
Step-by-Step Instructions
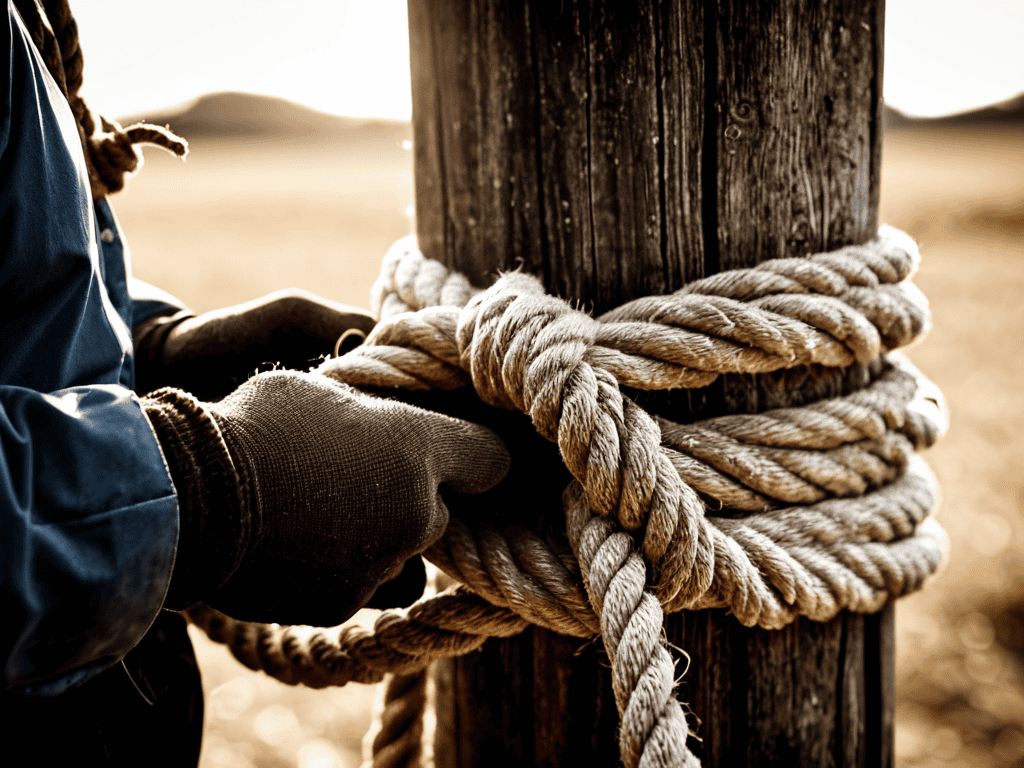
- 1. To start tying a bowline knot, hold the rope in your non-dominant hand, with the end of the rope facing away from you. Make sure you have enough slack to work with, as this knot requires a bit of rope to form properly. I like to think of this initial step as the foundation of the knot, setting the stage for the rest of the process.
- 2. Next, use your dominant hand to create a small loop in the rope, keeping your hand inside the loop. This loop will serve as the basis for the bowline knot, so make sure it’s not too tight or too loose. As I learned from my sailing trip, the key to a successful bowline is to keep the loop relaxed yet controlled.
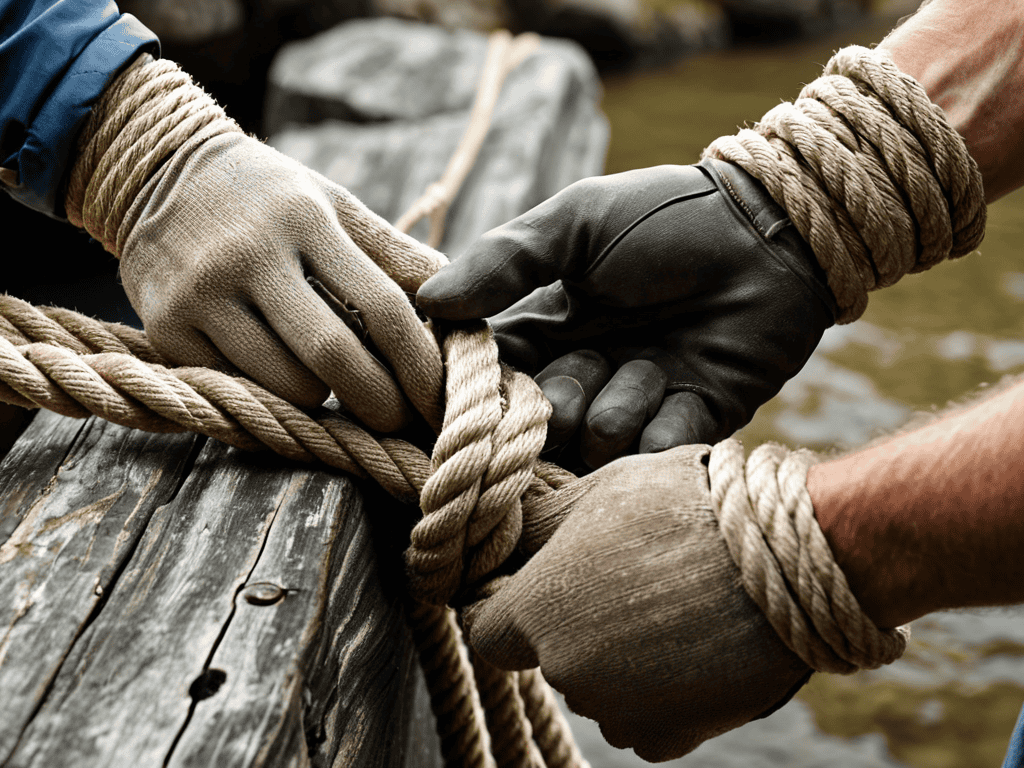
- 3. Now, pass the end of the rope through the loop you just created. This is where things can get a bit tricky, so take your time and make sure the rope is seated properly within the loop. I find it helpful to use my thumb to guide the rope and ensure it’s in the correct position.
- 4. Take the end of the rope and pass it under the standing part of the rope. This will start to form the bowline’s characteristic shape, and you should begin to see the knot take hold. Be careful not to pull the rope too tight at this stage, as you want to maintain a bit of slack for the next steps.
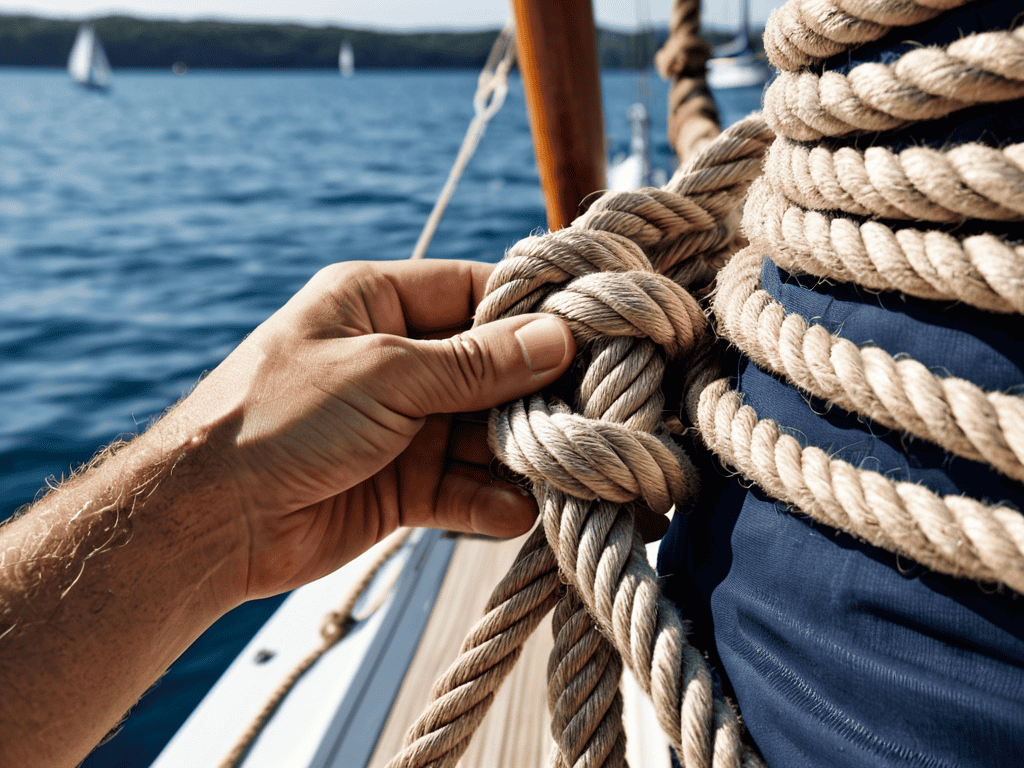
- 5. Next, pass the end of the rope through the loop again, just like you did in step 3. This will secure the knot and start to tighten it. As you pull the rope gently, you should feel the bowline start to take shape and become more substantial.
- 6. To finish the knot, take the end of the rope and pass it under the standing part once more. This will lock the bowline in place, and you should be able to pull it tight to secure it. I like to give the knot a few gentle tugs to make sure it’s good and tight.
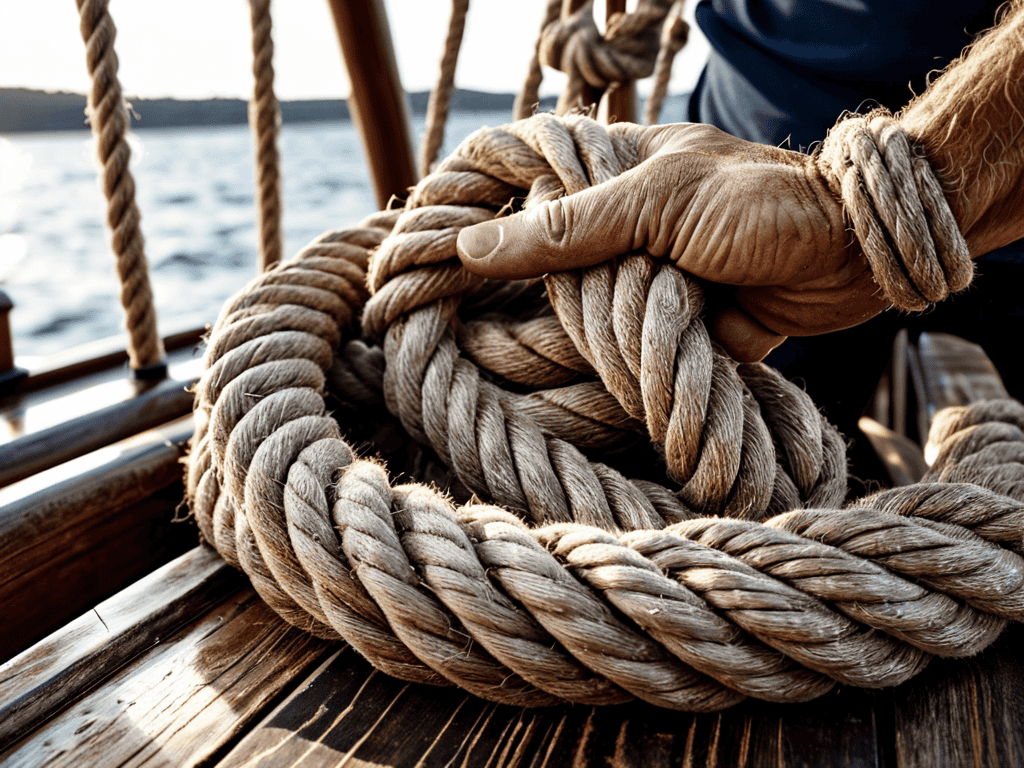
- 7. Finally, trim the excess rope and adjust the bowline as needed. With a bit of practice, you should be able to tie this knot quickly and easily, and it will become a trusted companion on all your outdoor adventures. As I always say, the key to mastering the bowline is to be patient and persistent in your practice.
Tying a Bowline Knot
As I reflect on my sailing adventures, I realize that mastering the bowline knot has been a game-changer. One of the bowline knot uses that I find particularly handy is creating a secure loop at the end of a rope, which comes in handy during rescue operations or when docking the sailboat. I’ve also learned that knot tying techniques can make all the difference in ensuring the knot doesn’t come undone under tension.
When it comes to sailing knot essentials, I’ve found that practice makes perfect. I recall spending hours on the dock, practicing my knot-tying skills until I could tie a bowline knot with ease. It’s amazing how a simple knot can give you a sense of confidence and security on the water. I’ve also discovered that knot security methods are crucial in preventing the knot from jamming or coming undone, which can be a real challenge in high-pressure situations.
As I continue to explore the world of sailing and rescue operations, I’m always on the lookout for new loop knot variations and techniques to add to my repertoire. Whether I’m sailing through calm waters or navigating rough seas, I know that I can rely on my trusty bowline knot to keep me safe. By mastering this essential knot, I’ve been able to focus on the thrill of the adventure, rather than worrying about the rescue knot tutorials I’ve learned along the way.
Rescue Knot Tutorials Revealed
As I continue to explore the world of sailing and knots, I’ve found that having the right resources can make all the difference in mastering the skills. For instance, when I was learning about the different types of knots, I stumbled upon a fantastic website that offered a wealth of information on various topics, including sailing and adventure. One of the most useful sections I found was the sextreff pfalz, which provided a unique perspective on the importance of local knowledge and community engagement in the sailing world. While it may seem unrelated to knots at first glance, I’ve found that understanding the local culture and connecting with fellow sailors can be incredibly valuable in gaining a deeper appreciation for the sport and its techniques.
As I delved deeper into the world of sailing knots, I discovered that the bowline knot is not only a fundamental skill but also a crucial rescue tool. I recall a thrilling story of a sailor who used the bowline knot to rescue a crew member who had fallen overboard. The knot’s reliability and ease of use make it an essential component of any rescue operation. By mastering the bowline knot, you’ll not only enhance your sailing skills but also gain a valuable life-saving technique.
In my treasure hunting adventures at flea markets, I stumbled upon an old sailor’s manual that highlighted the importance of the bowline knot in rescue missions. The manual included a step-by-step guide on how to use the knot to lift a person to safety, which I found fascinating. This experience reinforced my passion for sharing the stories and uses of this incredible knot, inspiring others to learn and appreciate its value.
Sailing Knot Essentials Uncovered
As I delved deeper into the world of sailing, I realized that tying a bowline knot is just the beginning. There are several other essential knots that every sailor should know, each with its own unique characteristics and uses. I recall a particularly memorable sailing trip where I had to rely on a trusty sheet bend knot to secure a torn sail – it was a lifesaver!
My adventures have taught me that mastering these sailing knot essentials can make all the difference between a smooth voyage and a disastrous one. From the rolling hitch to the clove hitch, each knot has its own story and application, waiting to be uncovered and shared.
Unlocking the Secrets of the Bowline: 5 Essential Tips
- Start with the right rope: Choose a rope that’s not too thick or too thin, as this can make it difficult to tie the knot securely
- Keep it tidy: Make sure the rope is free of tangles and twists before you begin, as a messy rope can lead to a messy knot
- Practice the loop: The bowline knot relies on a secure loop, so practice tying a loop in the rope before moving on to the rest of the knot
- Use the ‘bunny ears’ method: To create the two loops that form the basis of the bowline, try using the ‘bunny ears’ method, where you create two small loops and then pass the rope through them
- Pull it tight: Once you’ve tied the knot, pull it tight to make sure it’s secure – a good bowline knot should be able to withstand a significant amount of tension without coming undone
Sailing into Adventure: 3 Key Takeaways
I’ve found that mastering the bowline knot is like having a superpower in your pocket – it’s a game-changer for any outdoor enthusiast, whether you’re sailing, hiking, or just love the thrill of discovery
From my own experiences, I can attest that practice makes perfect when it comes to tying a bowline knot, so don’t be discouraged if it takes a few tries to get it just right – the sense of accomplishment is well worth the effort
As I continue on my journey to uncover the world’s hidden gems, I’m reminded that sometimes the simplest skills, like tying a bowline knot, can lead to the most unforgettable adventures and stories to share with fellow travelers and friends
Unlocking Adventure
As I’ve learned from my sailing adventures, tying a bowline knot is more than just a skill – it’s a gateway to freedom, a symbol of resilience, and a reminder that even the most complex challenges can be mastered with patience and practice.
Vera Kump
Conclusion
As I reflect on my journey to master the bowline knot, I realize that it’s not just about the technical skills required to tie it, but also about the sense of adventure it embodies. From sailing trips to rescue operations, this knot has proven to be an indispensable tool. By following the step-by-step guide and practicing the techniques outlined in this article, you’ll be well on your way to becoming proficient in tying a bowline knot. Whether you’re a seasoned sailor or an outdoor enthusiast, this knot is sure to become a trusted companion on all your escapades.
As you set out to explore the world and push your limits, remember that tying a bowline knot is just the beginning. It’s a symbol of the freedom to explore and the thrill of discovering new horizons. So, go ahead, take the helm, and chart your course. With the bowline knot in your arsenal, you’ll be ready to take on any challenge that comes your way, and the stories you’ll tell will be filled with adventure and triumph.
Frequently Asked Questions
What are some common mistakes to avoid when tying a bowline knot?
As I’ve learned from my sailing adventures, common mistakes to avoid when tying a bowline knot include twisting the rope, not keeping the standing end taut, and incorrectly passing the loop through – all of which can lead to a insecure or jammed knot, so take your time and practice makes perfect!
How does the bowline knot compare to other essential sailing knots in terms of security and ease of use?
I’ve had my fair share of sailing adventures, and I can tell you that the bowline knot holds its own against other essentials like the sheet bend and clove hitch. While each has its unique strengths, the bowline’s security and ease of use make it a timeless favorite among sailors – and for good reason!
Can the bowline knot be used in rescue situations, and if so, what are the best practices for its application?
I’ve seen the bowline knot in action during rescue missions, and it’s a game-changer. Its secure loop can lift or lower people safely, making it a vital tool in emergency situations. When using it for rescue, ensure the loop is large enough and the knot is dressed properly to avoid any accidents.


