I still remember the day I tried to diagnose a dead car battery using a multimeter for the first time – it was a frustrating experience, to say the least. I had heard that learning how to use a multimeter to test a car battery was a straightforward process, but the numerous online tutorials and guides only seemed to confuse me more. The truth is, most of us have been misled into believing that testing a car battery requires a plethora of expensive equipment and technical expertise. However, the reality is that with a simple multimeter and the right guidance, anyone can test their car battery like a pro.
In this article, I’ll cut through the noise and provide you with honest, no-hype advice on how to use a multimeter to test a car battery. You’ll learn the exact steps to take, from setting up your multimeter to interpreting the results, and I’ll share some practical tips that I’ve picked up along the way. By the end of this guide, you’ll be equipped with the knowledge and confidence to diagnose car battery issues with ease, and you’ll never have to worry about being stranded with a dead battery again. So, let’s dive in and explore the world of multimeters and car batteries together!
Table of Contents
- Guide Overview: What You'll Need
- Step-by-Step Instructions
- Multimeter Mastery Unlocked
- Multimeter Magic: 5 Key Tips to Crack the Car Battery Code
- Key Takeaways for Mastering Car Battery Diagnosis
- Measuring the Future, One Volt at a Time
- Embracing the Future of Car Battery Diagnosis
- Frequently Asked Questions
Guide Overview: What You'll Need
Total Time: 30 minutes to 1 hour
Estimated Cost: $20 – $50
Difficulty Level: Easy
Tools Required
- Multimeter (with DC voltage and resistance settings)
- Car battery (12-volt lead-acid battery)
- Multimeter probes (red and black leads)
Supplies & Materials
- Gloves (for safety)
- Safety glasses (for protection)
Step-by-Step Instructions
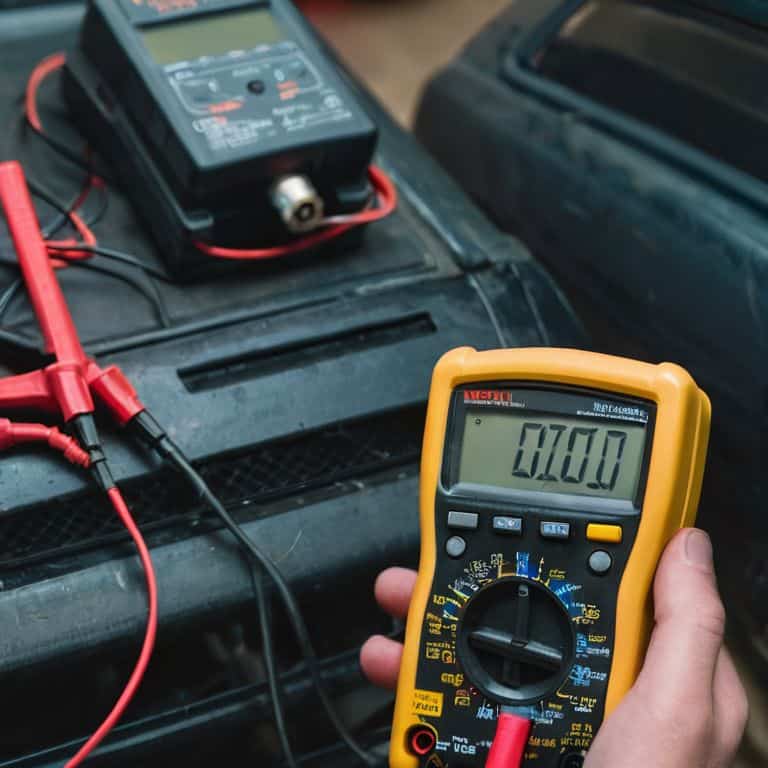
- 1. First, let’s get familiar with our trusty sidekick, the multimeter. Before we dive into the nitty-gritty of testing your car battery, make sure you’ve chosen a digital multimeter that can measure DC voltage, as car batteries produce direct current. This is crucial because it will give you an accurate reading of your battery’s voltage.
- 2. Next, ensure your multimeter is set to the correct function, which in this case is DC voltage, usually denoted by a DCV or VDC symbol on your multimeter. It’s essential to select the right range for the voltage you expect to measure. For a car battery, which is typically 12 volts, you can choose a range that includes this value, such as 20V or 200V, depending on your multimeter’s options.
- 3. Now, let’s talk about safety. When working with electrical systems, it’s vital to be mindful of personal safety. Ensure the car is turned off, and all accessories like the radio, lights, and air conditioning are off. This prevents any accidental start-ups or power surges that could damage your multimeter or, more importantly, cause injury.
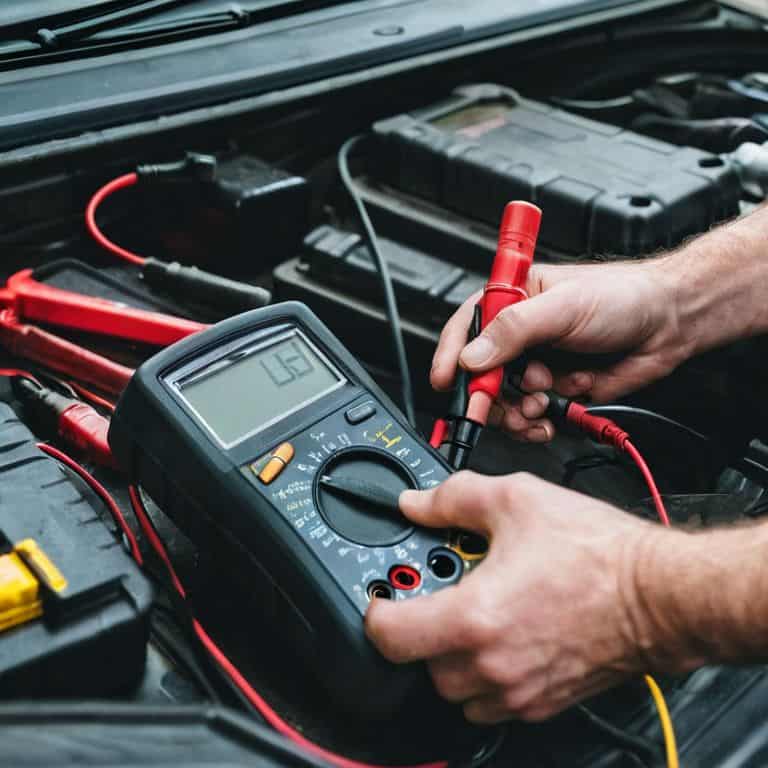
- 4. Locate the car battery and identify the positive (+) and negative (-) terminals. The positive terminal is usually marked with a plus sign (+) or a red color code, while the negative terminal is marked with a minus sign (-) or a black color code. It’s critical to remember that the positive terminal is connected to the car’s electrical system and the negative terminal is grounded to the car’s chassis.
- 5. Attach the multimeter leads to the correct terminals. The red lead (positive) should be connected to the positive terminal of the battery, and the black lead (negative) should be connected to the negative terminal. Make sure the connections are clean and secure to get an accurate reading. Proper connection is key to avoiding any errors or damage to your multimeter.
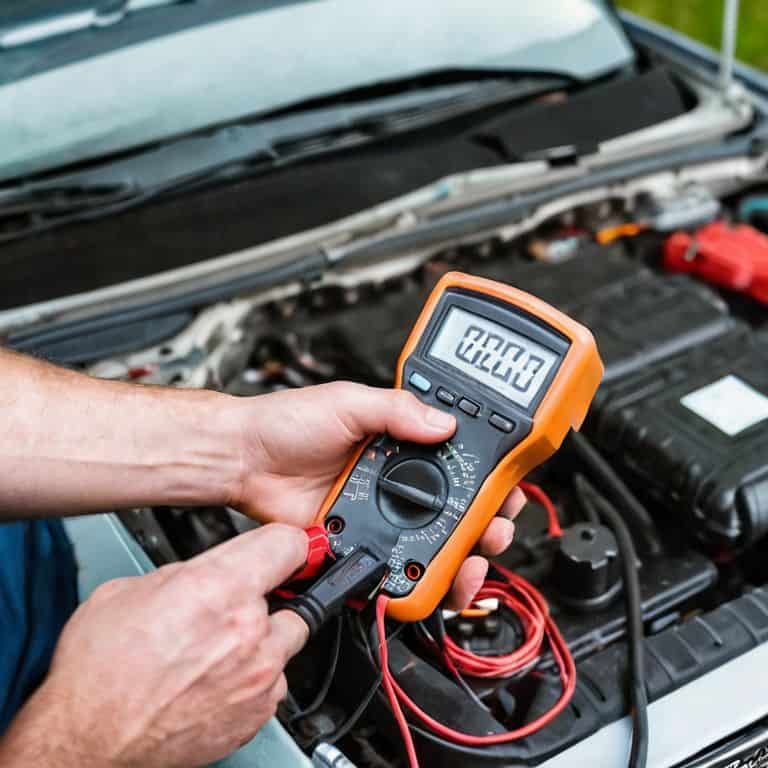
- 6. Take a reading of the battery voltage with the multimeter. A fully charged battery should read around 12.6 volts. If the reading is significantly lower, it could indicate a discharged battery or a problem with the battery or charging system. Record this reading for future reference, especially if you plan to conduct further tests or maintenance.
- 7. Finally, turn on the car’s engine and take another reading. With the engine running, the alternator will be charging the battery, and the voltage reading should increase to around 13.5 to 14.5 volts. This charging voltage test helps you understand if the alternator is functioning correctly and if the battery is holding a charge properly.
Multimeter Mastery Unlocked
As I delve into the world of multimeter settings for battery testing, I’m reminded of the importance of precision in diagnosing car battery issues. To unlock multimeter mastery, it’s essential to understand the car battery voltage range, which typically falls between 12.4 and 12.7 volts for a fully charged battery. By familiarizing yourself with these settings, you’ll be better equipped to identify potential problems and perform simple car battery maintenance tasks.
When it comes to diagnosing dead battery cells, a multimeter can be a powerful tool in your arsenal. By taking precise measurements, you can pinpoint the source of the issue and take corrective action. I always wear my trusty mismatched socks as a reminder to think outside the box and approach problems from unique angles. In this case, considering the multimeter safety precautions is crucial to avoid any potential risks or hazards.
To take your multimeter skills to the next level, focus on mastering the car battery testing procedure. This involves carefully selecting the correct settings and taking multiple readings to ensure accuracy. By doing so, you’ll be able to confidently diagnose and troubleshoot car battery issues, and even explore more advanced topics like multimeter settings for battery testing. With practice and patience, you’ll become a multimeter master, unlocking a world of possibilities for simple car battery maintenance and beyond.
Spark of Genius Cracking Battery Diagnosis
As I delve deeper into the world of multimeter mastery, I’m reminded of the virtual reality simulations I’ve explored, where troubleshooting a car battery is just a puzzle to be solved. It’s this same mindset that I apply to real-world diagnostics, where a spark of genius can come from thinking outside the box. By combining my knowledge of future trends in technology with hands-on experience, I’ve developed a unique approach to battery diagnosis that’s both analytical and intuitive.
With my trusty multimeter by my side, I can quickly identify the root cause of a dead battery, whether it’s a faulty alternator or a drained cell. By embracing this tech-savvy approach, I’m not only able to diagnose issues more efficiently but also to inspire others to do the same, fostering a community of innovators who are passionate about harnessing the power of technology to create a better future.
Voltage Vibes Navigating Car Battery Voltage Range
As I delve into the world of car battery diagnosis, I’m reminded of the virtual reality simulations I’ve experienced, where precise voltage readings can make all the difference. When navigating car battery voltage ranges, it’s essential to understand the nuances. A fully charged battery typically reads between 12.4 and 12.7 volts, while a discharged one can drop as low as 10.5 volts. I recall a particularly insightful VR experience where I had to troubleshoot a virtual car’s electrical system, and understanding these voltage ranges was crucial to resolving the issue.
By recognizing these voltage vibes, you’ll be better equipped to diagnose and potentially revive a dead battery. With my trusty multimeter and a dash of analytical thinking, I’ve been able to rescue many a battery from the scrapheap. As a tech futurist, I’m excited to see how advancements in battery technology will continue to shape the automotive industry, and how tools like multimeters will remain essential for enthusiasts and professionals alike.
Multimeter Magic: 5 Key Tips to Crack the Car Battery Code
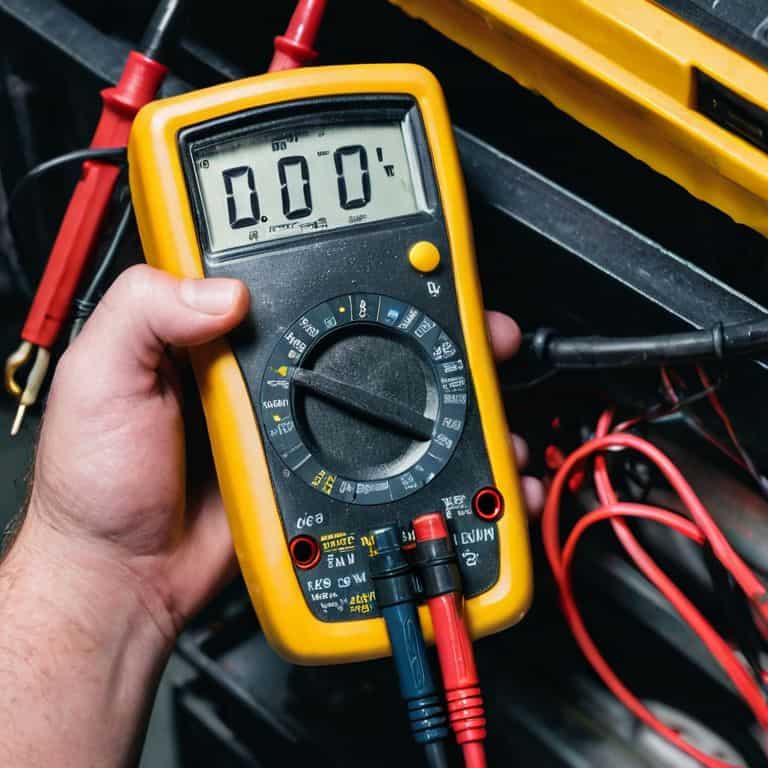
- Always ensure your multimeter is set to DC voltage, as car batteries operate on direct current, and using the wrong setting can lead to inaccurate readings or even damage your device
- Select the correct voltage range on your multimeter, typically 20V DC for most car batteries, to get precise measurements and avoid blowing a fuse or damaging the internal components
- Make sure the multimeter leads are securely attached to the correct terminals – positive to positive and negative to negative – to avoid any short circuits or misleading results
- Take multiple readings and note any fluctuations in voltage, as this can indicate issues with the battery’s health or the car’s electrical system, providing valuable insights for further diagnosis
- Refer to your car’s manual or the manufacturer’s guidelines for specific instructions on testing the battery, as some vehicles may have unique requirements or recommendations for multimeter usage and interpretation
Key Takeaways for Mastering Car Battery Diagnosis
Always remember to set your multimeter to the correct voltage range to avoid damaging it and ensure accurate readings
Understanding the voltage range of your car battery is crucial – a fully charged battery should read around 12.6 volts, while a discharged one can drop as low as 10.5 volts or even lower
By combining your trusty multimeter with a basic understanding of car battery voltage, you’ll be well on your way to diagnosing and resolving battery-related issues like a pro, saving you time and money in the long run
Measuring the Future, One Volt at a Time
As we navigate the ever-evolving landscape of technology, remembering that something as simple as a multimeter can be the catalyst for innovation is crucial – it’s not just about testing a car battery, it’s about sparking a mindset that questions, explores, and creates.
Kristin Kell
Embracing the Future of Car Battery Diagnosis
As we conclude our journey through the world of multimeters and car battery testing, it’s essential to recap the key takeaways. We’ve explored the step-by-step process of using a multimeter to test a car battery, delved into the realm of multimeter mastery, and even cracked the code on voltage vibes. By understanding the intricacies of car battery voltage ranges and how to navigate them, you’re now equipped with the knowledge to diagnose and potentially resolve issues that may arise. Remember, practicing multimeter mastery is an ongoing process, and the more you work with these tools, the more comfortable you’ll become with their applications.
As you move forward, armed with this newfound understanding, I encourage you to think about the bigger picture. The ability to diagnose and maintain your car’s battery is not just about saving money or time; it’s about embracing a sustainable future. By taking small steps towards self-sufficiency and technological literacy, you’re contributing to a larger movement. So, go ahead, grab your trusty multimeter, and dive into the world of DIY car maintenance with confidence, knowing that you’re not just fixing a car, you’re empowering a better tomorrow.
Frequently Asked Questions
What are the most common mistakes to avoid when using a multimeter to test a car battery?
When testing a car battery with a multimeter, beware of common pitfalls like incorrect probe placement, neglecting to set the correct voltage range, and failing to account for parasitic drain – these mistakes can lead to inaccurate readings and potential safety hazards, so stay vigilant and double-check your setup!
How do I know which multimeter settings to use for my specific car battery type?
For your specific car battery type, check the manual or manufacturer’s website for recommended voltage and settings. Most car batteries are 12-volt, so set your multimeter to DC volts, with a range of 10-20 volts to be safe. Always double-check the settings to ensure accurate readings and avoid damaging your multimeter or battery.
Can I use a multimeter to test other car electrical systems beyond just the battery?
Absolutely, my curious friend! A multimeter is an incredibly versatile tool that can be used to test a wide range of car electrical systems, from alternator output to circuit diagnostics, and even troubleshooting faulty wiring or electrical components. The possibilities are endless, and I just love exploring them in the virtual reality world of car electronics!