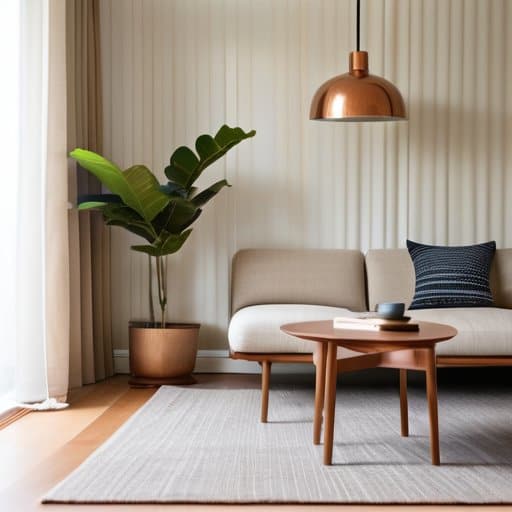
As I sit in my Emily Dickinson room, surrounded by vintage teapots and the soft glow of afternoon sunlight, I often think about the common myths that surround how to paint trim and molding. One of the most frustrating ones is that it’s a tedious, impersonal task that requires more precision than passion. But I’m here to tell you that’s just not true – with the right approach, painting trim and molding can be a whimsical journey that brings your home to life. I’ve learned this firsthand, having grown up in a charming old Victorian house where my grandmother’s vibrant fabrics and my father’s lovingly restored antiques taught me that every detail, no matter how small, tells a story.
In this article, I promise to share my honest, no-nonsense advice on how to paint trim and molding with you, so you can turn your home into a cozy, uplifting realm that reflects your personality. We’ll dive into the practical tips and tricks I’ve gathered over the years, from choosing the perfect paint to mastering the art of brushstrokes. By the end of this journey, you’ll be equipped with the knowledge to transform your trim and molding into beautiful, storytelling elements that make your home feel truly special. So, let’s get started and uncover the magic that lies in the details, shall we?
Table of Contents
Guide Overview: What You'll Need
Total Time: 4 hours 30 minutes
Estimated Cost: $50 – $100
Difficulty Level: Intermediate
Tools Required
- Paintbrush (various sizes)
- Roller Extension Pole (for high areas)
- Paint Tray
- Sandpaper (for light sanding)
- Masking Tape (for clean edges)
- Ladder (sturdy, 6 feet tall)
- Drop Cloths (for protection)
- Putty Knife (for filling gaps)
- Cleaning Rags
Supplies & Materials
- Paint (trim color, latex-based)
- Primer (optional, for uneven surfaces)
- Caulk (for filling large gaps)
- Wood Filler (for filling nail holes)
- Spackle (for filling small holes)
- Masking Film (for protecting windows and doors)
Step-by-Step Instructions
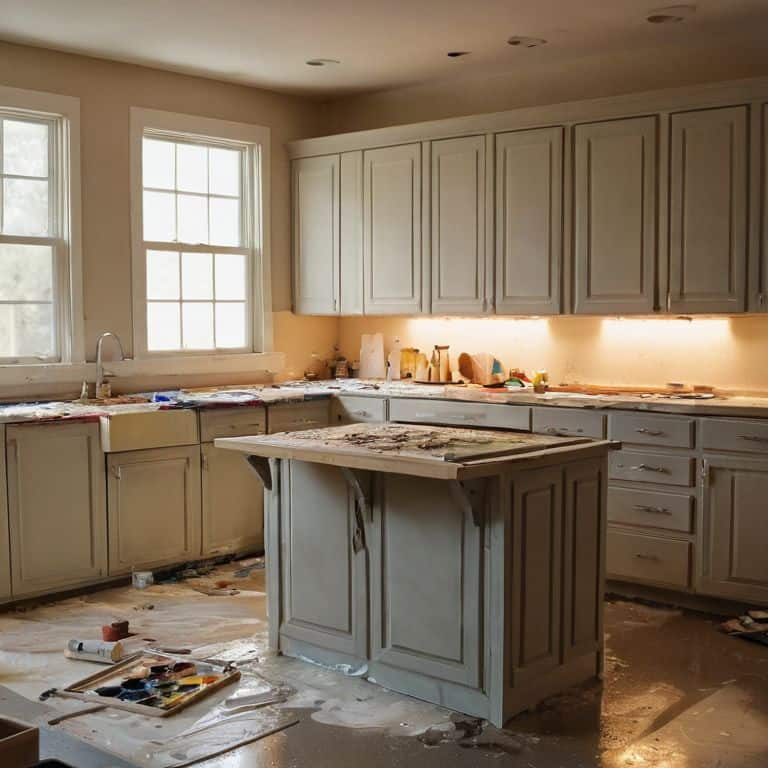
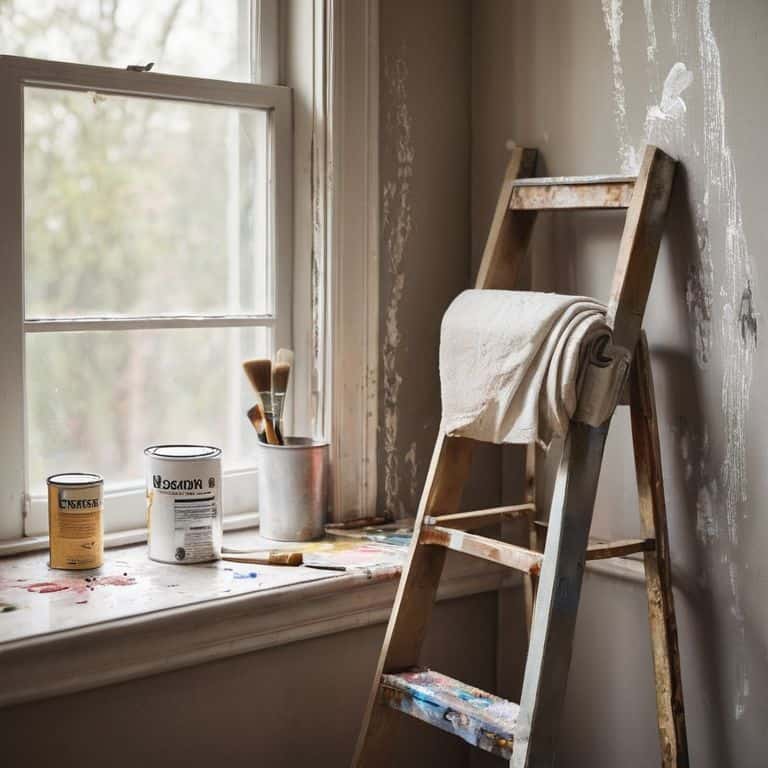
- 1. First, let’s start by preparing the space around our trim and molding. This means moving any furniture away from the walls, covering the floors and any remaining furniture with drop cloths, and removing any outlet covers or switch plates. I like to think of this step as setting the stage for our storytelling – we want a clean canvas to work with, just like my grandmother used to clear her sewing table before starting a new project.
- 2. Next, we need to clean the trim and molding themselves. Dust, dirt, and grime can accumulate and interfere with paint adhesion, so it’s essential to wipe them down with a damp cloth. I find that using a mixture of warm water and a gentle soap works wonders, and it’s also a great opportunity to inspect the trim and molding for any damage or areas that might need extra attention. As I always say, a good cleaning is like turning the page to a new chapter in our home’s story.
- 3. Now, it’s time to tape off the surrounding areas. Using painter’s tape, carefully mask off the walls, floors, and any adjacent surfaces you don’t want to paint. I like to use a level to ensure the tape is straight, and I also make sure to press it firmly onto the surface to create a good seal. This step is all about creating boundaries, just like the edges of a page define the story within.
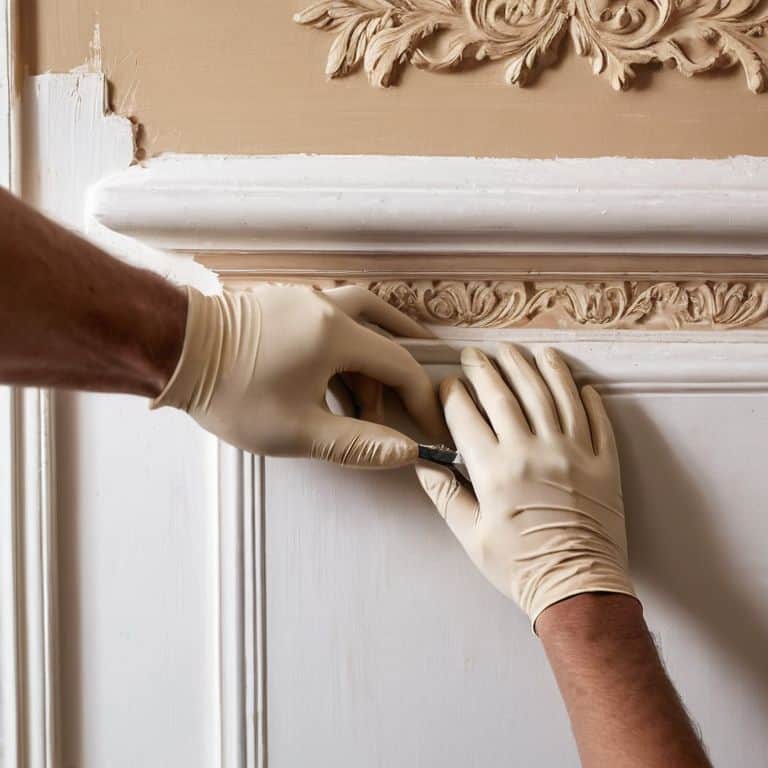
- 4. With our space prepared and taped off, we can move on to sanding the trim and molding. This step is crucial for creating a smooth surface for painting. I use a fine-grit sandpaper to gently sand the trim and molding, working in small sections to ensure I don’t miss any spots. As I sand, I like to think about the textures and layers that will eventually come together to tell our home’s story.
- 5. After sanding, we need to wipe away any dust or debris. Using a tack cloth or a damp cloth, gently wipe down the trim and molding to remove any remaining dust or particles. This step is all about attention to detail, just like my father used to carefully inspect his antique furniture restorations to ensure every detail was just right.
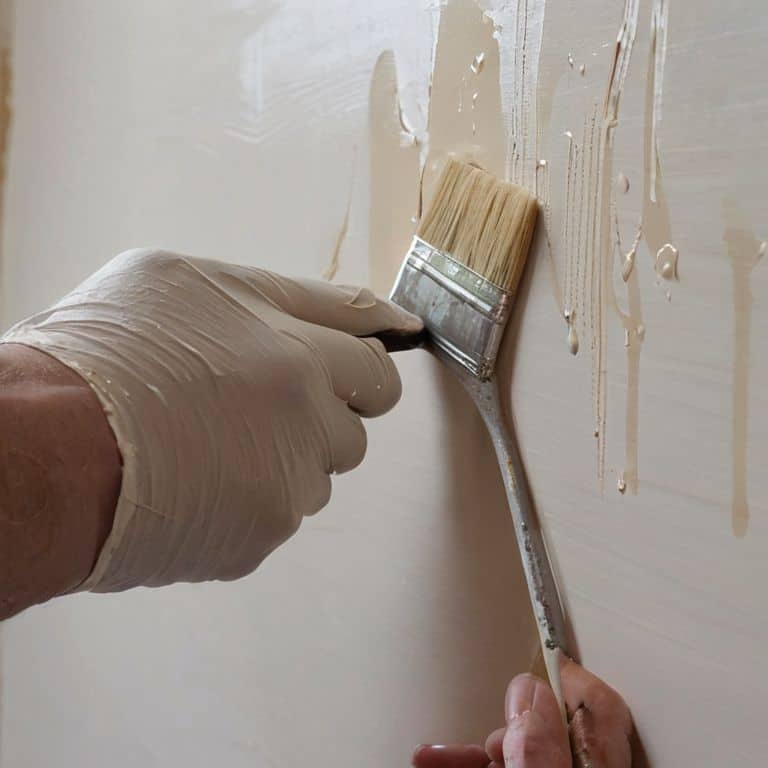
- 6. Now, it’s time to prime the trim and molding, if necessary. If you’re using a dark color or covering a light color, or if the trim and molding have a glossy finish, you may need to apply a primer first. I like to use a high-quality primer that’s specifically designed for trim and molding, and I make sure to follow the manufacturer’s instructions for application and drying times. This step is all about laying the foundation for our paint to adhere evenly and look its best.
- 7. Finally, we can start painting the trim and molding! Using a high-quality paint and a soft-bristled brush, begin applying the paint in smooth, even strokes. I like to work in small sections, using a level to ensure my brushstrokes are straight and even. As I paint, I feel like I’m weaving a tale of my own, one brushstroke at a time, and I love watching the colors and textures come together to tell our home’s unique story.
Whimsy on the Edges
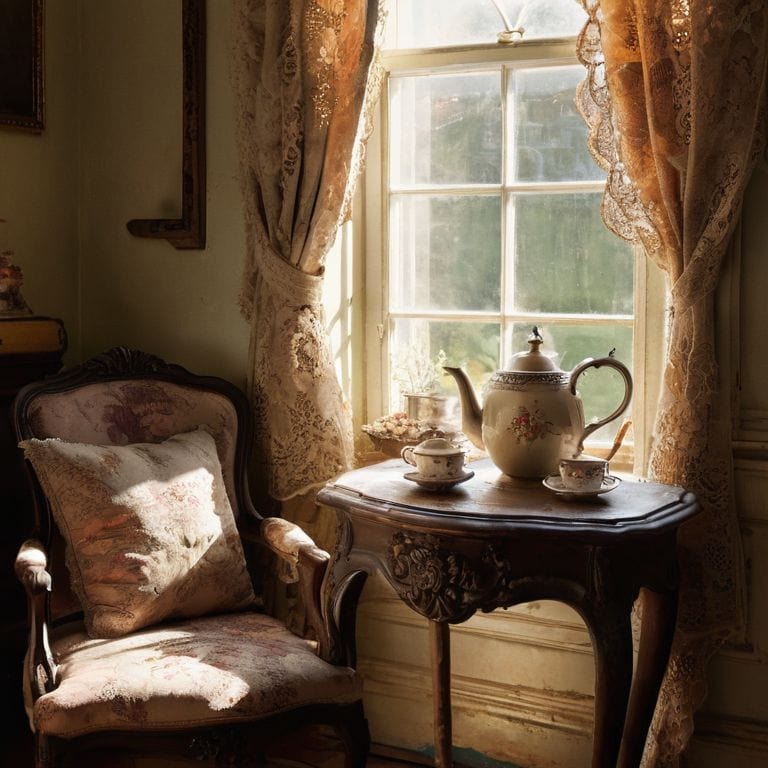
As I sit in my “Heathcliff” room, surrounded by vintage teapots and the soft glow of afternoon light, I find myself pondering the art of adding whimsy to our trim and molding. It’s all about preparing trim for painting with a gentle touch, much like my grandmother used to prepare her fabrics for sewing. A soft-bristled brush and a rich, velvety paint can make all the difference in bringing out the unique character of each piece.
When it comes to tips for painting intricate trim, I always say that patience is key. Take your time to carefully navigate the nooks and crannies, and don’t be afraid to get creative with molding paint finish options. A distressed finish, for instance, can add a charming touch to an otherwise ordinary piece of trim. And, of course, choosing the best paint for molding is essential to achieving a professional-looking result.
As I glance around my “Elizabeth Bennet” parlor, I’m reminded of the importance of attention to detail when it comes to trim painting. Avoiding common trim painting mistakes, such as uneven coats or sloppy edges, can make all the difference in creating a polished look. By following a few simple trim painting techniques for beginners, you can transform your space into a beautiful, one-of-a-kind haven that tells a story of its own.
Preparing Trim for Enchanted Touches
As I prepare my trim for its enchanted touches, I find myself lost in the world of possibilities. The gentle scraping of old paint, the soft sanding to reveal the wood’s warm soul, it’s a ritual that connects me to the stories my grandmother used to tell. In my “Heathcliff’s Hideaway” room, named after the brooding hero from Wuthering Heights, the trim is a deep, mysterious wood, perfect for the atmospheric tales it holds. I make sure to clean the trim thoroughly, removing any dust or debris, before applying a primer if necessary, setting the stage for the whimsical dance of colors and textures that will follow.
Unveiling Best Paints for Molding Magic
As I delve into the world of paints for molding, I find myself enchanted by the array of hues and finishes that can elevate our trim from mere decoration to storytelling elements. For my “Heathcliff’s Haven” room, I adore using a rich, dark blue, reminiscent of a stormy night sky, which perfectly complements the vintage teapots on display. When choosing paint, consider the mood you want to evoke – soft pastels for a “Alice’s Wonderland” or bold, emerald greens for a “Sherlock’s Study”.
I’ve fallen in love with velvety paints that add a tactile quality, inviting touch and exploration. These subtle details weave a narrative that draws you in, making each room a character in its own right. Whether it’s a distressed finish or a metallic sheen, the right paint can transport you to a world of wonder, much like the pages of a beloved novel.
Weaving Wonder: 5 Enchanted Tips for Painting Trim and Molding
- Let soft, golden light dance across your walls by choosing paint colors that whisper secrets of the past, like muted ivories or soft blues, reminiscent of a vintage teacup
- Prepare your trim for its fairy tale makeover by gently sanding away the old to reveal the beauty beneath, much like uncovering a hidden library in a literary character’s study
- Unleash the magic within your molding with a delicate, lace-like pattern, painted with precision and love, evoking the intricate stitching of my grandmother’s antique sewing machine
- As you bring your trim and molding to life with color, remember that the journey is just as important as the destination – take your time, and let every brushstroke tell a story of its own, like the characters that inspire the names of each room in my home
- Finally, step back and let the enchantment of your newly painted trim and molding envelop you, just as the musty scent of old books and the warmth of a crackling fireplace transport me to a world of wonder and cozy delight
Weaving Lasting Impressions: 3 Key Takeaways
As we conclude our whimsical journey of painting trim and molding, remember that the right brush can make all the difference – a soft-bristled friend can turn an ordinary edge into a narrative of elegance and charm.
Selecting the perfect paint is akin to choosing the right protagonist for your home’s story – rich, velvety finishes can evoke a sense of nostalgia and wonder, setting the tone for a space that feels like a warm, literary hug.
Ultimately, the magic lies not just in the materials, but in the stories we weave along the edges – whether it’s a vintage teapot-inspired color palette or a molding design that echoes the curves of a beloved literary classic, every detail is an invitation to step into the enchanting world of your own making.
A Brush with Whimsy
As we dance with brushes and hues, remember that painting trim and molding is not just a task, but a whispered promise to the stories our homes will tell.
Margaret Silva
Weaving a Tapestry of Whimsy and Wonder
As we conclude our journey through the realm of painting trim and molding, let’s take a moment to reflect on the key elements that bring this process to life. From preparing the trim for its enchanted touches, to unveiling the best paints for molding magic, each step is a brushstroke in the larger tapestry of our home’s story. It’s about more than just applying paint; it’s about infusing every corner with a sense of personality and warmth, making our spaces feel truly alive with the whispers of memories and imagination.
So, as you embark on your own adventure of painting trim and molding, remember that the true magic lies not in the tools or the techniques, but in the stories you tell through the spaces you create. May your home become a living, breathing narrative that wraps you in comfort and inspiration, and may every detail, from the trim to the molding, be a testament to the beauty of whimsy and the power of turning the ordinary into the extraordinary.
Frequently Asked Questions
What type of paint finish is best for trim and molding to achieve a vintage, whimsical look?
For a vintage, whimsical look, I adore a soft, eggshell finish or a warm, satin sheen on trim and molding. These finishes whisper stories of the past, don’t you think? They add a touch of nostalgia and character, perfect for my “Heathcliff’s Haven” reading nook or “Alice’s Adventures” hallway.
How do I ensure a seamless transition between the paint on the trim and the surrounding walls?
To ensure a seamless transition, I like to feather the paint edges on the trim, blending them softly into the surrounding walls. It’s a bit like whispering a secret – gentle and subtle. This technique creates a beautiful, cohesive look that feels like a warm hug, drawing the eye effortlessly from one story-filled corner to the next.
Are there any special techniques for painting intricate or ornate molding to bring out its unique details?
For intricate molding, I adore using a small, angled brush to carefully dance paint into each nook, highlighting the delicate patterns and curves. It’s a bit like threading a needle, but with a soft touch, you can coax out the unique details, making each swirl and flourish shine like a treasure in a vintage teapot.