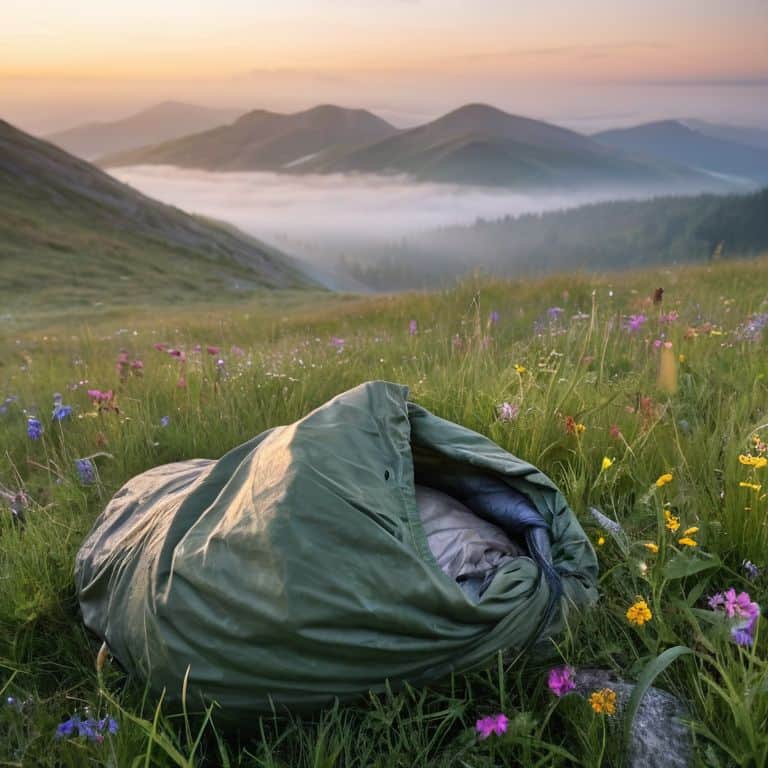
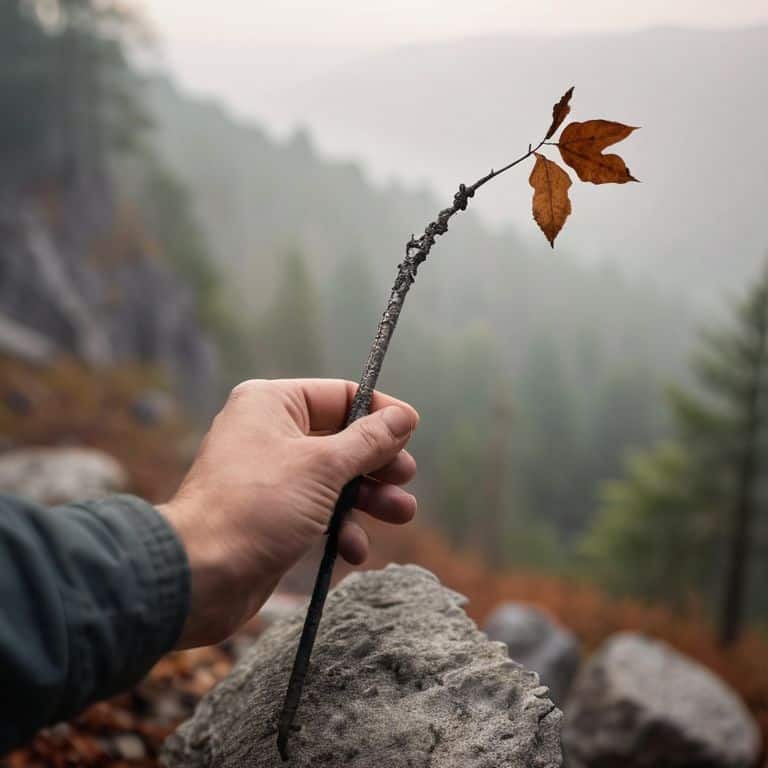
I still remember the first time I tried to start a fire with a ferro rod on a camping trip in the mountains – it was a humbling experience, to say the least. The common myth that it’s a simple, effortless process had me fooled, but after struggling for what felt like hours, I realized that there’s more to it than just scraping metal against stone. The truth is, mastering the art of how to start a fire with a ferro rod requires a bit of patience, practice, and the right technique.
As I sit here, sipping tea from my favorite Moroccan teapot, I’m reminded of the countless nights I’ve spent around campfires, listening to stories and sharing laughter with fellow travelers. In this article, I promise to share my honest, no-nonsense advice on how to start a fire with a ferro rod, gleaned from years of trial and error. You’ll learn the essential steps, from choosing the right materials to creating a durable spark, and I’ll guide you through the process with the same warmth and clarity that I bring to my urban sketches and storytelling. So, grab a cup of your favorite brew, get comfortable, and let’s dive into the world of fire-starting, where magic meets practicality.
Table of Contents
- Guide Overview: What You'll Need
- Step-by-Step Instructions
- Igniting Tales With Ferro Rods
- Ember of Safety Mastering Fire Starting in Wet Conditions
- Spark of the Ancients Ferro Rod Techniques for Beginners
- Ferro Rod Finesse: 5 Tips to Kindle Your Wilderness Wisdom
- Igniting Wisdom: 3 Key Takeaways
- Spark of Wisdom
- Embers of Adventure: A Conclusion
- Frequently Asked Questions
Guide Overview: What You'll Need
Total Time: 30 minutes to 1 hour
Estimated Cost: $10 – $20
Difficulty Level: Easy
Tools Required
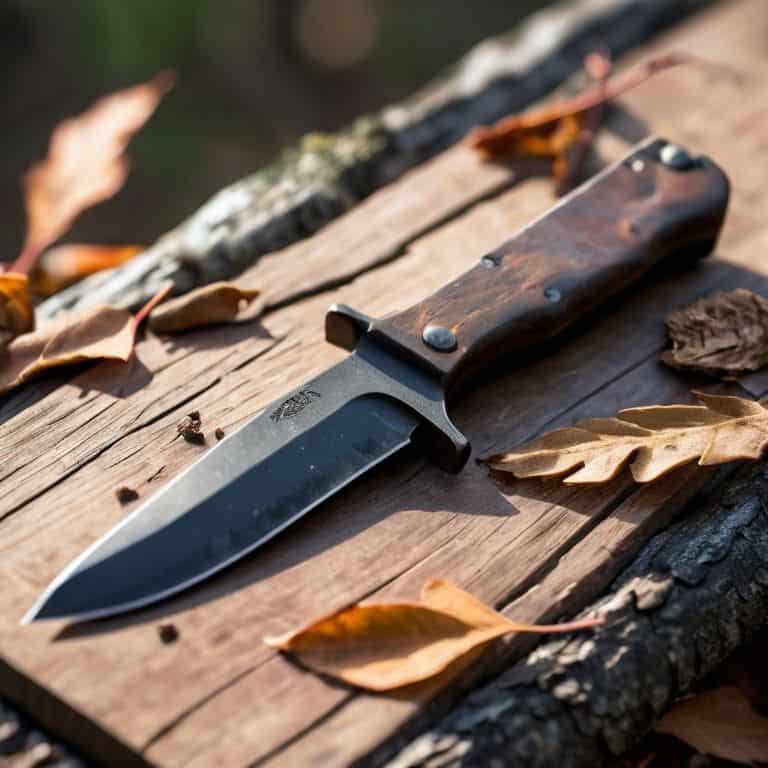
- Ferrocerium Rod (also known as a ferro rod)
- Knife (or other metal striker)
- Tinder (e.g., dry leaves, grass, or small twigs)
Supplies & Materials
- Kindling (small sticks, about 1/4 inch in diameter)
- Fire Starter Material (e.g., dryer lint, fluffy material)
- Firewood (larger logs, about 1-2 inches in diameter)
Step-by-Step Instructions
- 1. First, let’s start with the basics: to spark a flame, you’ll need a few essential items, including a ferro rod, a piece of steel, and some tinder. I like to think of this process as a ritual of preparation, where every step is a deliberate move towards creating warmth and light in the wilderness.
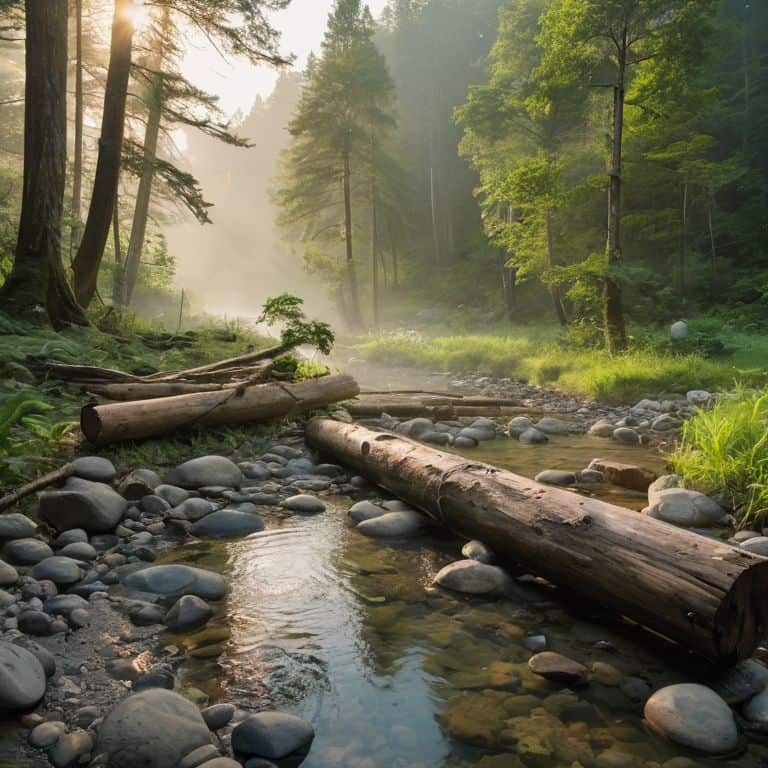
- 2. Next, find a safe and dry spot to start your fire, away from any flammable materials or overhanging branches. This is crucial, as you want to minimize risks and ensure that your fire doesn’t get out of control. I’ve learned this the hard way, on a windy night in the mountains, where a stray spark could have spelled disaster.
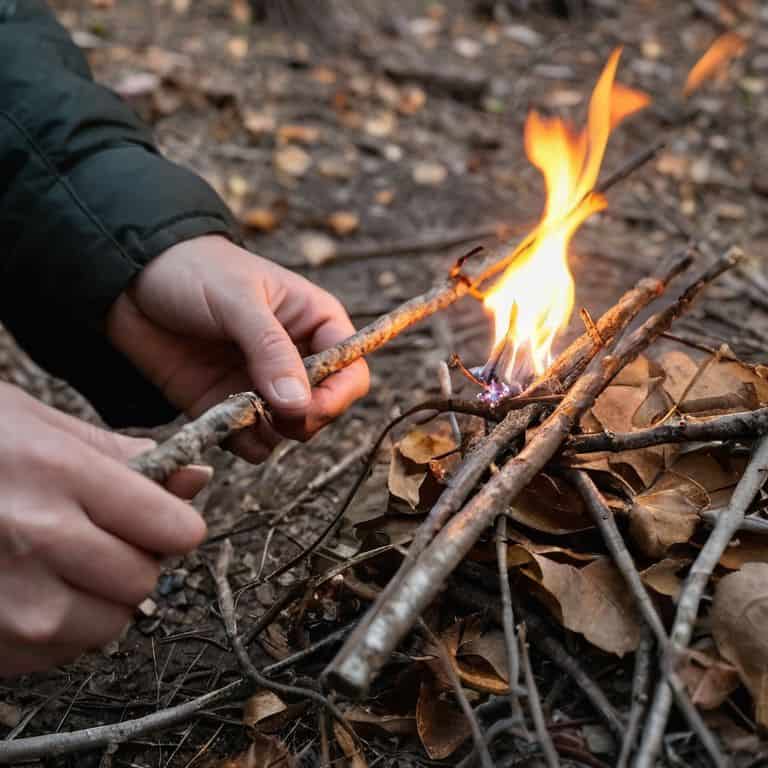
- 3. Now, prepare your tinder by shredding it into fine, fluffy pieces. You can use dry leaves, grass, or small twigs for this purpose. The key is to create a nest of tinder that will catch the spark easily and ignite quickly. I like to think of this step as the foundation of my fire, where every piece is carefully placed to create a strong base.
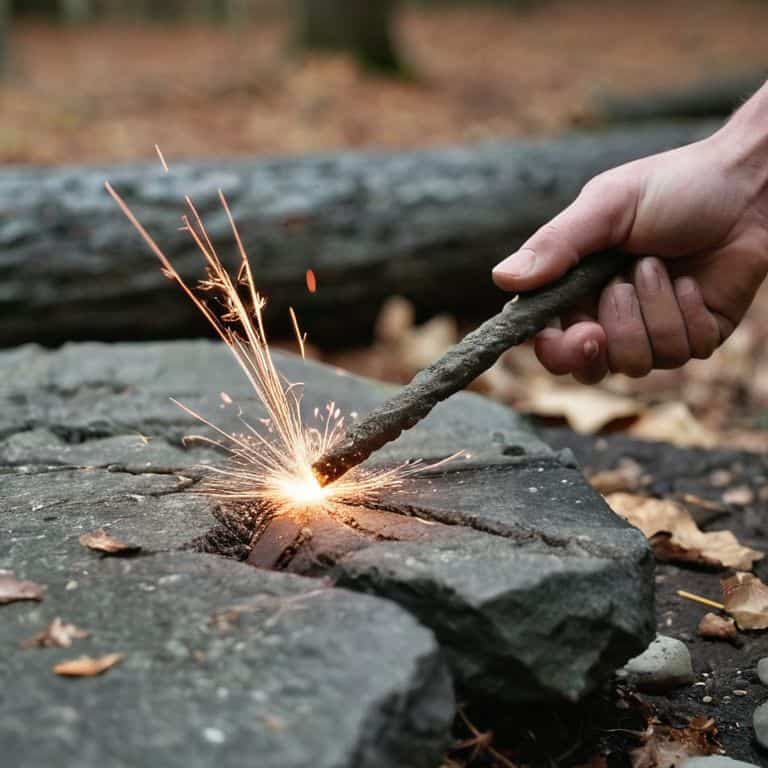
- 4. Hold the ferro rod in one hand, with the metal striker in the other. Strike the rod with a firm, smooth motion, aiming for the edge of the ferro rod. This will create a shower of sparks that will fall onto your tinder. Remember to keep your hands steady and your movements deliberate, as you want to generate a good spark.
- 5. As the sparks fall onto your tinder, gently blow on them to help them ignite. This is a delicate dance, where you need to balance the airflow with the spark to create a small flame. I’ve found that a gentle, soft breath is often more effective than a strong blast of air, which can extinguish the spark.
- 6. Once your tinder is burning, you can add small twigs and kindling to the fire, gradually increasing the size of the material as the flames grow. This is the crucial phase, where you need to nurture the fire and help it grow into a warm, roaring blaze. I like to think of this step as the moment of magic, where the fire transforms from a small spark into a powerful force that can warm and nourish you.
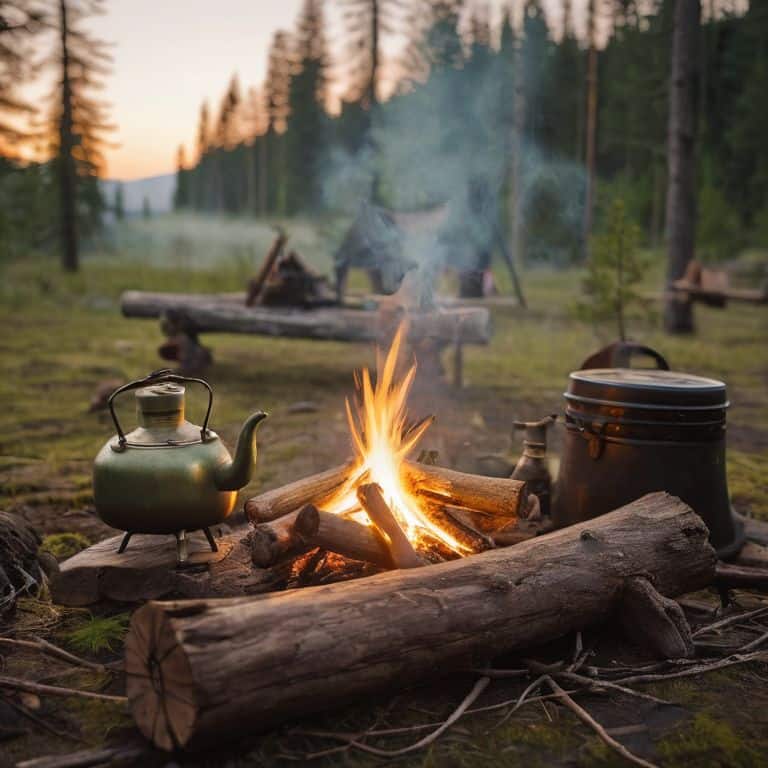
- 7. Finally, add larger logs to the fire, arranging them in a teepee structure to allow for good airflow and maximum heat output. As the fire crackles and spits, you can sit back and enjoy the warmth, knowing that you’ve created something special – a beacon of light in the wilderness, where you can rest, reflect, and recharge.
Igniting Tales With Ferro Rods
As I sit here, surrounded by the trinkets and teapots I’ve collected from my travels, I’m reminded of the countless nights I’ve spent huddled around a campfire, listening to tales of adventure and bravery. Ferro rod techniques for beginners are essential to mastering the art of fire starting, and I’ve found that with a little practice, anyone can become a pro. The soft glow of the flames seems to weave a spell of camaraderie, and I’ve lost count of the number of friendships forged over a warm, crackling fire.
In my experience, the key to a successful fire lies not just in the best tinder materials, but also in the environment itself. I recall one particularly damp evening in the woods, where I had to get creative with survival fire starting methods to get a blaze going. It was a challenging but exhilarating experience, and one that taught me the importance of adapting to my surroundings. Whether I’m in the scorching deserts of North Africa or the lush forests of Southeast Asia, I’ve learned to respect the power of fire and take necessary fire starting safety precautions.
As I prepare for my next adventure, I find myself pondering the art of choosing the right ferro rod for camping. It’s a decision that can make all the difference in the world, and one that requires a deep understanding of the terrain and climate I’ll be navigating. With the right tools and a bit of know-how, I’m confident that I can conjure up a warm, golden light even in the most unexpected of places, and I look forward to sharing those tales with you, one cup of tea at a time.
Ember of Safety Mastering Fire Starting in Wet Conditions
As I sat by the riverbank, watching the rain drizzle down on the forest, I realized that starting a fire in wet conditions is an art that requires patience and finesse. My trusty ferro rod, adorned with a small, colorful charm from a market in Tokyo, became my most reliable companion. I recall the first time I successfully sparked a flame amidst the dampness – it was nothing short of magical. The key, I’ve found, is to shield the area from the wind and rain, and to use dry, fluffy material to help the fire catch.
With each attempt, I felt like a wilderness whisperer, coaxing the flames to life. The ferro rod’s gentle sparks danced across the dry leaves, until finally, a small ember glowed to life. As the fire crackled and grew, I felt a sense of accomplishment, knowing that I’d mastered the art of starting a fire even in the most challenging conditions. And as I sipped tea from my newest teapot, a beautiful, hand-painted piece from a small village in Vietnam, I knew that this was a moment I’d treasure forever.
Spark of the Ancients Ferro Rod Techniques for Beginners
As I sit here, surrounded by my collection of vibrant teapots from around the world, I’m reminded of the countless nights I’ve spent under the stars, ferro rod in hand, sparking flames that danced like fireflies in the darkness. There’s something primal about creating fire from scratch, a connection to our ancestors that transcends time and culture. For beginners, the key is to start small, with gentle strokes and a willingness to experiment. I recall my first attempts, the scratch of metal on metal, the burst of sparks that seemed like magic.
With each successful spark, confidence grows, and soon you’ll find yourself weaving tales of adventure and bravery around the campfire, just as our ancestors did. The ferro rod becomes an extension of yourself, a tool that bridges the past and present, igniting not just flames, but the imagination. As you master the technique, you’ll discover the joy of sharing stories and laughter with fellow travelers, the fire crackling like a warm heartbeat in the night.
Ferro Rod Finesse: 5 Tips to Kindle Your Wilderness Wisdom
- Ignite with Intent: Choose the right tinder and kindling for your fire, taking into account the moisture levels and available materials in your surroundings
- Steel Yourself: Select a ferro rod with a comfortable grip and a robust striker, ensuring a smooth and efficient sparking experience
- Angle of Attack: Experiment with different ferro rod angles to find the sweet spot that yields the most consistent and abundant sparks
- Breathing Life: Gently blow on the tinder to coax the spark into a flame, using a gentle and controlled breath to avoid extinguishing the fledgling fire
- Spark Sanctuary: Create a fire pit or ring to contain your flame, using rocks or by digging a shallow pit to protect your fire from the elements and ensure a safe burning experience
Igniting Wisdom: 3 Key Takeaways
I’ve discovered that sparking a flame with a ferro rod is not just about starting a fire, but about igniting a sense of adventure and connection to the great outdoors
Mastering the ferro rod technique requires patience, practice, and a deep respect for the primal power of fire, which I’ve learned to harness on my travels through diverse landscapes and cultures
Whether you’re a seasoned traveler or an urban explorer, the ferro rod is a timeless tool that weaves together tales of resilience, community, and the universal human quest for warmth, light, and storytelling
Spark of Wisdom
As I’ve learned from sparks that flew in the dead of night, starting a fire with a ferro rod is not just about creating warmth, but about weaving a tale of resilience, a testament to human ingenuity that can ignite hope in the darkest of places.
Julie Wright
Embers of Adventure: A Conclusion
As I reflect on the journey of mastering the ferro rod, I’m reminded of the importance of patience and practice in igniting not just flames, but also the stories that surround them. From the spark of the ancients to the ember of safety in wet conditions, each technique holds a tale of its own, waiting to be uncovered by those who dare to venture into the unknown. The art of starting a fire with a ferro rod is more than just a survival skill; it’s a gateway to connecting with nature, with others, and with the rich tapestry of human experience.
And so, as you embark on your own adventures, armed with the knowledge of how to start a fire with a ferro rod, remember that the true magic lies not in the tool itself, but in the stories it helps to ignite. May your journeys be filled with warmth, light, and the beauty of the unfamiliar, and may the embers of your campfires burn bright with the tales of those you meet along the way, inspiring you to always embrace the richness of our world’s diverse cultures.
Frequently Asked Questions
What are some common mistakes to avoid when using a ferro rod to start a fire?
As I’ve learned from my own trial and error, it’s essential to avoid using a ferro rod with damp tinder, holding it at the wrong angle, or applying too little pressure, which can lead to frustrating sparks that refuse to ignite – a lesson I picked up on a drizzly night in the Scottish Highlands.
How do I maintain and care for my ferro rod to ensure it remains effective?
To keep my trusty ferro rod in top shape, I make sure to dry it thoroughly after each use, storing it in a breathable pouch to prevent moisture buildup – it’s a simple habit that’s saved me from many a frustrating spark-less night under the stars.
Can I use a ferro rod to start a fire in extremely windy or cold conditions?
I’ve found that ferro rods can be quite reliable in harsh conditions, but it does take some finesse. In extremely windy or cold conditions, try shielding your flame with a makeshift windbreak, like a rock or a piece of bark, and use a bit more tinder to help the fire catch.