I still remember the night I had to MacGyver a patch job on my tent in the middle of the Moroccan desert, with nothing but a few scraps and some determination. It was a sobering lesson in the importance of knowing how to repair a tent in the field, a skill that can mean the difference between a comfortable night’s sleep and a miserable, sleepless one. As I sat there, stitching together a torn seam by the light of a fading headlamp, I realized that there’s a common myth about tent repair: that it’s a complicated, intimidating process that requires specialized tools and expertise. But the truth is, with a few simple techniques and some basic materials, anyone can learn how to repair a tent in the field.
In this article, I’ll share my own hard-won knowledge and experience, gained from years of traveling and camping in some of the world’s most beautiful, and sometimes unforgiving, landscapes. You’ll learn the practical, no-nonsense tips you need to fix common tent problems, from torn fabric to broken poles, and get back to enjoying the great outdoors. Whether you’re a seasoned adventurer or just starting out, I’ll show you that how to repair a tent in the field is a skill that’s within your reach, and one that will serve you well on all your future camping trips.
Table of Contents
Guide Overview: What You'll Need

Total Time: 1 hour 30 minutes
Estimated Cost: $10 – $30
Difficulty Level: Intermediate
Tools Required
- Needle (heavy-duty sewing needle)
- Thread (nylon or polyester thread matching the tent color)
- Scissors (sharp, dedicated scissors for cutting fabric)
- Seam Ripper (for careful removal of damaged stitching)
- Tent Repair Patches (pre-made patches or fabric for DIY patches)
- Glue (specialized tent fabric adhesive)
- Duct Tape (for temporary field repairs)
Supplies & Materials
- Tent Fabric (matching the tent material for DIY patches)
- Webbing (for reinforcing tent seams or attachment points)
- Cordage (for reattaching broken tent lines or guyouts)
- Pole Repair Sleeve (for damaged or broken tent poles)
- Seam Sealant (to waterproof seams after repair)
Step-by-Step Instructions
- 1. First, assess the damage to your tent and gather your repair kit, which should include a patch kit, some sturdy thread, a needle, and any other materials you might need to fix tears or broken poles. I remember the time I had to fix my tent in the midst of a torrential downpour in the Scottish Highlands, and let me tell you, it was an adventure.
- 2. Next, clean the area around the tear or damaged section to ensure that no dirt or debris gets in the way of your repair. This is crucial because you want a smooth surface to work with, and any dirt or grime can compromise the integrity of your fix. I’ve found that a small brush or a cloth can be really helpful in cleaning out the area.
- 3. Now, apply a patch to the torn area, using a patch kit specifically designed for tents. These kits usually come with a special adhesive that’s meant to bond with the fabric of your tent, creating a waterproof seal. Make sure to follow the instructions on the patch kit carefully, and apply even pressure to ensure that the patch adheres properly.
- 4. If the tear is particularly large or the damage is more extensive, you may need to use some creative problem-solving to reinforce the area. This could involve using additional patches, or even employing some makeshift materials like duct tape or safety pins to hold things together temporarily. I recall one time when I had to use a piece of string to tie together two broken pole segments, and it ended up working beautifully.
- 5. Once you’ve applied the patch and reinforced the area, test the repair by applying some gentle pressure to the affected area. This will help you determine whether the fix is sturdy enough to withstand the elements, or if you need to make some further adjustments. It’s also a good idea to inspect the rest of the tent for any other potential weaknesses or areas of damage.
- 6. If you’re dealing with a broken pole, you’ll need to fabricate a splint to support the damaged section. This can be done using a spare pole segment, or even a sturdy branch or stick. Just be sure to secure the splint properly using some cord or twine, so that it doesn’t shift or come loose in the wind.
- 7. Finally, re-test the tent in its entirety, making sure that all the poles are secure, the fabric is tight, and the repair is holding up to the elements. This is also a good opportunity to check for any other issues, such as loose threads or worn-out gear, and make any necessary adjustments before settling in for the night.
Mending Tents in Wilderness
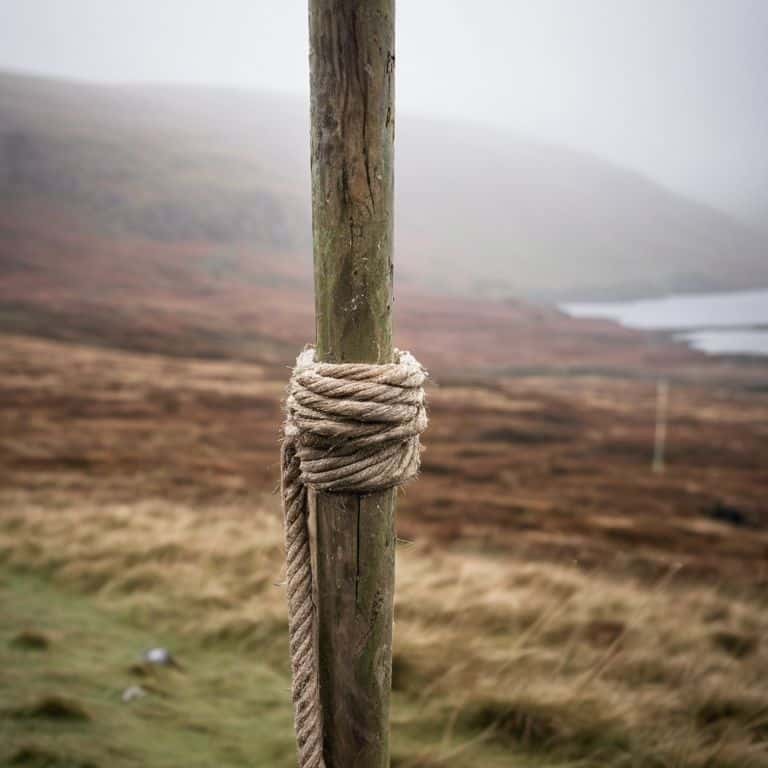
As I reflect on my adventures, I’ve found that emergency tent fixes can be a lifesaver in the wilderness. I recall a particularly harrowing experience in the Scottish Highlands, where a sudden gust of wind snapped one of my tent poles. With no replacement pole in sight, I had to resort to temporary pole fixes using some spare rope and a few sticks. It wasn’t the sturdiest solution, but it allowed me to wait out the storm in relative comfort.
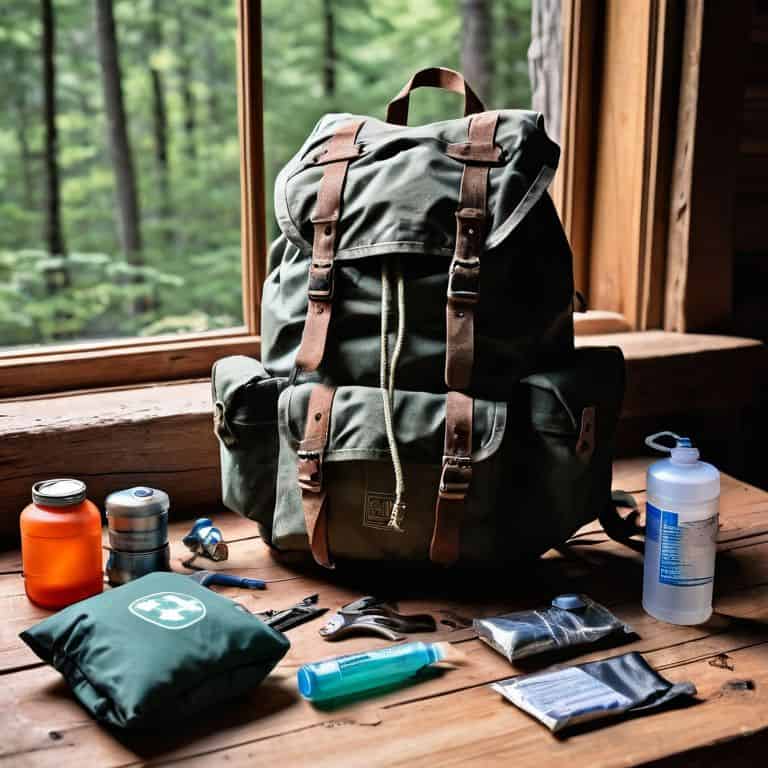
When it comes to backpacking tent maintenance, it’s essential to be mindful of the terrain and weather conditions. I’ve learned to always carry a portable tent repair kit with me, stocked with essentials like fabric patches, adhesive, and a small sewing kit. This has proven invaluable in repairing tent fabric tears and ensuring my shelter remains waterproof. By being proactive about maintenance, I’ve been able to extend the lifespan of my tent and avoid more costly repairs down the line.
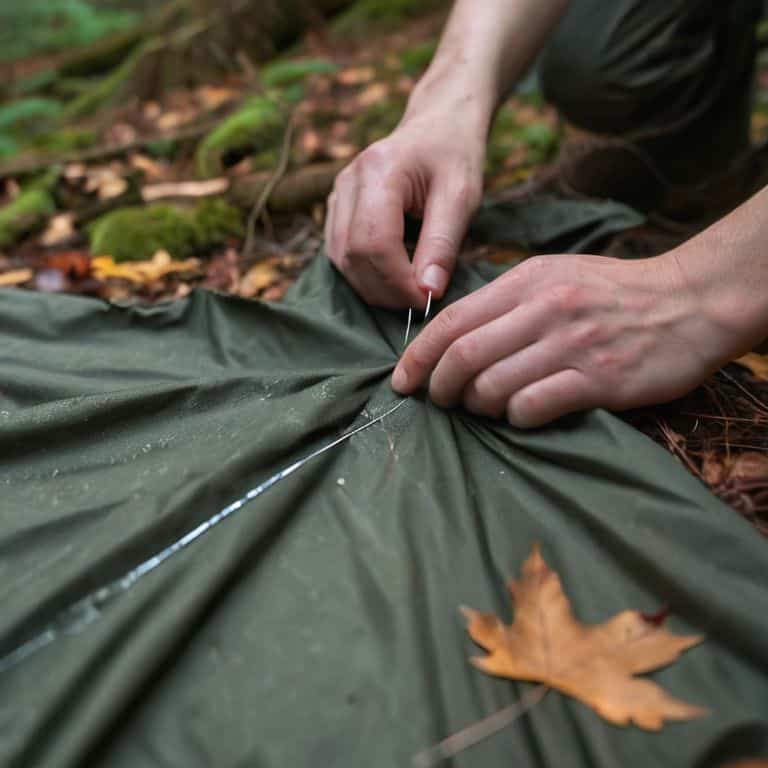
In the wilderness, wilderness shelter repair often requires a mix of creativity and resourcefulness. I’ve found that having a basic understanding of tent fabric repair techniques can go a long way in keeping my shelter intact. Whether it’s using a makeshift needle to repair a torn seam or applying a patch to a damaged area, these skills have allowed me to stay safe and dry in some of the most challenging environments. By combining these techniques with the right tools and materials, I’ve been able to overcome even the most daunting repair challenges and continue on my journey.
Emergency Fixes for Backpackers
As I recall my own wilderness adventures, I’ve learned that sometimes you just need a quick fix to get through the night. For backpackers, emergency fixes can be a lifesaver. I’ve used duct tape to temporarily patch a torn seam, or employed a trusty needle and thread to stitch together a broken zipper. These makeshift repairs won’t last forever, but they can buy you enough time to find a more permanent solution. I’ve even resorted to using a bit of cord or twine to MacGyver a broken pole back into place, just to ensure a decent night’s sleep.
In those moments, it’s not about making a perfect repair, but about finding a way to keep going. And that’s where the real art of tent repair comes in – being resourceful, thinking on your feet, and embracing the unexpected twists and turns of life on the trail.
Tent Fabric Repair Techniques
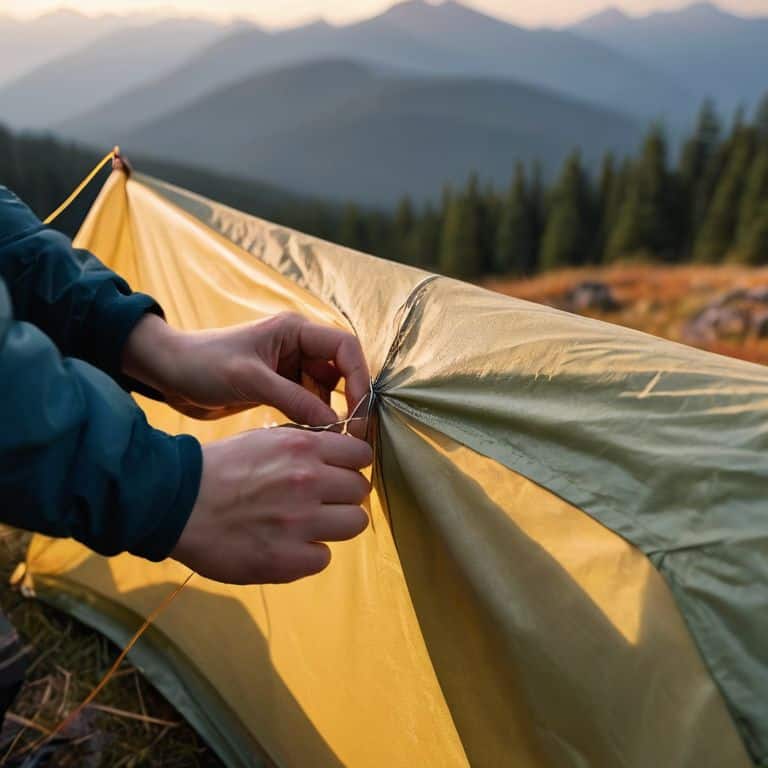
As I sat by the campfire, needle and thread in hand, I realized that repairing tent fabric is an art that requires patience and attention to detail. I’ve learned to use a variety of techniques, from simple running stitches to more complex patches, to extend the life of my trusty tent. In the wilderness, a sturdy tent is not just a luxury, but a necessity, and being able to repair it can be a lifesaver. I recall a particularly memorable night in the mountains, where a sudden gust of wind tore a hole in my tent’s roof, and I had to act fast to repair it before the rain set in. With a few swift stitches, I managed to patch up the hole, and my tent remained dry and secure throughout the night.
Stitching Up: 5 Field-Tested Tips for Tent Repair
- Carry a patch kit that’s as essential as your water bottle – it should include a variety of fabric patches, a sewing needle, strong thread, and some waterproof glue
- Know your fabric: learn to identify the type of material your tent is made of and have the appropriate repair techniques at the ready, whether it’s nylon, polyester, or something more specialized
- Practice makes perfect: before you’re in a survival situation, try your hand at some basic tent repairs in the comfort of your backyard to build your confidence and skill
- A little duct tape can go a long way, but don’t rely on it as a permanent fix – use it to hold things together temporarily while you prepare a more lasting repair
- Keep your tent clean and dry when not in use to prevent mildew and damage, and always pack a small, portable drying line or rope to hang up wet gear on the go
Key Takeaways for the Adventurous Camper
I’ve learned that with a few simple tools and some creative thinking, you can repair your tent in even the most remote locations, just like I did under the starry Moroccan desert sky
Whether you’re a seasoned backpacker or just starting out, mastering the art of tent repair can be the difference between a comfortable night’s sleep and a damp, miserable one – it’s all about being prepared for the unexpected
From patching torn fabric to improvising with makeshift materials, the skills you develop in mending your tent can also translate to a deeper appreciation for the resourcefulness and resilience that defines the spirit of adventure itself
Words of Wisdom from the Wilderness
The art of repairing a tent in the field is not just about stitching fabric, but about weaving resilience into the very fabric of your adventure, for it’s in the acts of mending and making do that we discover the true tapestry of our character.
Julie Wright
Weaving Tales of Resilience: A Conclusion
As I reflect on my journeys and the art of tent repair, I realize that it’s not just about mending fabric, but about embracing the unpredictable nature of adventure. From the scorching deserts of Morocco to the lush forests of Asia, I’ve learned that resilience is key to overcoming the challenges that come with exploring the great outdoors. Whether you’re a seasoned backpacker or a novice camper, the ability to repair your tent in the field is an essential skill that can make all the difference between a comfortable night’s sleep and a miserable one.
As you embark on your own adventures, remember that it’s the unexpected moments that often become the most cherished memories. So, don’t be afraid to take the road less traveled, to get a little lost, and to find joy in the beauty of the unknown. For in the end, it’s not just about reaching your destination, but about the stories you collect, the people you meet, and the lessons you learn along the way. And who knows, you might just find yourself weaving your own tale of resilience, one tent repair at a time.
Frequently Asked Questions
What are some common mistakes to avoid when repairing a tent in the field?
As I reflect on my own tent repair adventures, I’ve learned to beware of rushing the patching process, using inadequate materials, and neglecting to waterproof the repaired area – all of which can lead to further damage or even a collapsed tent in the worst of weather conditions.
How do I prevent mold and mildew from growing on my tent after a repair in humid environments?
To prevent mold and mildew on my tent in humid environments, I swear by a simple trick: after repairs, I dry the tent thoroughly, then apply a waterproofing treatment and let it air out. I also make sure to pack it in a well-ventilated area – it’s a habit I picked up in the steamy jungles of Southeast Asia, where a good cup of tea from my favorite Vietnamese teapot always seems to follow a successful tent repair.
Can I use everyday items like duct tape or plastic bags as a temporary fix for a torn tent fabric?
I’ve definitely relied on duct tape and plastic bags in a pinch. While they’re not a permanent solution, they can be a great temporary fix for a torn tent fabric. I recall using duct tape to hold together a torn seam during a sudden downpour in the Himalayas – it wasn’t pretty, but it kept me dry!