I still remember the day I embarked on a hike through the rolling hills of Tuscany, only to have my adventure cut short by a painful blister on my heel. It was then that I realized the importance of having reliable guidance on how to prevent such setbacks. As a travel writer, I’ve had my fair share of experiences with blisters, and I’ve come to understand that having a good a guide to preventing blisters while hiking is crucial for any outdoor enthusiast.
In this article, I’ll share my personal tips and tricks for preventing blisters, gathered from years of hiking and exploring the great outdoors. You can expect honest advice and practical solutions that will help you prepare for your next hike, whether you’re a seasoned pro or just starting out. From choosing the right footwear to using innovative blister-prevention techniques, I’ll cover it all, so you can focus on enjoying the scenery and making unforgettable memories.
Table of Contents
Guide Overview: What You'll Need
Total Time: 30 minutes to 1 hour
Estimated Cost: $10 – $30
Difficulty Level: Easy
Tools Required
- Scissors (for cutting moleskin or blister pads)
- Tape measure (for measuring feet and toes)
- Ruler (for applying even pressure on blister pads)
Supplies & Materials
- Moleskin (for covering hot spots)
- Blister pads (for added cushioning)
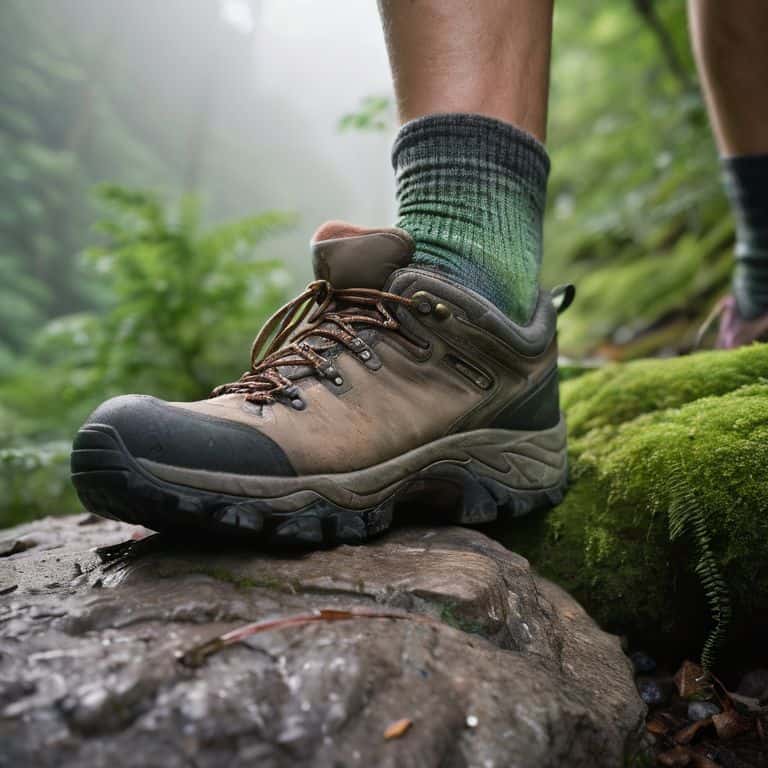
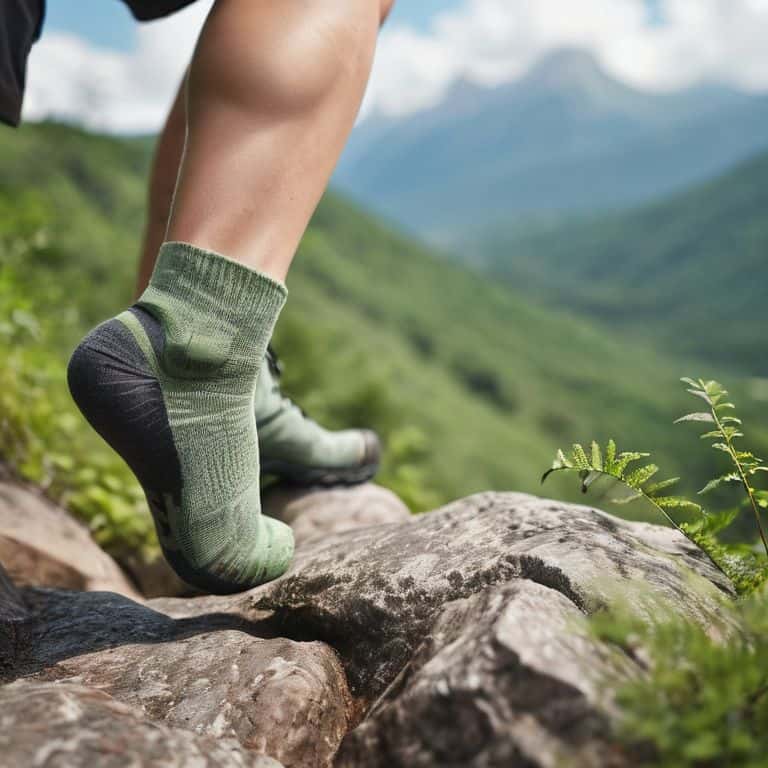
- Hiking socks (made of moisture-wicking materials)
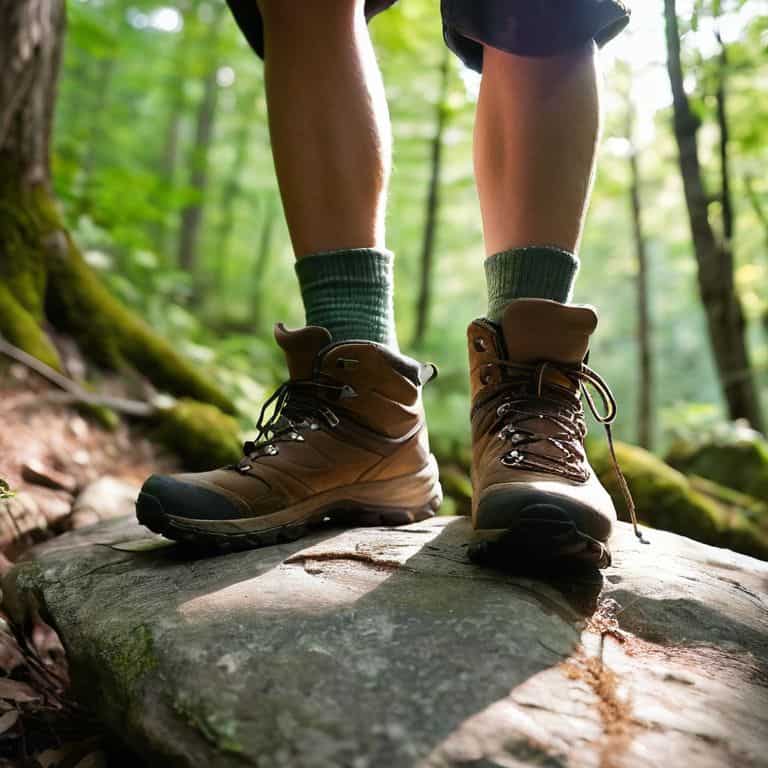
- Hiking boots (with a comfortable fit and adequate toe room)
- Foot powder (for keeping feet dry)
- Antibiotic ointment (for treating minor cuts and scrapes)
Step-by-Step Instructions
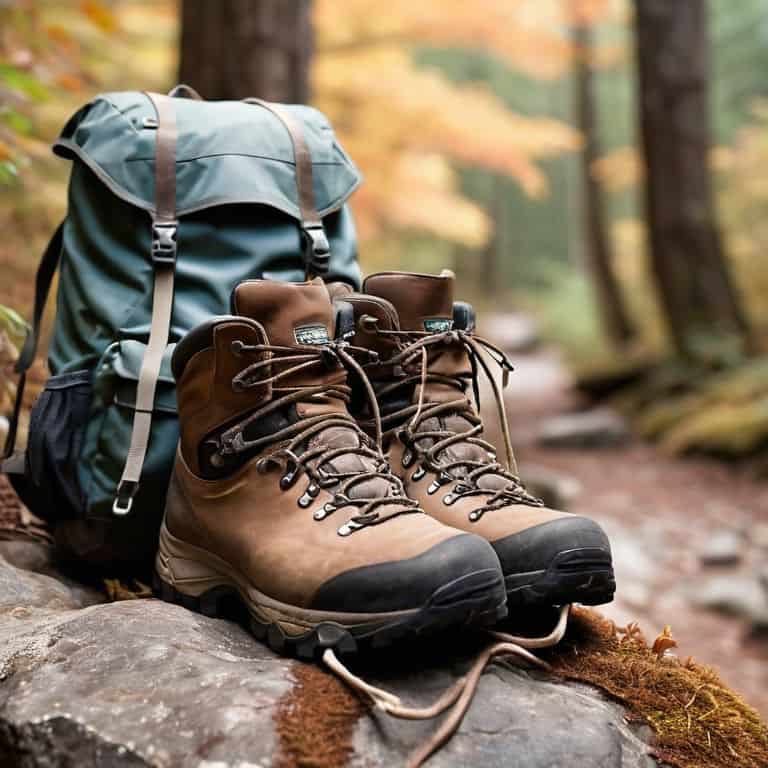
- 1. First, let’s talk about pre-hike prep – before you even think about lacing up those hiking boots, make sure you’ve got the right gear. I always start by breaking in my new hiking shoes, and I mean really breaking them in – we’re talking wearing them around the house, on short walks, and even just lounging around. This helps prevent those nasty blisters that can ruin an otherwise amazing hike. I also make sure to trim my toenails and keep my feet clean and dry to prevent any unnecessary friction.
- 2. Next up, it’s all about the sock game – you want to choose socks that are breathable, moisture-wicking, and fit snugly. I swear by merino wool socks, they’re like a warm hug for your feet. Look for socks with a bit of cushioning, especially in high-friction areas like the heels and toes. And don’t be afraid to bring a spare pair or two – there’s nothing like changing into fresh, dry socks halfway through a hike to give you a boost.
- 3. Now, let’s get to the blister prevention methods – I’m a big fan of using blister shields or moleskin to protect high-risk areas. These can be applied to your feet before you start hiking, and they provide an extra layer of protection against friction. I also use a bit of Vaseline or petroleum jelly on my feet to reduce friction and keep my skin hydrated.
- 4. When it comes to hiking itself, paying attention to your body is key. If you start to feel a hot spot or a blister forming, don’t ignore it – stop and address it right away. I always carry a small first-aid kit with me, complete with blister pads, antiseptic wipes, and a bit of gauze. It’s also important to take regular breaks to rest and rehydrate – this can help prevent blisters from forming in the first place.
- 5. Another crucial step is to choose the right hiking trails – if you’re just starting out, look for trails with smooth, even surfaces. Avoid trails with lots of rocky or uneven terrain, as these can be tough on your feet. I also love using hiking apps or websites to research trails ahead of time – these often provide detailed descriptions of the terrain and can help you prepare.
- 6. As you’re hiking, be mindful of your footwork – try to avoid putting too much pressure on any one spot. I like to think of it as “rolling” my feet as I walk, rather than slamming my heels down onto the ground. This can help reduce the impact on your feet and prevent blisters from forming. It’s also important to keep your backpack or daypack fitted comfortably – you don’t want any extra weight or pressure causing friction on your skin.
- 7. Finally, let’s talk about post-hike care – after a long day on the trails, it’s essential to give your feet some extra TLC. I like to soak my feet in warm water, then dry them thoroughly and apply a rich moisturizer. This helps to hydrate my skin and prevent blisters from forming. I also make sure to clean and dry my hiking gear, including my shoes and socks, to prevent any bacterial or fungal growth.
Blissful Trails Ahead
As I reflect on my own hiking adventures, I realize that foot care for long distance hiking is just as crucial as the hike itself. It’s not just about preventing blisters, but also about maintaining overall foot health. I’ve learned to pay attention to the hiking sock materials I choose, opting for moisture-wicking fabrics that help keep my feet dry and comfortable. This simple detail can make a significant difference in my hiking experience, allowing me to focus on the breathtaking views and vibrant cultures that surround me.
When it comes to breaking in new hiking boots, I’ve found that patience is key. It’s essential to take the time to properly break in your boots before embarking on a long hike. This can be as simple as wearing them around the house or taking short walks around the block. By doing so, you can help prevent blisters and ensure a more enjoyable hiking experience. I also swear by techniques for lacing hiking boots to prevent blisters, which can provide additional support and comfort for your feet.
As I sit here, sipping tea from my favorite teapot, I’m reminded of the importance of foot hygiene on hiking trips. It’s easy to overlook this detail, but taking the time to clean and dry your feet can help prevent a range of issues, from blisters to infections. By prioritizing foot care and taking a few simple precautions, you can set yourself up for a successful and enjoyable hike, with blissful trails ahead.
Lace to Impress Techniques for Blister Free Boots
When it comes to boots, it’s all about the perfect fit and tie. I’ve learned that a good lacing technique can make all the difference in preventing blisters. For me, it’s about creating a balance between snug and comfortable. I like to think of it as a warm hug for my feet. By lacing up in a way that distributes pressure evenly, you can reduce hotspots and friction. It’s a simple trick, but one that’s often overlooked in the excitement of hitting the trails.
I’ve found that the “toe-lock” lacing method works wonders for me. It involves lacing your boots in a way that locks your toes in place, preventing slipping and sliding that can cause blisters. Give it a try and see how it works for you!
Sole Mates Hiking Sock Materials Matter
As I laced up my hiking boots in the quaint town of Interlaken, Switzerland, I realized that the right socks can make all the difference. I opted for a pair made from merino wool, which proved to be a game-changer. The natural temperature regulation and moisture-wicking properties kept my feet dry and comfortable throughout the day. I’ve since become a convert, seeking out socks with similar properties for my hikes. Whether it’s merino wool, synthetic blends, or silk, the material of your hiking socks can greatly impact your comfort and blister prevention.
In my urban sketchbook, I jot down notes on the best sock materials I’ve discovered on my travels. From the rugged trails of New Zealand to the scenic routes of Japan, I’ve found that the right socks can be a trusted companion on any adventure. By choosing the right material, you can ensure that your feet stay happy and healthy, letting you focus on the breathtaking views and immersive experiences that hiking has to offer.
Trail Wisdom: 5 Tips to Keep Your Feet Happy
- Break in those boots: wear your hiking shoes around the house or on short walks before hitting the trails to prevent blisters
- Choose the right socks: opt for moisture-wicking materials and consider the thickness and fit to keep your feet dry and comfortable
- Keep it dry: bring extra socks and change them if they get wet to prevent blisters and discomfort
- Watch your step: pay attention to the terrain and try to avoid rocky or uneven paths that can cause friction and blisters
- Take care of hotspots: if you start to feel a blister forming, stop and apply some moleskin or a bandage to reduce friction and prevent further irritation
Trailblazer Takeaways
Choose the right hiking socks to reduce friction and keep your feet dry, opting for materials like merino wool or synthetic blends that wick away moisture
Master the art of lacing your boots to prevent hotspots and blisters, ensuring a comfortable fit that’s not too tight or too loose
Remember, prevention is key: combine proper footwear, socks, and hiking techniques to enjoy blissful trails ahead, free from the pain and discomfort of blisters
Words to Trek By
The trail is a canvas of untold stories, and our feet are the brushes that paint the journey – let’s make sure every step is a stroke of bliss, not a blister of regret.
Julie Wright
Sole Searching: Finding Bliss on the Trails
As I reflect on our journey to blister-free hiking, it’s clear that preparation is key. We’ve covered the essential steps to prevent those pesky pain-points, from choosing the right hiking socks to mastering the art of lacing up your boots. By incorporating these tips into your hiking routine, you’ll be well on your way to experiencing the joy of blissful trails. Whether you’re a seasoned hiker or just starting out, remembering to prioritize your foot care will make all the difference in your outdoor adventures.
So, as you lace up your hiking boots and hit the trails, remember that it’s not just about the destination – it’s about the journey. The great outdoors has a way of inspiring us, of helping us connect with nature and with ourselves. By taking care of our feet and being mindful of our surroundings, we can tap into the sense of freedom and wonder that comes with exploring the world around us. Happy trails, and may your feet be forever blister-free!
Frequently Asked Questions
What are some common mistakes hikers make that lead to blisters?
The rookie mistakes that can quickly turn a serene hike into a blister-ridden nightmare! I’ve seen many a hiker fall prey to neglecting to break in their boots, wearing socks that are too tight or too loose, and not applying moisture-wicking creams or powders to their feet.
How often should I replace my hiking socks to prevent blisters?
The age-old question of sock replacement! I’d say replace your hiking socks every 3-6 months or after 100-200 miles, depending on how often you hike and the quality of the socks. If you notice they’re losing their cushioning or elasticity, it’s time for a new pair – trust me, your feet will thank you!
Are there any specific hiking boot brands or models that are known for being blister-free?
I swear by my trusty Merrell Moab 2 Mid hiking boots – the breathable mesh and cushioning have been a game-changer for my feet. I’ve also heard rave reviews about Salomon’s Quest 4D and Keen’s Targhee II, both known for their comfortable fit and blister-reducing features. Of course, the best brand and model is the one that fits your foot perfectly, so don’t be afraid to try a few on!