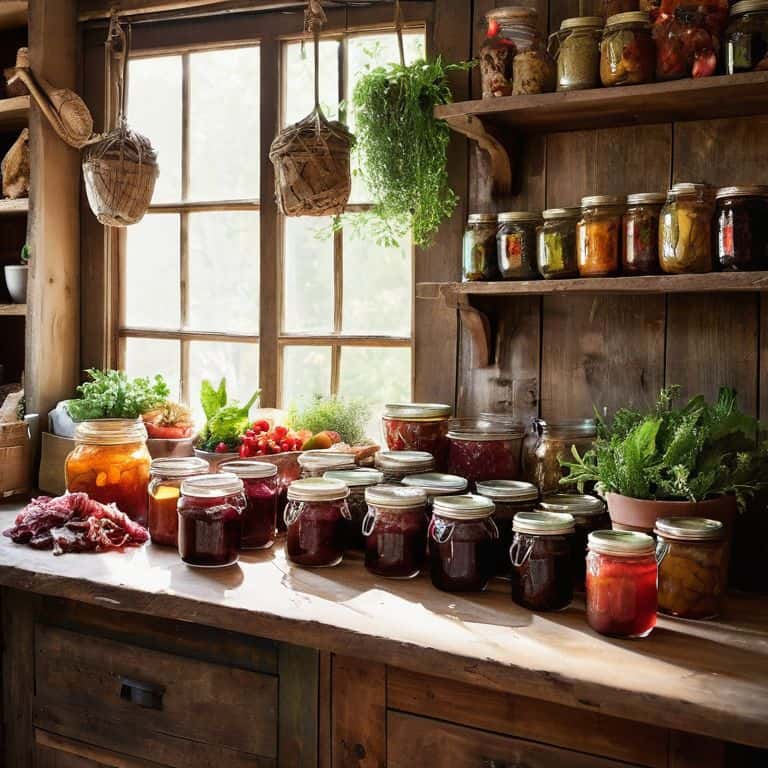
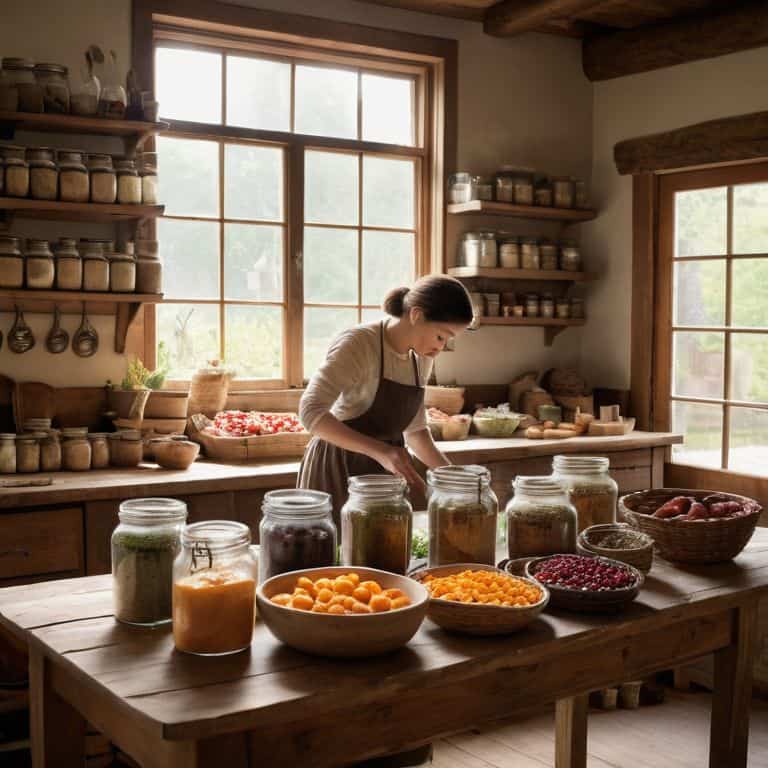
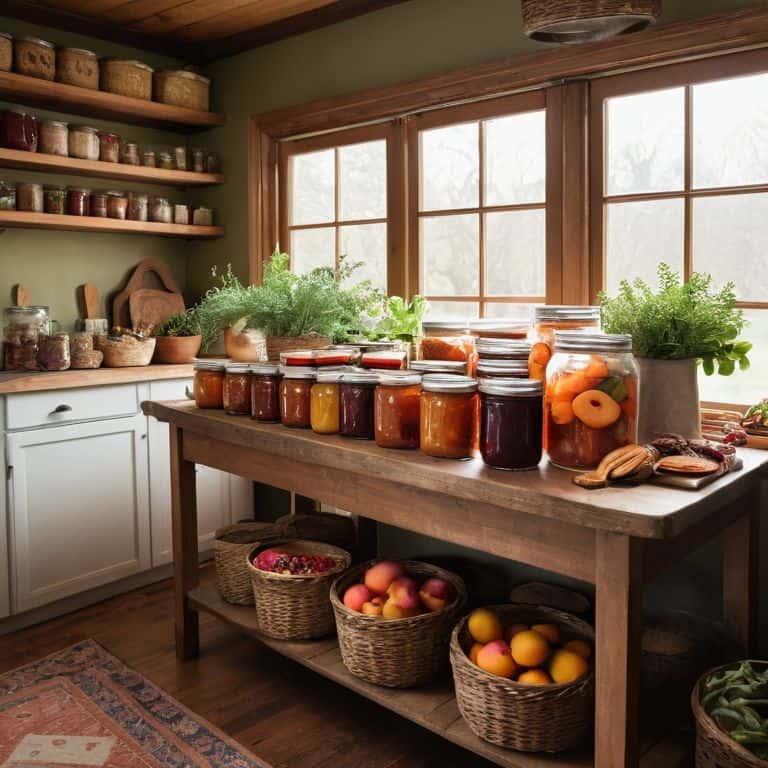
As I sit amidst the vibrant chaos of my urban apartment, surrounded by vintage botanical illustrations and the gentle scent of drying herbs, I’m reminded of the common misconception that a guide to preserving food (canning, drying) is a tedious, old-fashioned chore. But the truth is, preserving food is an act of love and connection to the land, our heritage, and the people we share our tables with. It’s a way to savor the flavors of each season, long after the harvest has passed. I still recall the summer afternoons spent helping my mother can fresh berries in our small coastal town, the smell of sweet jam and the sound of seagulls outside our kitchen window.
In this article, I promise to share my personal journey and practical tips on a guide to preserving food (canning, drying), from the basics of canning and drying to more creative ways to preserve the harvest. You’ll learn how to turn your kitchen into a whimsical workshop, where the rhythms of nature and the joy of preserving food come alive. I’ll guide you through the process of creating your own signature preserves, using fresh, seasonal ingredients and simple, eco-friendly techniques. Whether you’re a seasoned preservationist or just starting out, this guide is designed to inspire and empower you to preserve the magic of the harvest, one delicious jar at a time.
Table of Contents
- Guide Overview: What You'll Need
- Step-by-Step Instructions
- A Guide to Preserving Food
- Savoring the Harvest: 5 Whimsical Tips for Preserving Food with Love
- Harvesting Wisdom: 3 Key Takeaways for the Modern Preserver
- Savoring the Flavor of Tradition
- Embracing the Art of Preservation
- Frequently Asked Questions
Guide Overview: What You'll Need
Total Time: several hours to several days
Estimated Cost: $50 – $200
Difficulty Level: Intermediate
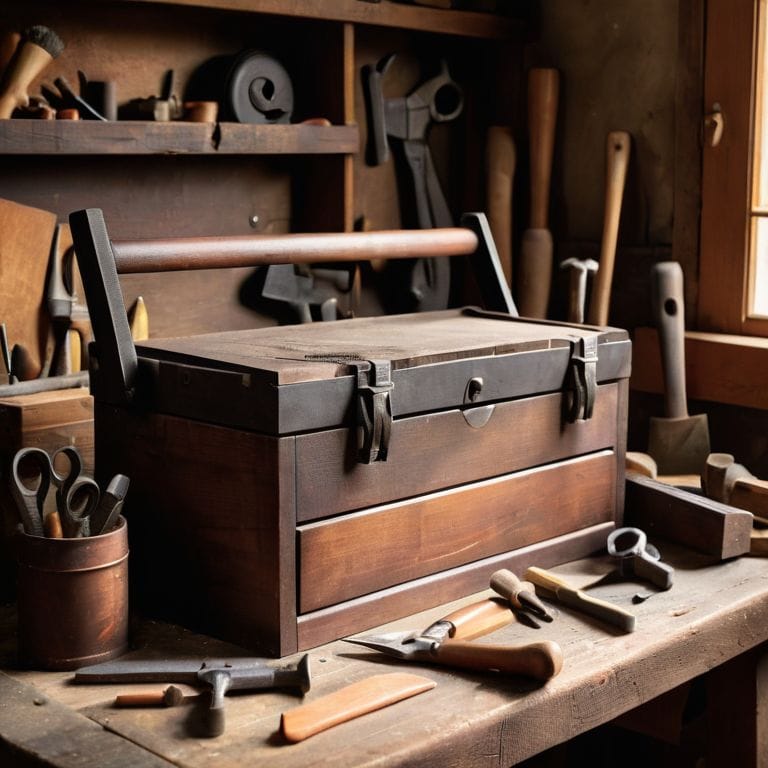
Tools Required
- Water Bath Canner (large pot with rack)
- Pressure Canner (for low-acid foods)
- Dehydrator (optional)
- Mason Jars (with lids and bands)
- Canning Funnel
- Acid Tester (for checking acidity levels)
- Kitchen Scale (for measuring ingredients)
- Colander (for washing and draining food)
- Cutting Board
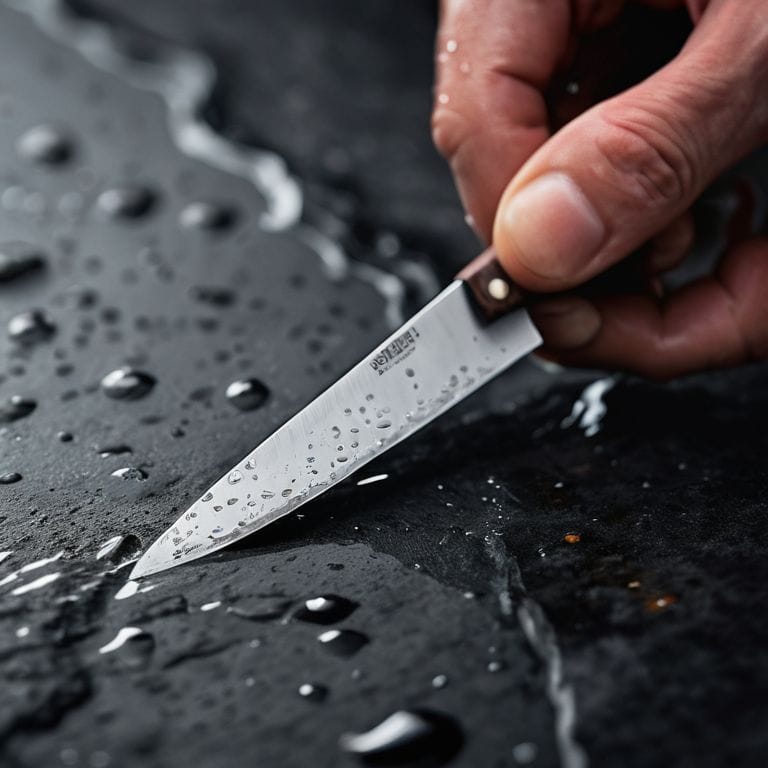
- Knife (for preparing food)
Supplies & Materials
- Canning Salt
- Lemon Juice (for acidity)
- Sugar (for sweetening)
- Spices (for flavoring)
- Pectin (for jam and jelly making)
- Jar Lids (new, for each jar)
- Jar Bands (new or reused)
- Labels (for labeling jars)
- Twine (for hanging dried food)
Step-by-Step Instructions
- 1. To begin our journey into the world of food preservation, let’s start with canning, a method that has been passed down through generations, allowing us to savor the flavors of each season. First, gather all the necessary equipment, including a large pot, canning jars, lids, and a utensil for removing air bubbles. It’s also essential to have a good understanding of the recipe you’re using, including the type of food, the acidity level, and the required cooking time.
- 2. Next, prepare your food according to the recipe. This could involve chopping, cooking, or mixing the ingredients together. For fruits and vegetables, it’s crucial to use fresh, high-quality produce to ensure the best flavor and texture. Always follow safe canning practices to avoid spoilage and foodborne illness, and consider using a pressure canner for low-acid foods like meats and vegetables.
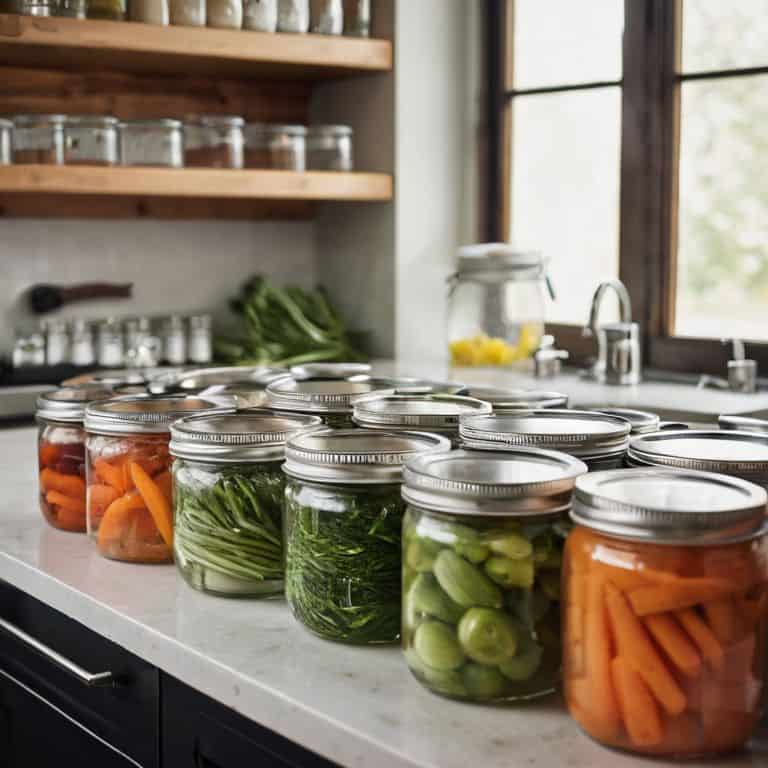
- 3. Once your food is prepared, fill the canning jars, leaving the recommended amount of headspace. This is a critical step, as it allows for the expansion of the food during the canning process and helps to prevent the jars from becoming too full. Use a non-metallic utensil, like a plastic or wooden spoon, to remove any air bubbles that may have formed, and then add the lids and rings to the jars.
- 4. Place the jars in the large pot, making sure they are covered by at least an inch of water. Bring the water to a boil, and then reduce the heat to a simmer. The processing time will vary depending on the type of food and the altitude at which you are canning, so be sure to consult a reliable resource for specific guidance. This step is where the magic happens, as the heat from the water bath helps to kill off any bacteria and creates a vacuum seal.
- 5. After the processing time has elapsed, carefully remove the jars from the pot using a jar lifter or tongs. Let them cool on a wire rack, away from any drafts. As the jars cool, you’ll start to hear the satisfying pop of the lids sealing, indicating that the jars are airtight. This is an exciting moment, as it means your hard work is paying off and your food is now preserved for months to come.
- 6. For those interested in drying as a preservation method, the process is a bit different. Start by preparing your food, which may involve slicing, chopping, or pureeing, depending on the desired texture. Next, preheat your dehydrator to the recommended temperature, and then add the food in a single layer. If you don’t have a dehydrator, you can also use your oven on the lowest temperature setting, checking on the food regularly to ensure it doesn’t overcook.
- 7. Allow the food to dry for the recommended amount of time, which can range from a few hours to several days. It’s essential to monitor the food’s moisture level, as over-drying can lead to a loss of flavor and nutrients. Once the food has reached the desired level of dryness, remove it from the dehydrator or oven and let it cool completely. Store the dried food in airtight containers, such as glass jars or plastic bags, to maintain its freshness and flavor.
- 8. Finally, take a step back and admire your handiwork. You’ve successfully preserved a batch of food using either canning or drying, and you can now enjoy the fruits of your labor throughout the year. Remember to always follow safe food handling practices when consuming your preserved food, and don’t hesitate to experiment with new recipes and ingredients to keep your preservation journey exciting and engaging. As you embark on this path, you’ll find that preserving food is not just about saving money or reducing waste – it’s also about connecting with nature and the people around you.
A Guide to Preserving Food
As I delve into the world of food preservation, I find myself enchanted by the art of transformation, where fresh ingredients are coaxed into lasting treasures. When it comes to water bath canning techniques, it’s essential to ensure that your jars are properly sterilized and sealed to prevent spoilage. This simple step can make all the difference in the quality and safety of your preserved goods.
In my own kitchen, I’ve experimented with dehydrator recipes for beginners, and I’m thrilled to share that even the most novice of preservers can achieve remarkable results. From crispy fruit leather to fragrant herb blends, the possibilities are endless. When storing your dried creations, consider investing in best practices for food storage containers, such as airtight glass jars or reusable cloth bags, to maintain freshness and flavor.
As I explore the nuances of preservation, I’m often asked about the merits of canning vs freezing for long term storage. While both methods have their advantages, I’ve found that canning offers a unique satisfaction, allowing me to behold my beautifully filled jars, each one a testament to the homemade food dehydrator plans that brought them to life.
Dehydrator Recipes for Beginners Delight
As I delve into the world of dehydrating, I find myself enchanted by the simplicity and versatility of this preservation method. For beginners, it’s a delightful way to start, requiring minimal equipment and offering a wide range of creative possibilities. I love experimenting with dehydrator recipes that bring out the natural sweetness in fruits and the depth of flavor in herbs. From crispy kale chips to chewy apricot leather, the options are endless and incredibly easy to make.
With my dehydrator, I’ve discovered a new passion for creating healthy, portable snacks that are perfect for on-the-go adventures or as a quick pick-me-up in the city. The best part? It’s a great way to reduce food waste and preserve the freshness of seasonal produce, all while having fun and getting creative in the kitchen.
Unlocking Water Bath Canning Techniques
As I delve into the world of water bath canning, I’m reminded of my childhood summers spent helping my mother preserve freshly picked berries from our coastal town’s local farms. The process was almost therapeutic, with the soft clinking of jars and the sweet aroma of simmering fruit filling our kitchen. To unlock the secrets of water bath canning, start by preparing your jars and lids, ensuring they’re spotless and sterilized. Next, carefully pack your chosen food into the jars, leaving just the right amount of headspace for the magic to happen.
With your jars sealed and ready, gently place them into the water bath, where they’ll be swaddled in a warm, gentle heat, preserving the flavors and textures of your precious ingredients. As the minutes tick by, the hiss of the water and the soft rattle of the jars will lull you into a sense of cozy contentment, like a warm hug on a chilly afternoon.
Savoring the Harvest: 5 Whimsical Tips for Preserving Food with Love
- Start with the freshest ingredients, for the best flavors and textures are born from nature’s own rhythm
- Acquire the right tools, from water bath canners to dehydrators, and don’t be afraid to experiment with vintage finds
- Experiment with unique spice blends and herbs to give your preserves a personal touch, a story to be told with each jar
- Label your creations with handmade tags, adorned with pressed flowers or leaves, to add a touch of elegance and whimsy
- Share your preserves with friends and family, for the true magic of food preservation lies in the connections it fosters and the memories it creates
Harvesting Wisdom: 3 Key Takeaways for the Modern Preserver
As we embark on this journey of preserving food, remember that every jar and every dried petal is a testament to our connection with nature and our heritage, weaving together flavors and futures in a delicate dance of sustainability and taste
By mastering the art of water bath canning and dehydrator recipes, we not only preserve the harvest but also unlock a world of creative possibilities, where vintage botanical illustrations inspire new DIY projects and where every small step is a celebration of our love for the earth
Whether you’re a seasoned preserver or just starting out, the true magic lies not just in the techniques, but in the stories we tell through our food, our gardens, and our kitchens, where the boundaries between culture, nature, and creativity blur, inviting us to live a life that is both whimsically grounded and elegantly earthy
Savoring the Flavor of Tradition
As we preserve the harvest, we not only save the seasons’ bounty, but also weave a tapestry of stories, traditions, and love that transcends time and taste.
Harper Willow
Embracing the Art of Preservation
As we conclude our journey through the world of preserving food, it’s essential to remember that canning and drying are not just techniques, but gateways to a more sustainable way of living. By embracing these methods, we not only ensure a steady supply of wholesome food throughout the year, but also cultivate a deeper connection with the natural world and our community. The steps outlined in this guide, from preparing the perfect water bath to experimenting with dehydrator recipes, are designed to be accessible and enjoyable, allowing you to unlock the full potential of your pantry and your creativity.
As you embark on your own preservation journey, remember that every jar filled with love and every dried herb infused with care is a testament to the beauty of self-sufficiency and the joy of slowing down. In a world that often values speed over substance, the art of preserving food invites us to rethink our relationship with time, nature, and each other. So, let us cherish these moments of creation, and let the simple act of preserving food become a celebration of life, weaving together flavors, futures, and the stories that make us who we are.
Frequently Asked Questions
What are the most essential tools and equipment needed to get started with canning and drying at home?
To embark on this preserving journey, I recommend gathering a few treasured tools: a water bath canner, a dehydrator, and some trusty jars with lids and bands. A canning funnel and acid tester will also become your loyal companions, ensuring safe and successful preservation.
How do I ensure the food is properly sterilized and sealed to prevent spoilage and foodborne illness?
To ensure proper sterilization and sealing, I swear by a gentle boil and a trusty jar lifter. Sterilize your jars and lids in boiling water for 10 minutes, then carefully fill and seal them, making sure to leave just the right amount of headspace. A satisfying ‘pop’ as the lid seals is music to my ears, knowing my preserves are safe and sound.
Can I use a combination of canning and drying methods to preserve a single type of food, such as making dried fruit leather and canning fruit jam?
Absolutely, I love experimenting with hybrid preservation methods. For instance, you can dry slices of your favorite fruit to make crispy snacks, while also canning a batch of homemade jam using the same fruit, like strawberries or apricots. This way, you’ll enjoy a duo of textures and flavors from a single harvest, celebrating the versatility of nature’s bounty.