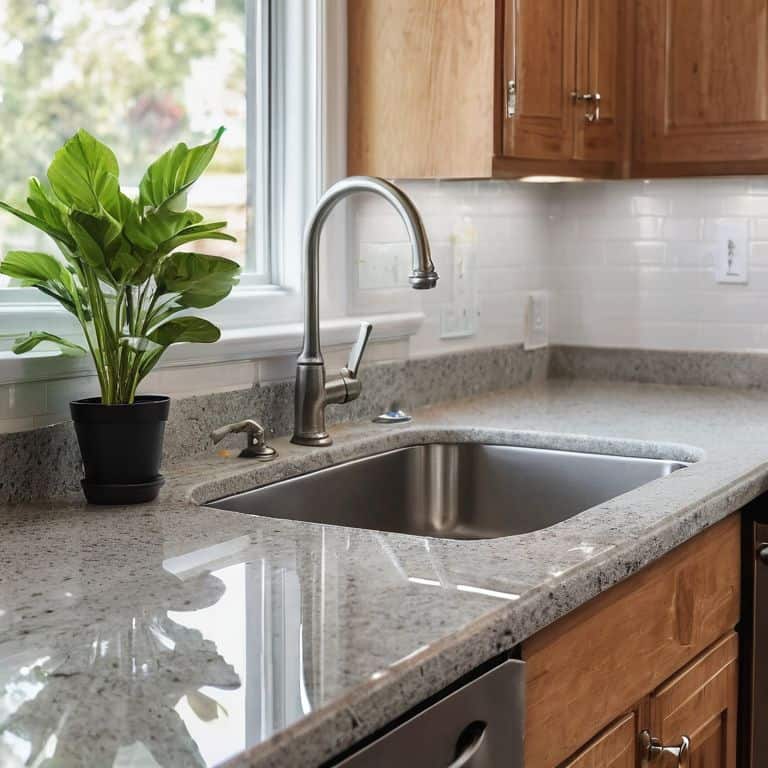
As I sit in my cozy little nook, aptly named the “Heathcliff Room” after the brooding hero of Wuthering Heights, I’m reminded of the countless winters my grandmother and I spent sealing windows and doors to keep the chill out. It’s a tradition that’s been passed down through generations, and one that I’m eager to share with you, especially when it comes to how to seal windows and doors for winter. There’s a common misconception that this process has to be a daunting task, but I’m here to tell you that it’s quite the opposite – with the right tools and a bit of patience, you can wrap your home in a warm embrace.
In this article, I’ll be sharing my personal tips and tricks for sealing windows and doors for winter, from the best materials to use to the most common mistakes to avoid. You’ll learn how to identify those pesky drafts, choose the right sealants, and apply them with ease. My goal is to empower you with the knowledge to turn your home into a warm and welcoming sanctuary, where the only winter winds you’ll feel are the ones whispering through the pages of your favorite book. So, grab a cup of hot tea, get comfortable, and let’s dive into the world of winter-proofing your home, one sealed window and door at a time.
Table of Contents
Guide Overview: What You'll Need
Total Time: 2 hours 30 minutes
Estimated Cost: $20 – $50
Difficulty Level: Easy
Tools Required
- Utility Knife (with extra blades)
- Caulk Gun
- Putty Knife
- Scissors
Supplies & Materials
- Weatherstripping
- Silicone Caulk
- Spray Foam Insulation
- Adhesive-Backed Foam Tape 1/4 inch thick
- Nail-On Door Sweeps available in 36 inches lengths
Step-by-Step Instructions
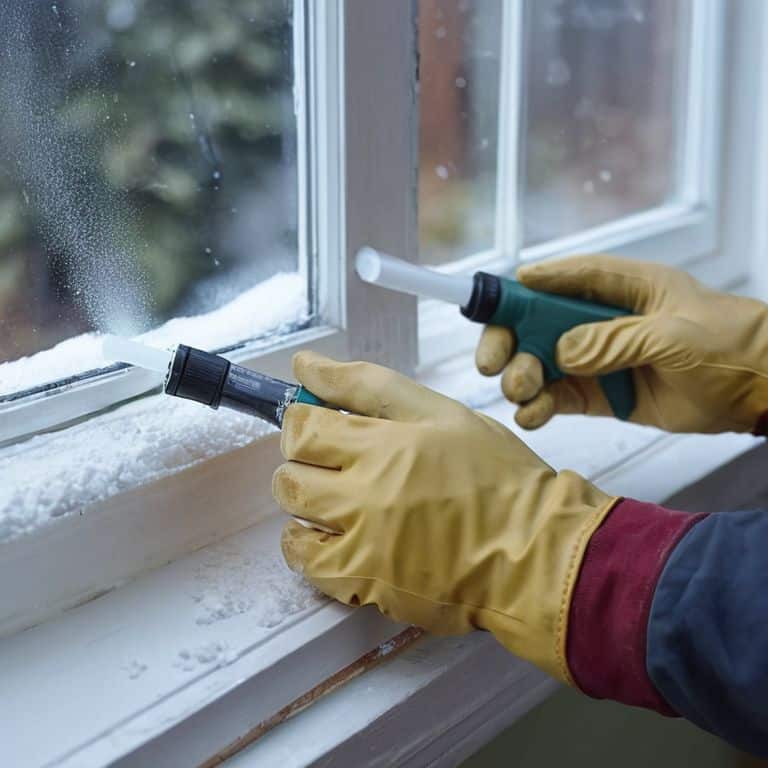
- 1. First, let’s start by gathering our materials, which will include a trusty caulk gun, some weatherstripping, and a tube of sealant specifically designed for windows and doors. I like to keep all my supplies in a cute little basket, reminiscent of the ones my grandmother used to use for her sewing projects, and label it as “Emily’s Essentials” – a nod to Emily Brontë, whose love for nature and simplicity I adore.
- 2. Next, we’ll need to inspect our windows and doors for any gaps or cracks where the cold air might be sneaking in. This is a great opportunity to get up close and personal with the nooks and crannies of your home, much like I do when I’m searching for the perfect vintage teapot to add to my collection. Take note of any areas that need extra attention, and don’t be afraid to get a little creative with your problem-solving.
- 3. Now, it’s time to clean the areas around the windows and doors to ensure a smooth and effective seal. I find that a gentle mixture of soap and warm water, applied with a soft cloth, does the trick nicely. As I wipe away any dirt or debris, I like to imagine that I’m preparing the surface for a beautiful, handmade tapestry – much like the ones my grandmother used to weave.
- 4. With our surfaces clean, we can move on to applying the weatherstripping around the doors. This is a simple but crucial step, as it will help to prevent cold air from seeping in and warm air from escaping. I like to think of it as adding a cozy little blanket to the edges of our doors, keeping everything snug and comfortable inside.
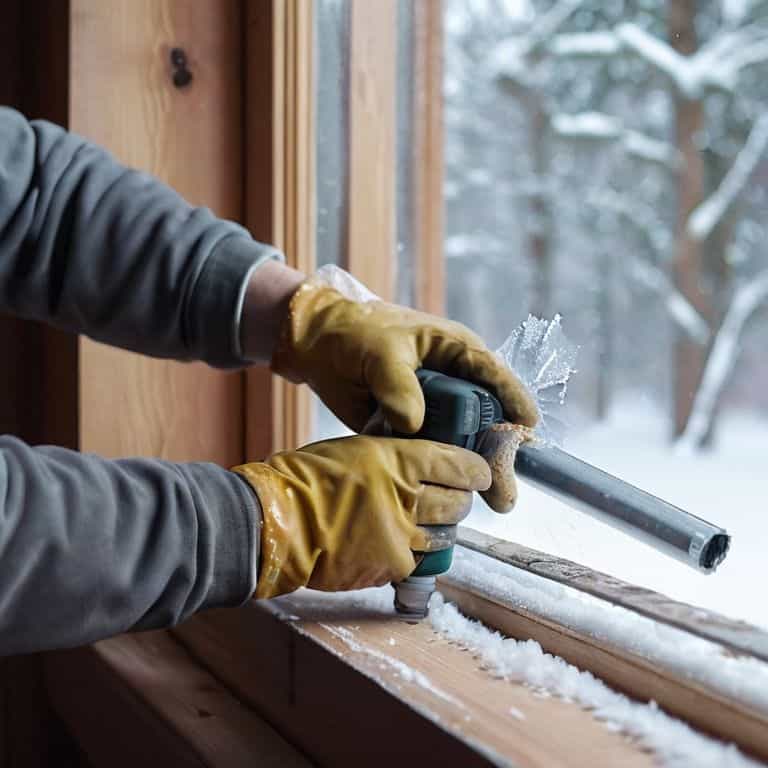
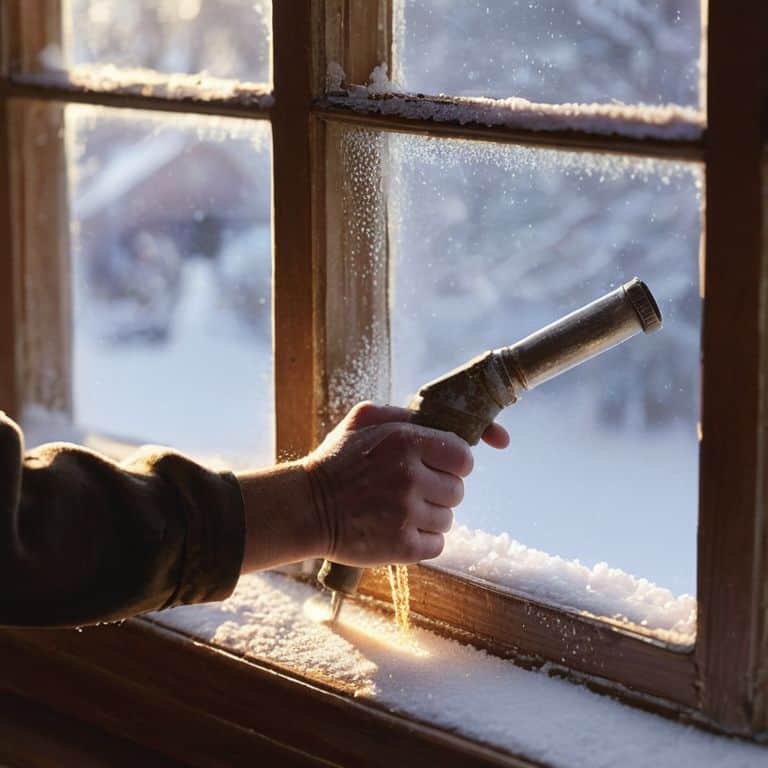
- 5. Next up, we’ll be using our caulk gun to seal any gaps or cracks around the windows. This can be a bit of a tricky process, but don’t worry – with a little practice, you’ll be a pro in no time. I find that it helps to imagine that I’m applying a delicate, handmade glaze to a beautiful piece of antique pottery, carefully smoothing out any imperfections as I go.
- 6. Once we’ve finished sealing our windows, it’s time to check for any drafts by holding a lit candle or incense stick near the edges of the windows and doors. If the flame flickers or the smoke is disturbed, it’s likely that there’s still a bit of air sneaking in – but don’t worry, we can easily reapply some sealant to take care of the problem.
- 7. Finally, let’s take a step back and admire our handiwork, feeling proud of the fact that we’ve taken the time to wrap our home in a cozy embrace. As I look around my own little abode, I’m reminded of the charming, old-world atmosphere of my childhood home – a place where stories seemed to come alive in every room, and the love of family and friends was always palpable.
Winters Gentle Hush
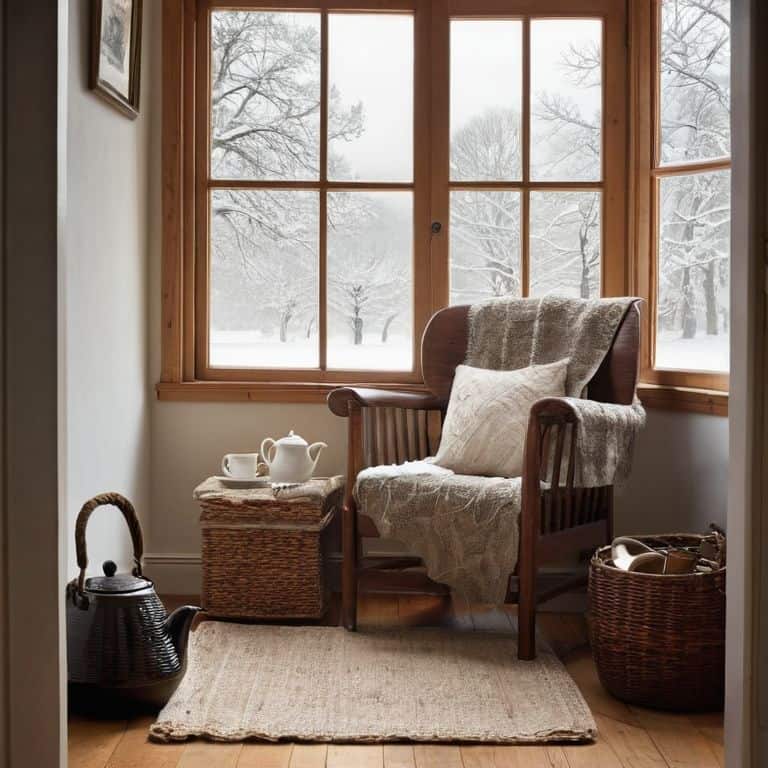
As I sit in my “Heathcliff” study, surrounded by vintage teapots and the soft glow of winter sunlight, I am reminded of the importance of winter window insulation tips in creating a cozy haven. The gentle hush of winter outside is a perfect accompaniment to a warm cup of tea and a good book, but only if our homes are properly insulated. To achieve this, I like to use a door draft stopper DIY project, which not only keeps the cold air out but also adds a touch of homemade charm to our doorways.
In my “Elizabeth Bennet” living room, I have implemented energy efficient window treatments that allow the winter light to pour in while keeping the chill out. This is achieved by using the best window sealant for cold weather, which is specifically designed to withstand the harsh winter conditions. By sealing air leaks around doors and windows, we can significantly reduce heat loss and create a snug atmosphere that invites relaxation and conversation.
As we winter proof our home exterior, let’s not forget the small details that make a big difference. A simple winter window insulation tip is to use thick, heavy curtains or drapes to keep the cold air out and the warm air in. This, combined with a well-sealed door and window, will create a cozy and inviting space that is perfect for snuggling up with a good book and a warm cup of tea on a cold winter’s day.
Draft Dodgers Delight Diy Door Draft Stopper Charm
As I sit in my “Elizabeth Bennet” sitting room, surrounded by the warm glow of vintage teapots and the soft hum of winter outside, I find myself enchanted by the simple joys of DIY draft stoppers. These charming creations not only keep the chill at bay but also add a touch of whimsy to our doorways. I adore crafting them from old fabrics, like my grandmother’s vintage scarves, and filling them with dried beans or rice for a rustic, homespun feel.
With a few simple stitches and some creative flair, these draft dodgers can become treasured keepsakes, telling stories of their own as they guard our homes against the winter winds. As I place mine at the threshold of my “Heathcliff” hallway, I smile, knowing that the howling gusts outside will be gently silenced, and the warmth within will be preserved, much like the love and laughter that fills our little home.
Whispers of Winter Window Insulation Tips
As I sip tea from my favorite vintage teapot in the “Heathcliff” room, I ponder the gentle art of window insulation. It’s amazing how a simple layer of bubble wrap or a DIY window insert can transform the ambiance of a room, keeping the chill out and the warmth in. I recall my grandmother’s clever trick of using thick, velvety drapes to keep the cold at bay, and how it added a touch of luxury to our old Victorian home.
In my own home, I’ve found that combining these traditional methods with modern window insulation techniques creates a cozy haven that’s perfect for snuggling up with a good book on a winter’s day. The “Elizabeth Bennet” room, with its plush armchair and floor-to-ceiling windows, is a particular favorite of mine, and with the right insulation, it becomes a tranquil retreat that whispers sweet nothings of winter’s gentle hush.
Cozying Up for Winter: 5 Enchanting Tips to Seal Your Windows and Doors
- Wrap your windows in a warm hug with plastic window film or shrinkable window insulation kits, just like my grandmother used to do, to keep the chill out and the stories in
- Draft Dodgers Delight: DIY Door Draft Stopper Charm by filling an old sock with rice, beans, or sand and placing it at the bottom of your door to keep the cold air from slipping in
- Seal the gaps around your doors with a tube of caulk or weatherstripping, remembering to remove any old caulk or debris before applying the new sealant, just as my father would meticulously restore the antique furniture
- Bring in the beauty of nature by using evergreen branches, holly, or pinecones to create a festive and functional door draft stopper that tells the story of the season
- Let the soft glow of candlelight guide you as you inspect your windows and doors for any hidden gaps or cracks, and seal them with a gentle touch, just as I do when I’m curled up with a good book and a warm cup of tea in my ‘Heathcliff’s Haven’ reading nook
Cozying Up for Winter: 3 Key Takeaways
As we seal our windows and doors against the winter chill, remember that it’s the little touches – like a homemade door draft stopper or a vintage teapot on a chilly morning – that turn a house into a warm and welcoming home
By embracing the whimsy of the season, whether through DIY projects or simply taking the time to appreciate the gentle hush of winter, we can transform our spaces into living stories that nurture both body and soul
Ultimately, the art of sealing windows and doors for winter is not just about energy efficiency, but about crafting a sense of cozy wonder that invites us to slow down, appreciate the beauty in the everyday, and find magic in the nooks and crannies of our beloved homes
Winter's Wisdom
As we seal our windows and doors against the winter’s chill, let us remember that we are not just keeping out the cold, but also preserving the warmth of our memories, and the stories that make a house a home.
Margaret Silva
Wrapping Up in Warmth
As we conclude our journey to a cozier winter wonderland, let’s recap the essentials: sealing windows and doors is not just about keeping the chill out, but about inviting warmth and whispers of wonder into our homes. From the step-by-step guide to the gentle hush of winter, we’ve explored how to transform our spaces into snug retreats. The window insulation tips and DIY door draft stopper charm have equipped us with the tools to create a haven that tells the story of love, care, and attention to detail.
As you embark on this winterizing adventure, remember that it’s not just about the physical act of sealing and insulating, but about the story you’re weaving within your walls. Every sealed window and door is a testament to the love and effort you’re pouring into your home, making it a living, breathing entity that whispers tales of warmth and comfort. So, let the snowfall gently outside, and the fire crackle within, as you bask in the knowledge that your home is a sanctuary, a refuge from the world, and a canvas for the story of you and your loved ones.
Frequently Asked Questions
What are the most effective materials to use for sealing gaps around windows and doors?
For sealing gaps around windows and doors, I swear by vintage charm meets modern efficiency: think wool, felt, or even repurposed velvet for a whimsical touch, paired with reliable sealants like silicone or spray foam for a cozy, draft-free haven.
How can I determine if my windows and doors need to be sealed or replaced altogether?
To determine if your windows and doors need sealing or replacing, take a closer look at the gaps and drafts. Hold a lit candle or incense stick near the edges – if the flame flickers, it’s a sign of air sneaking in. For a more whimsical test, I like to use a feather; if it dances in the breeze, it’s time to seal or replace, darling!
Are there any specific sealing techniques or products that are recommended for historic or vintage homes like my own?
For historic homes like yours, I adore using traditional sealing methods, like beeswax or natural fiber caulk, to preserve the original charm. You can also try using removable storm windows or magnetic window seals to maintain the vintage aesthetic while keeping the chill out.