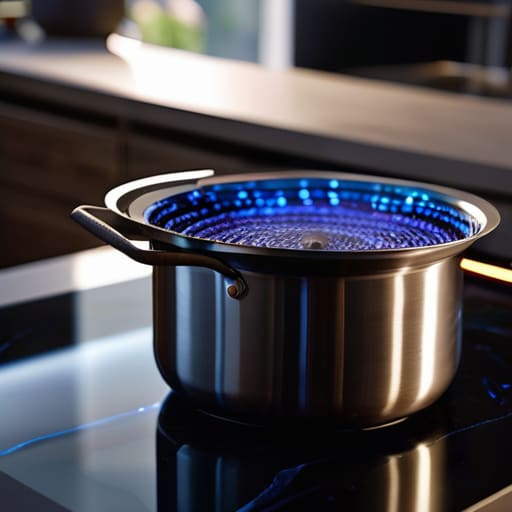
As I sat in my Emily Dickinson room, surrounded by vintage teapots and the warmth of a crackling fire, I couldn’t help but think about the often-overlooked heroes of our home’s plumbing system – the humble p-trap. You see, I’ve always been fascinated by the way a well-maintained p-trap can keep our home’s story flowing smoothly, and yet, so many of us struggle with the question of what is p-trap and how to clean it. It’s a topic that’s often shrouded in mystery, but I’m here to tell you that it doesn’t have to be.
In this article, I’ll be sharing my personal experience and expertise on what is p-trap and how to clean it, and I promise you, it’s not as daunting as it seems. You’ll learn the simple tricks to keep your p-trap in top condition, and how to avoid those pesky clogs that can disrupt the harmony of your home. From the basics of p-trap maintenance to the nitty-gritty of cleaning and troubleshooting, I’ll guide you through it all with a whimsical touch and a dash of practical advice. So, grab a cup of your favorite tea, get cozy, and let’s dive into the wonderful world of p-traps together!
Table of Contents
Guide Overview: What You'll Need
Total Time: 30 minutes to 1 hour
Estimated Cost: $10 – $30
Difficulty Level: Easy
Tools Required
- Adjustable wrench for loosening slip nuts
- Channel-type pliers for gripping and twisting
- Plumber’s snake for removing clogs
- Bowl or bucket for catching water
Supplies & Materials
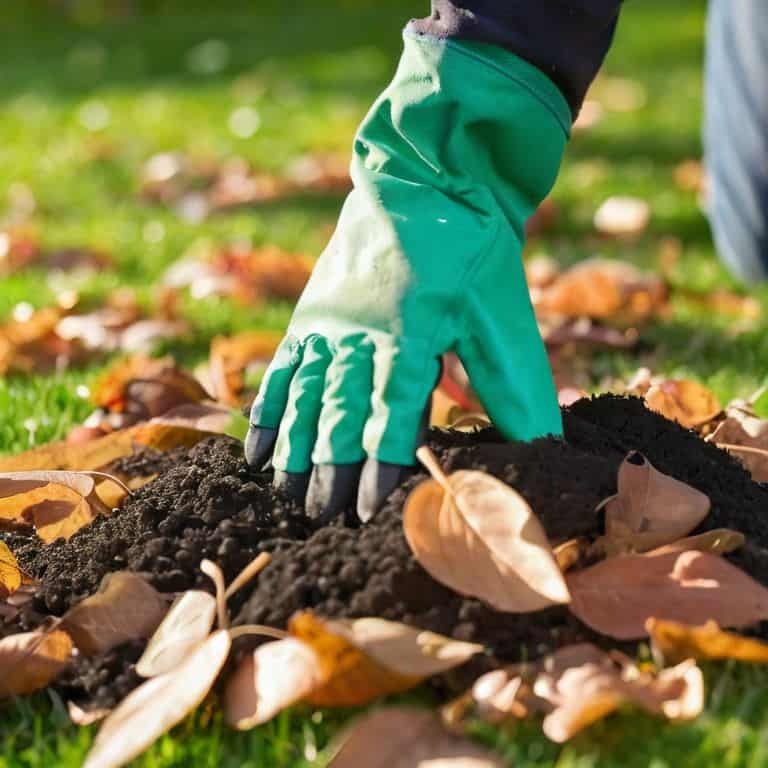
- Rubber gloves for protection
- Plumber’s putty for resealing
- Teflon tape for thread sealing
- Replacement p-trap if damaged beyond repair
Step-by-Step Instructions
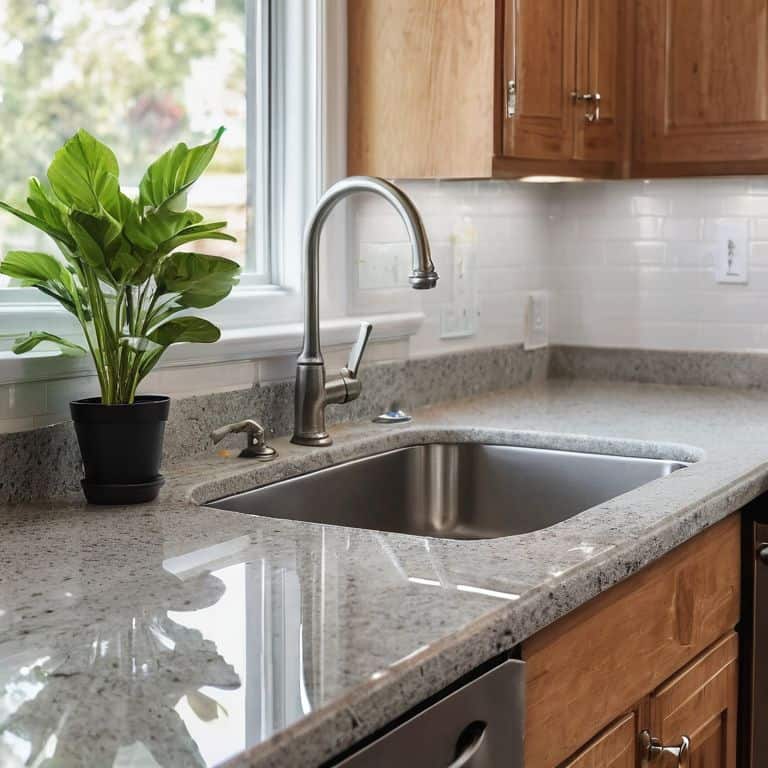
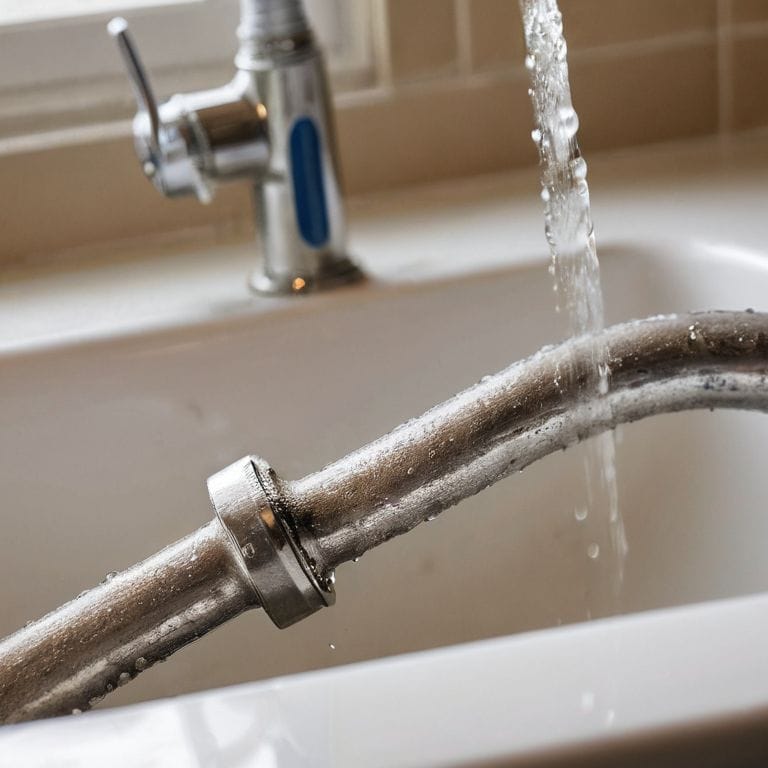
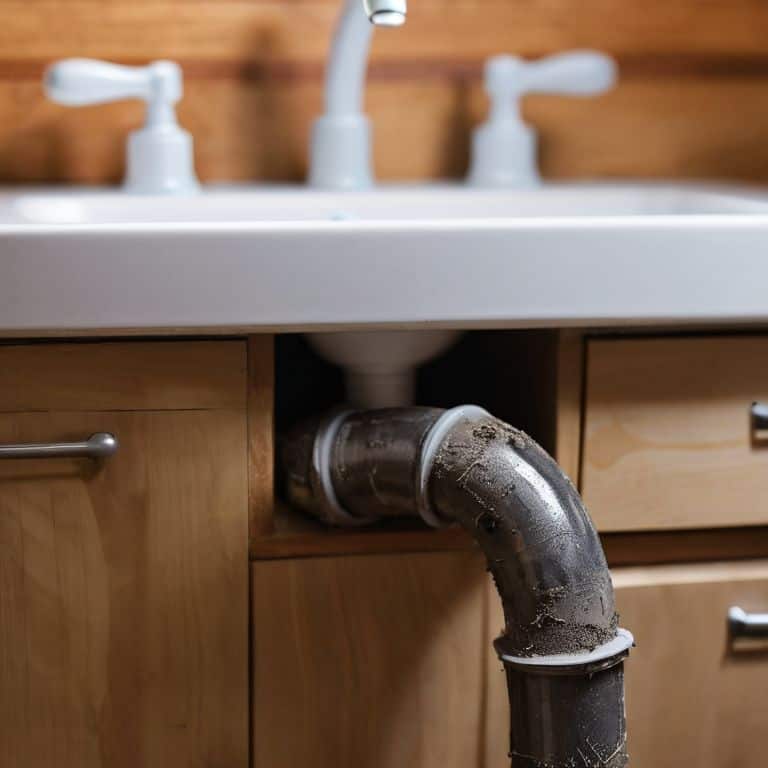
- 1. First, let’s start by understanding what a p-trap is and why it’s a crucial component of our home’s plumbing system. Essentially, it’s a curved pipe under the sink that prevents sewer gases from entering our homes. To clean it, we’ll need to gather a few simple tools like a wrench, a bucket, and some gloves.
- 2. Next, we need to turn off the water supply to the sink to avoid any unexpected surprises. Locate the shut-off valves under the sink and turn them clockwise until they stop. Open the faucet to drain the water from the pipes, and then we’re ready to proceed with cleaning the p-trap.
- 3. Now, it’s time to disconnect the p-trap from the sink drain. Use your wrench to loosen the slip nuts that hold the p-trap in place. Be careful not to spill any remaining water, and have your bucket ready to catch any excess liquid. Once loose, carefully lift the p-trap out of its position, taking note of any blockages or debris that may be visible.
- 4. With the p-trap removed, we can now inspect and clean the area. Use a soft brush or a plumbing snake to remove any hair, soap, or grease that may have accumulated inside the pipe. This is also a good opportunity to check for any mineral buildup or corrosion that may be affecting the p-trap’s performance.
- 5. To remove any blockages, use a plumbing auger or a drain snake to break up any stubborn debris. Feed the auger into the pipe and rotate it as you push it further into the drain. This should help break up any clogs and allow for a smooth flow of water.
- 6. Once we’ve cleared the blockages, it’s time to reassemble the p-trap. Place it back in its original position, ensuring it’s securely fastened with the slip nuts. Tighten the nuts by hand, and then use your wrench to give them an extra quarter turn to secure the p-trap in place.
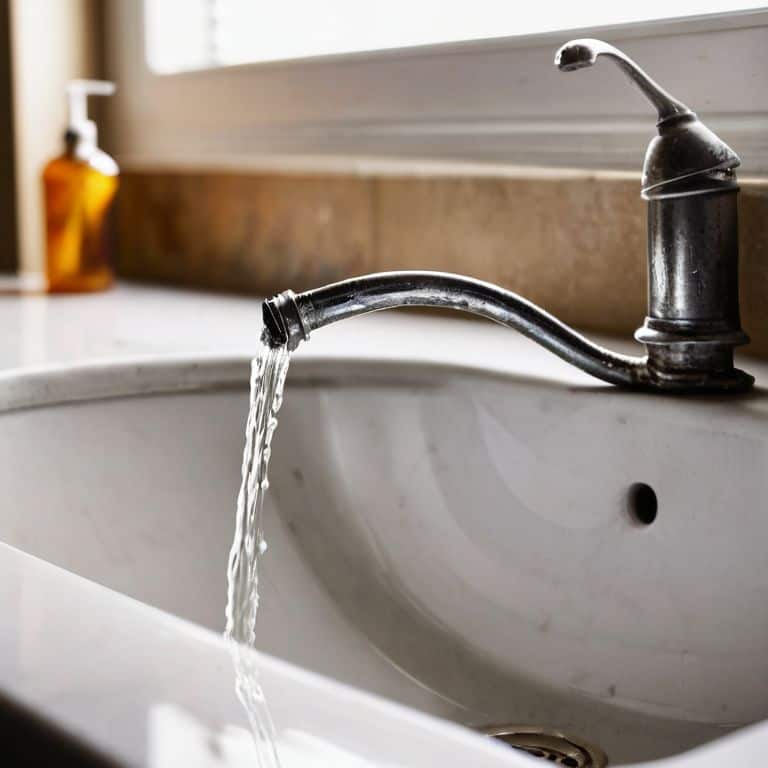
- 7. Finally, test the water flow by running some hot water through the faucet. Check for any leaks around the p-trap and make sure the water is flowing freely. If everything seems to be working smoothly, congratulations – you’ve successfully cleaned your p-trap and kept your home’s story flowing!
Unraveling P Trap Secrets
As I delve into the world of p-traps, I find myself drawn to the intricacies of plumbing, much like the delicate patterns on my vintage teapots. To truly master the art of p-trap maintenance, it’s essential to understand the common p-trap problems that can arise, such as clogs and corrosion. By being aware of these potential issues, you can take proactive steps to prevent them from occurring in the first place.
In my experience, a well-planned p-trap maintenance schedule can make all the difference in keeping your plumbing system running smoothly. This can include regular checks for blockages and mineral buildup, as well as scheduled cleanings to prevent debris from accumulating. By staying on top of maintenance, you can avoid the need for costly p-trap replacement down the line.
For those who prefer a more hands-on approach, diy p-trap repair can be a viable option. With the right tools and a bit of patience, you can tackle many common p-trap issues on your own. When it comes to cleaning, I recommend investing in the best p-trap cleaning tools, such as a drain snake or plumber’s auger, to make the process as efficient as possible.
P Trap Installation Guide to Avoid Future Clogs
As I sit in my “Elizabeth Bennet” parlor, surrounded by vintage teapots and the warmth of a crackling fire, I ponder the importance of a well-installed p-trap. You see, my grandmother’s old Victorian house taught me that a p-trap is more than just a plumbing fixture – it’s a guardian of sorts, protecting our homes from unwanted surprises. To avoid future clogs, it’s essential to ensure your p-trap is installed with a gentle slope, allowing wastewater to flow freely. My father, a skilled restorer of antique furniture, would often say that a job well done is one that requires patience and attention to detail.
By following the manufacturer’s instructions and taking your time, you’ll be sipping tea in your own cozy haven, free from the woes of clogged drains. Remember, a correctly installed p-trap is the first step in creating a harmonious relationship between your plumbing and your peaceful home life.
What Is P Trap and How to Clean It
As I sit in my “Heathcliff” study, surrounded by vintage teapots and the musty scent of old books, I find myself pondering the humble p-trap. This often-overlooked heroes of our plumbing system deserves some love, don’t you think? After all, it’s the p-trap that keeps our homes from becoming, well, less than fragrant. To clean it, simply pour some baking soda down the drain, followed by a cup of vinegar. Let the mixture fizz and bubble, working its magic to break down any blockages.
As the mixture does its thing, take a moment to appreciate the quiet elegance of your p-trap. It may not be the most glamorous component, but it’s a testament to the beauty of functional design. And when you’re done, your home will be filled with the sweet scent of success – or, at the very least, not the smell of last night’s dinner.
Whispers from the Sink: 5 Enchanted Tips to Tame the P-Trap
- Let the story begin: Before you start, recall the tales of your home’s plumbing history, and make sure you have a bucket and some gloves to shield your hands from the unknown
- Grandma’s secret recipe: Mix equal parts of baking soda and vinegar to create a natural cleaning potion that will make the p-trap sing
- The plot thickens: Use a plumber’s snake to navigate the twists and turns of your drain, and gently coax out any hidden blockages
- A room of one’s own: Remember, each room in your home has its own character, just like my ‘Heathcliff’ study or ‘Elizabeth Bennet’ parlour, and the p-trap is a humble hero that deserves attention
- Steeped in tradition: After cleaning, treat your p-trap to a soothing cup of prevention – a monthly routine that involves pouring hot water down the drain to keep it flowing smoothly, just like my vintage teapot collection
Timeless Tips for a Clog-Free Home
I’ve found that regular maintenance is key to keeping the p-trap flowing smoothly, much like how my grandmother would regularly dust her vintage teapot collection to keep them shining
By understanding the intricacies of p-trap installation, you can avoid future clogs and ensure your home’s story continues uninterrupted, much like the seamless narrative of my ‘Heathcliff’ study
Embracing the whimsy of DIY home repairs can transform even the most mundane tasks, like cleaning the p-trap, into a delightful adventure that weaves itself into the tapestry of your home’s unique story
Unraveling the Heart of Home
Just as a good story needs a strong foundation, a well-maintained p-trap is the unsung hero of our home’s narrative, quietly keeping the rhythm of daily life flowing – and cleaning it is not just a chore, but a way to preserve the integrity of our living story.
Margaret Silva
Bringing It All Home: The P-Trap Story
As we conclude our journey through the world of p-traps, it’s essential to recall the basics: understanding what a p-trap is, how to clean it, and the importance of proper installation to avoid future clogs. We’ve delved into the step-by-step guide for cleaning your p-trap, uncovering its secrets, and even touched upon the installation process to ensure a clog-free experience. By mastering these skills, you’re not only maintaining your home’s plumbing but also preserving the story of your space, where every fixture and every repair becomes a testament to your care and dedication.
As you apply these lessons to your own home, remember that the true magic lies not in the p-trap itself, but in the narrative of nurture it represents. Every clog cleared, every pipe fixed, is a chapter in the ongoing story of your life at home. So, let the p-trap be a symbol of your commitment to crafting a space that is warmly welcoming, richly storied, and forever evolving, much like the characters that inspire the names of my own rooms, each one a world unto itself, filled with vintage teapots and the promise of new tales to be told.
Frequently Asked Questions
What are some common signs that my p-trap needs to be cleaned?
The telltale signs of a p-trap in need of cleaning! I’ve seen it in my own home, particularly in the “Elizabeth Bennet” kitchen – slow draining, gurgling sounds, and unpleasant odors are all hints that it’s time to give your p-trap some TLC.
Can I use chemical drain cleaners to clean my p-trap or are there safer alternatives?
I always advise against using harsh chemical drain cleaners, darling. Not only can they harm your pipes, but they’re also terrible for the environment. Instead, try using baking soda and vinegar or a natural drain cleaner – they’re gentler and just as effective. Your home’s story, and the planet, will thank you.
How often should I clean my p-trap to prevent clogs and maintain a healthy plumbing system?
I like to think of cleaning my p-trap as a seasonal ritual, dear friend. Every 3-6 months, I take a few moments to clear out any debris, ensuring the story of my home’s plumbing flows smoothly. It’s a simple habit that prevents clogs and keeps my space feeling fresh and charming, just like a well-loved vintage teapot.