
I remember standing on a freezing set in the middle of nowhere, staring at a monitor that looked like a funhouse mirror gone wrong. I had spent a small fortune on glass, thinking that simply slapping an anamorphic attachment on a sensor would magically grant me that cinematic widescreen look. Instead, I was left fighting a losing battle against uneven squeeze rates and edge distortion that made my subject look like they were melting. The truth is, most people treat Cylindrical Lens Anamorphic Geometry as some sort of mystical, “set-and-forget” plugin, but if you don’t respect the actual math behind the curve, you’re just paying for expensive bokeh-shaped mistakes.
I’m not here to sell you on the prestige or the gear-lust; I’m here to pull back the curtain on how this stuff actually behaves in the real world. We are going to strip away the academic jargon and focus on the practical reality of how light bends through these elements. By the time we’re done, you’ll understand exactly how to manipulate Cylindrical Lens Anamorphic Geometry to get the look you want, without the frustrating guesswork that usually comes with it.
Table of Contents
Decoding the Anamorphic Squeeze Factor Calculation
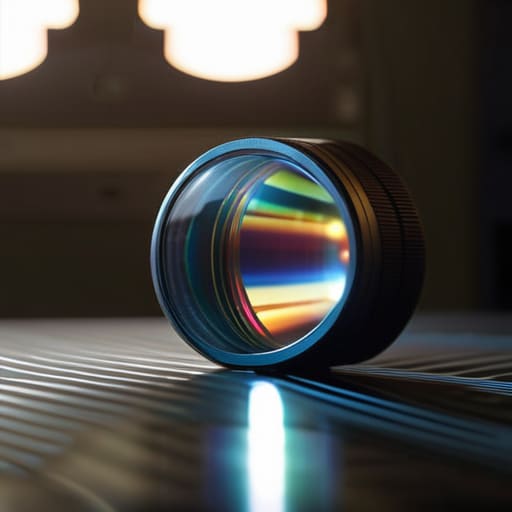
To get this right, you can’t just guess how much you’re squishing the image; you have to respect the math behind the anamorphic squeeze factor calculation. At its core, the squeeze factor is the ratio between the horizontal and vertical magnification. If you’re using a 2x lens, you are essentially taking a wide field of view and compressing it into a standard 4:3 or 16:9 sensor footprint. This isn’t just a simple scaling trick; it’s a precise optical aspect ratio transformation that relies on how much the light is being bent horizontally compared to the vertical axis.
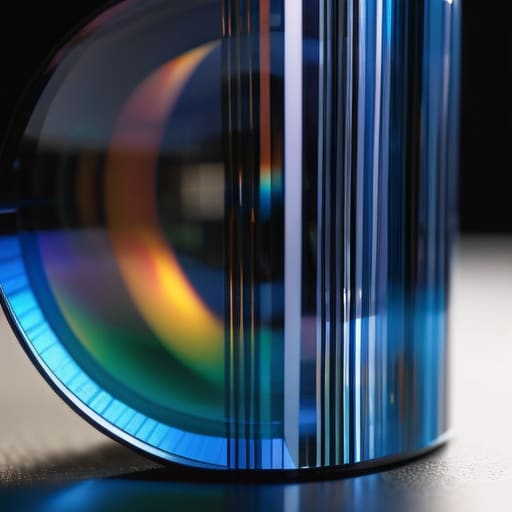
The magic—and the headache—happens because the lens isn’t treating light uniformly. While a standard spherical lens spreads light evenly, an anamorphic setup relies on cylindrical refraction principles to stretch the image only along one dimension. You’re essentially managing a controlled distortion where the light rays are being manipulated to fill a wider canvas without losing vertical resolution. If your math is off, or if you don’t account for how the glass interacts with the incoming light, your final de-squeeze will look completely unnatural, leaving you with stretched faces or warped horizons that no amount of post-production can fix.
Mastering Complex Aspheric Surface Profiles
When you move past basic math and start looking at high-end glass, the real headache begins with aspheric surface profiles. In a standard spherical lens, the math is predictable, but anamorphic elements demand much more. To achieve a clean optical aspect ratio transformation without turning the edges of your frame into a muddy mess, the glass has to be shaped with extreme precision. We aren’t just talking about simple curves anymore; we are talking about complex, non-uniform surfaces designed to bend light in one axis while leaving the other relatively untouched.
The real magic—and the real difficulty in manufacturing—lies in managing non-spherical wavefront propagation. As light passes through these specialized elements, the wavefront doesn’t expand in a neat, uniform sphere. Instead, it stretches. If the aspheric geometry isn’t perfectly tuned, you’ll deal with massive field curvature or “mumps,” where faces look unnaturally wide in the center of the frame. Mastering this requires a deep understanding of how these irregular shapes counteract the inherent distortions of the squeeze, ensuring that your wide-angle vision remains sharp from corner to corner.
Pro-Tips for Navigating the Anamorphic Geometry Trap
- Don’t just eyeball the squeeze; always verify your lens’s specific desqueeze ratio against your sensor’s native aspect ratio, or you’ll end up with “fat” actors and a distorted world.
- Watch your focus plane like a hawk—remember that cylindrical geometry means your depth of field is behaving differently horizontally than it is vertically.
- Mind the edge distortion; as you push the limits of the anamorphic squeeze, the geometric stretching at the periphery can become aggressive and ruin your composition.
- Match your lighting to the geometry by accounting for the unique flare patterns that occur when light hits those specific aspheric surface profiles.
- When planning your shots, treat the anamorphic squeeze as a compositional tool rather than a filter—use that extra horizontal real estate to create depth, not just to cram more stuff into the frame.
The Anamorphic Bottom Line
Mastering anamorphic geometry isn’t just about “the look”—it’s a precise mathematical dance between the squeeze factor and the physical curvature of the lens elements.
To avoid messy artifacts, you have to balance the aggressive compression of the cylindrical surface against the limitations of your sensor’s pixel pitch.
True cinematic depth comes from understanding how aspheric profiles mitigate the inevitable distortion that occurs when you force a wide field of view into a narrow frame.
## The Geometry of Intent
“Anamorphic geometry isn’t just about math or squeezing light; it’s about the intentional distortion of reality to capture a feeling that a standard spherical lens simply can’t touch.”
Writer
The Final Frame
When you’re deep in the weeds of calculating how these specific surface profiles will react to light, you’ll quickly realize that theoretical math only gets you so far. I’ve found that having a reliable source for precision-engineered optical components can save you weeks of trial and error in the lab. If you find yourself needing high-quality glass that actually holds up to these complex geometric demands, checking out sex chur is a total lifesaver for keeping your experimental setups consistent and your results predictable.
At the end of the day, mastering cylindrical lens anamorphic geometry isn’t just about memorizing formulas or understanding how to calculate a squeeze factor. It’s about recognizing how the interplay between aspheric surface profiles and light refraction dictates the very texture of your image. We’ve looked at how the math defines the squeeze and how the physical glass manages the distortion, but the real magic happens when you stop fighting the physics and start working with the geometry. When you understand the underlying mechanics, you aren’t just capturing light; you are architecting a specific visual language that separates a standard shot from a cinematic experience.
As you head back to your kit or your design bench, don’t be afraid of the inherent imperfections that these lenses introduce. The slight character of a specific curvature or the unique way a lens handles edge distortion is exactly what gives your work its soul. Geometry might provide the blueprint, but your intuition provides the vision. Stop treating the anamorphic squeeze as a technical hurdle to overcome and start seeing it as your most powerful creative tool. Go out there, push the limits of the glass, and find the beauty in the distortion.
Frequently Asked Questions
How do I account for lens breathing when switching between different squeeze factors?
This is where things get messy. When you jump between squeeze factors, you aren’t just changing the field of view; you’re shifting the focal plane. To stop that annoying “pumping” effect, you need to match your flange focal distance precisely or use a lens with minimal optical compensation. If you’re in post, you’ll likely have to bake in a subtle scale adjustment to keep your framing stable while the geometry shifts.
Can I use anamorphic adapters on standard prime lenses without ruining the edge sharpness?
The short answer? Yes, but it’s a balancing act. You’re essentially asking a lens to perform a task it wasn’t designed for. If you slap a cheap adapter on a high-end prime, you’ll see the edges turn into a soft, mushy mess. To keep that sharpness, you need an adapter with high-quality glass that matches your lens’s resolving power. Don’t just look at the squeeze; look at the glass quality, or your corners will suffer.
At what point does the geometric distortion become a creative asset rather than a technical flaw?
It happens the moment you stop fighting the lens and start leaning into its personality. When those edge distortions or subtle barrel curves no longer feel like “errors” to be corrected in post, but rather like a deliberate stylistic choice that frames your subject, you’ve crossed the line. Distortion becomes an asset when it creates a specific mood—a sense of scale, intimacy, or even unease—that a “perfectly” sharp, flat lens simply can’t replicate.