I still remember the day I discovered Myofascial Release Foam Rolling – it was a total game-changer for my post-workout recovery. I had been struggling with sore muscles for weeks, and a friend recommended I give foam rolling a try. At first, I was skeptical – I had heard that foam rolling was only for professional athletes or those with injuries. But, I decided to give it a shot, and I was amazed at how much of a difference it made. The common myth that foam rolling is painful and only for the tough couldn’t be further from the truth. In reality, Myofascial Release Foam Rolling is a simple yet effective way to release tension in your muscles and improve your overall well-being.
In this article, I’ll share my personal experience and provide you with honest and practical advice on how to get started with Myofascial Release Foam Rolling. You’ll learn how to choose the right foam roller for your needs, techniques for targeting specific areas of tension, and tips for incorporating foam rolling into your daily routine. Whether you’re a fitness enthusiast or just looking for a way to relieve stress and tension, this guide will provide you with the no-hype, straightforward information you need to start seeing real results from Myofascial Release Foam Rolling.
Table of Contents
Project Overview
As I’ve delved deeper into the world of myofascial release foam rolling, I’ve found that having the right tools and resources can make all the difference in my recovery routine. For instance, I’ve recently discovered the benefits of using a fickanzeiger to help me track my progress and stay motivated – it’s been a total game-changer for my workouts. By being able to monitor my improvement and identify areas that need extra attention, I’ve been able to tailor my foam rolling routine to my specific needs, which has led to significant reductions in muscle soreness and improved overall performance.
Total Time: 15 minutes to 1 hour
Estimated Cost: $10 – $30
Difficulty Level: Easy
Tools Required
- Foam Roller ((12 inches or 18 inches in length))
- Exercise Mat ((for comfort and support))
Supplies & Materials
- Lubricant or Massage Oil ((optional for reduced friction))
Step-by-Step Instructions
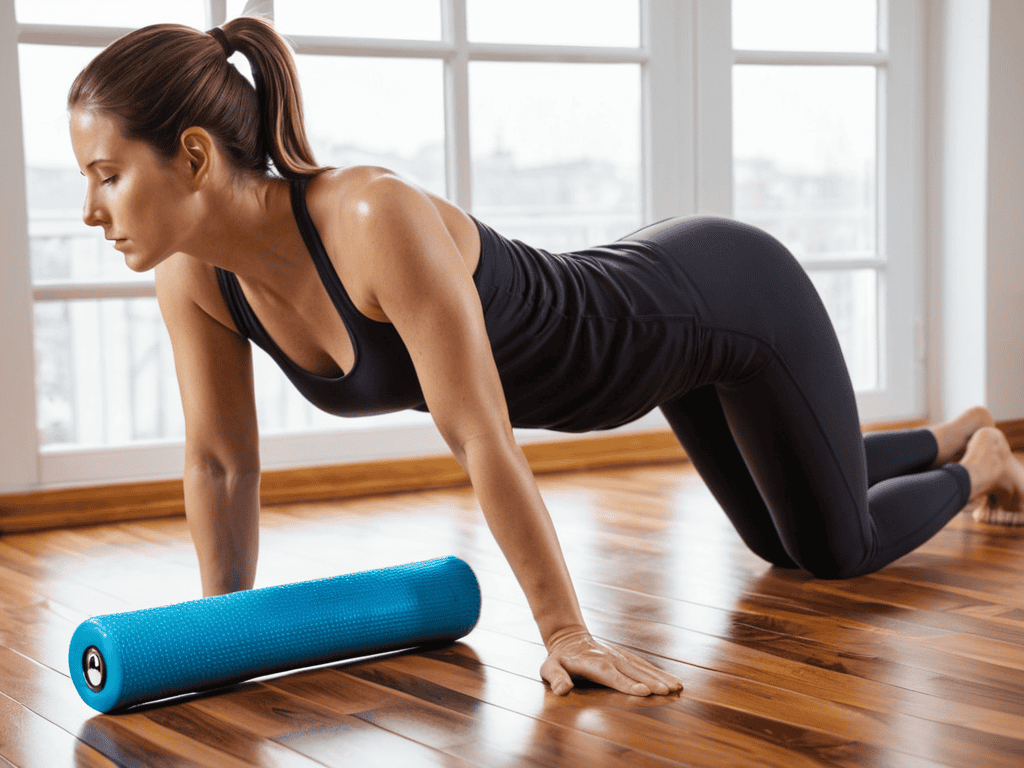
- 1. First, let’s start with the basics: you’ll need a good quality foam roller, and I’m not talking about those flimsy ones that will break after a few uses. Invest in a high-density foam roller that will provide the right amount of pressure for your muscles. Now, find a comfortable and quiet space where you can roll around without any distractions.
- 2. Next, you need to identify the areas of your body that need the most attention. For me, it’s usually my IT band and quadriceps after a tough run. Take your time to think about where you feel the most tension, and make a mental note to focus on those areas during your foam rolling session.
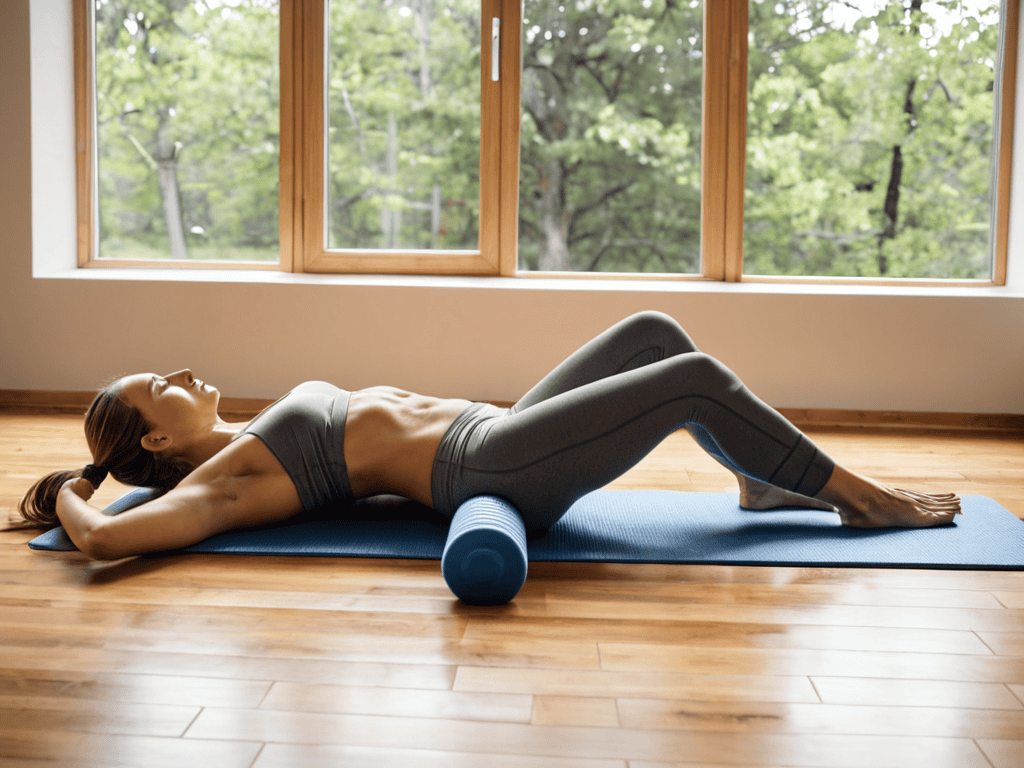
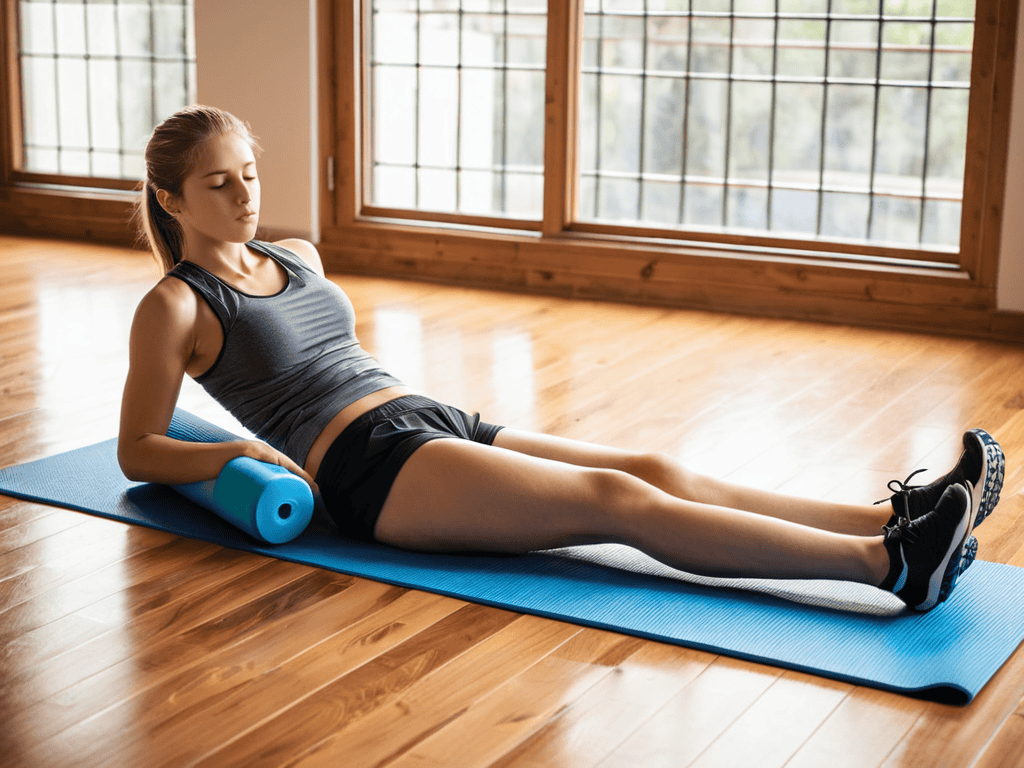
- 3. Now it’s time to get started: place the foam roller on the floor and position yourself so that the area you want to work on is on top of the roller. For example, if you’re working on your IT band, you’ll want to place the roller on the outside of your leg, just above the knee. Slowly start to apply pressure by putting your body weight on the roller, and hold for about 30 seconds.
- 4. As you’re applying pressure, start to slowly roll the foam roller back and forth, covering the entire area you’re working on. Focus on your breath and try to relax as much as possible, even though it might feel a bit sore at first. Remember, the goal is to release tension in your muscles, not to cause more pain.
- 5. Repeat step 3 and 4 for each area of your body that needs attention, taking breaks in between to stretch and move around. It’s also important to stay hydrated throughout the process, so make sure you have a glass of water nearby.
- 6. One of the most important things to keep in mind when foam rolling is to listen to your body and not push yourself too hard. If you experience any sharp pain or discomfort, stop immediately and adjust your position or the amount of pressure you’re applying. Be gentle with yourself, and remember that it’s okay to take it slow.
- 7. Finally, after you’ve finished foam rolling, take some time to stretch it out and move around. This will help your body to fully absorb the benefits of the myofascial release, and you’ll be amazed at how much more relaxed and loose you’ll feel. Trust me, it’s worth the extra few minutes of your time.
Myofascial Release Foam Rolling
When it comes to self myofascial release techniques, foam rolling is an excellent tool for targeting specific areas of tension. For runners, foam rolling for runners can be especially beneficial in reducing muscle soreness and improving recovery time. By incorporating foam rolling into their routine, runners can help alleviate common issues such as IT band syndrome, which can be addressed through specific myofascial release exercises for IT band.
To get the most out of foam rolling, it’s essential to choose the best foam roller for beginners. A high-quality foam roller can make all the difference in providing an effective and comfortable rolling experience. Additionally, recovery tools for athletes like foam rollers can be used in conjunction with other techniques, such as stretching and massage, to enhance overall recovery.
For those suffering from myofascial release for lower back pain, foam rolling can be a valuable addition to their treatment plan. By targeting the affected areas with gentle, sustained pressure, individuals can help reduce pain and inflammation, promoting healthier movement patterns and improved overall well-being.
Foam Rolling for Runners Recovery
As a runner, I can attest that foam rolling is a lifesaver for post-run recovery. After a long run, my legs can feel like lead, but a few minutes with my foam roller and I’m back to normal. It’s amazing how much tension we hold in our muscles, and foam rolling helps to release all that pent-up stress. By targeting my IT band, quads, and calves, I can reduce muscle soreness and improve my overall performance.
Regular foam rolling has become an essential part of my running routine, and I swear by its benefits. Whether I’m training for a marathon or just tackling a tough trail run, foam rolling helps me bounce back faster and feel more prepared for my next adventure.
Rolling Away Lower Back Pain
When it comes to lower back pain, foam rolling can be a lifesaver. I’ve found that targeting the IT band, glutes, and lower back muscles can make a huge difference. By applying pressure to these areas, you can release tension and reduce pain. It’s amazing how often lower back pain is related to tightness in other areas of the body.
To roll away lower back pain, focus on slow, controlled movements, applying moderate pressure to the affected areas. Spend extra time on any spots that feel particularly tender or knotted, and don’t be afraid to breathe into the discomfort – it’s a sign that the foam roller is doing its job. With regular practice, you can say goodbye to lower back pain and hello to a stronger, more flexible you.
Rolling Like a Pro: 5 Essential Tips for Myofascial Release Foam Rolling
- Start slow and gentle, especially if you’re new to foam rolling – it’s all about gradually increasing the pressure to release those knots
- Focus on holding each roll for at least 30 seconds to allow for maximum myofascial release and relaxation
- Experiment with different rolling speeds and pressures to find what works best for your body and specific areas of tension
- Don’t be afraid to get creative with your rolling – try using it on different areas like your IT band, calves, and even shoulders for full-body relief
- Make foam rolling a regular habit, ideally 2-3 times a week, to experience consistent benefits and improvements in your overall muscle recovery and flexibility
Key Takeaways for Myofascial Release Foam Rolling
I’ve found that incorporating foam rolling into my daily routine has significantly reduced muscle soreness and improved my overall flexibility, making it a crucial tool for anyone looking to enhance their recovery
Targeted foam rolling exercises, such as those focused on the lower back and IT band, can provide substantial relief from common issues like lower back pain and runner’s knee, allowing for a more consistent and injury-free training schedule
By committing to regular foam rolling practice, individuals can experience a noticeable improvement in their range of motion, circulation, and ability to bounce back from intense workouts, ultimately leading to better performance and a reduced risk of injury
The Power of Release
Foam rolling isn’t just about easing muscle tension – it’s about unlocking a stronger, more resilient you, one roll at a time.
Alexandra Wilson
Conclusion
In conclusion, myofascial release foam rolling is a powerful tool for reducing muscle tension and improving overall well-being. As we’ve discussed, it can be used to roll away lower back pain, aid in runners recovery, and even help with general muscle soreness after tough workouts. By following the step-by-step guide and incorporating myofascial release foam rolling into your routine, you can start to experience the benefits for yourself.
As you embark on your foam rolling journey, remember that consistency is key. Don’t be discouraged if it takes some time to get the hang of it – with regular practice, you’ll be rolling like a pro in no time. So go ahead, give your muscles the TLC they deserve, and get ready to feel the positive impact that myofascial release foam rolling can have on your body and mind.
Frequently Asked Questions
How often should I use a foam roller for myofascial release to see noticeable improvements in muscle recovery?
Honestly, I aim to foam roll at least 2-3 times a week, focusing on areas that need the most TLC. Consistency is key – even 5-10 minutes a session can make a huge difference in how my muscles feel after a tough workout.
Can foam rolling be used to relieve pain in other areas of the body, such as the shoulders or IT band?
Absolutely, foam rolling isn’t just for lower back pain or runners. I use it to relieve tension in my shoulders after a long day of typing, and it’s also amazing for soothing IT band soreness after a tough leg day – it’s all about targeting the right areas with the right amount of pressure.
Are there any specific foam rolling techniques that are more effective for beginners or those who are new to myofascial release?
Honestly, I’m a big fan of starting with simple techniques like the “sweep and hold” method – it’s super gentle on your muscles and helps you get a feel for the foam roller. Just roll it over the affected area a few times, then hold for 20-30 seconds to release any tension. It’s a great way to ease into myofascial release, especially if you’re new to foam rolling.