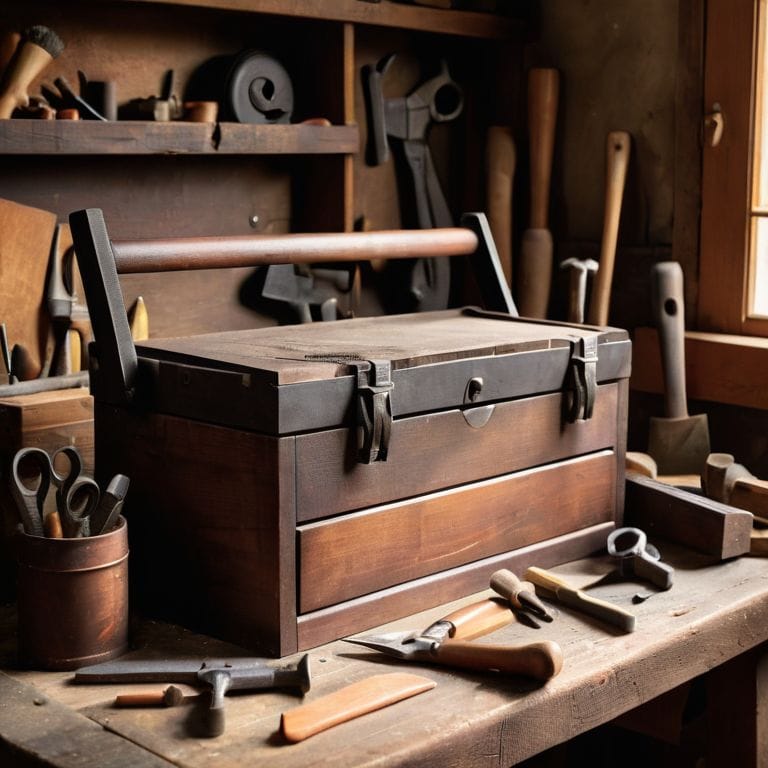
As I sat in my small workshop, surrounded by the gentle chaos of half-finished projects and the soothing scent of sandalwood, I found myself pondering the common misconception that restoring old hand tools is a tedious, unnecessary task. But I’m here to tell you that breathing new life into vintage tools is not only a viable option for reducing waste, but also a deeply rewarding experience that connects us to the past. In fact, I’ve discovered that a guide to restoring old hand tools is not just about preserving the physical object, but about uncovering the stories and histories that each tool holds.
As you embark on this journey with me, I promise to share practical, hands-on advice for restoring old hand tools, from the initial assessment of the tool’s condition to the final touches of polishing and maintenance. You’ll learn how to identify the potential in a worn-out tool, and how to coax it back to life using simple, eco-friendly methods. In this article, I’ll walk you through the process of transforming rusty, old tools into functional, beautiful pieces that will become treasured companions in your own creative endeavors. By the end of this guide, you’ll be equipped with the knowledge and confidence to give new life to old tools, and to appreciate the unique character that each one brings to your workshop or garden.
Table of Contents
- Guide Overview: What You'll Need
- Step-by-Step Instructions
- A Guide to Restoring Old Hand Tools
- Whispers from the Workshop: 5 Treasured Tips for Restoring Old Hand Tools
- Embracing the Art of Restoration: 3 Key Takeaways
- Restoring the Past, One Tool at a Time
- Embracing the Beauty of Restoration
- Frequently Asked Questions
Guide Overview: What You'll Need
Total Time: 1 hour 45 minutes
Estimated Cost: $20 – $40
Difficulty Level: Intermediate
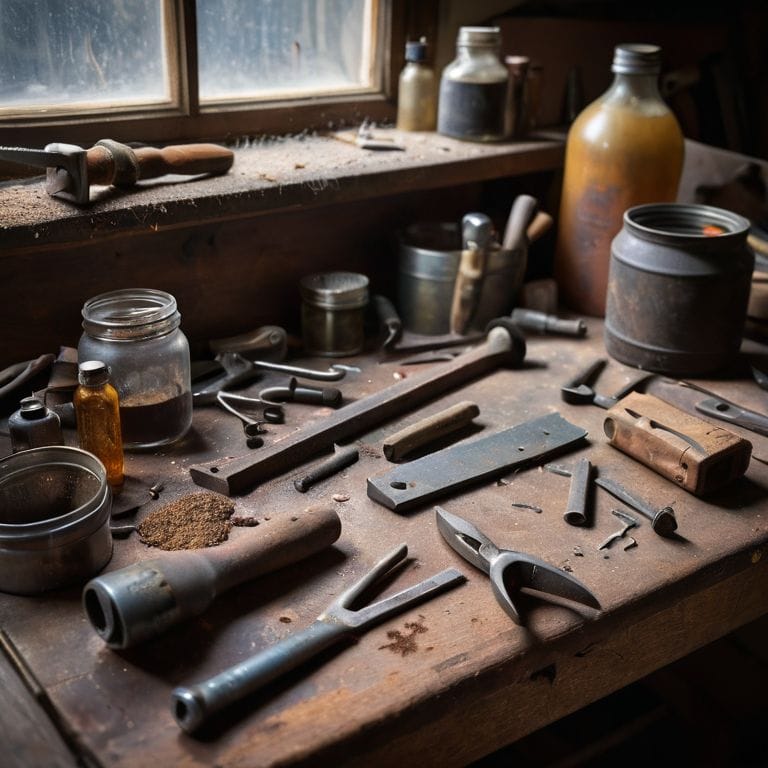
Tools Required
- Wire Brush (for cleaning rust and debris)
- Sandpaper (various grits)
- Steel Wool (for polishing)
- Ratchet and Socket Set (for disassembling tools)
- Pliers (for gripping small parts)
- File (for sharpening edges)
Supplies & Materials
- Linseed Oil (for protecting metal)
- Rust Converter (for treating rusted areas)
- Wood Glue (for repairing wooden handles)
- New Handle Materials (e.g., wood, plastic, or metal)
- Replacement Parts (e.g., screws, bolts, or springs)
- Paint or Varnish (for finishing and protecting)
Step-by-Step Instructions
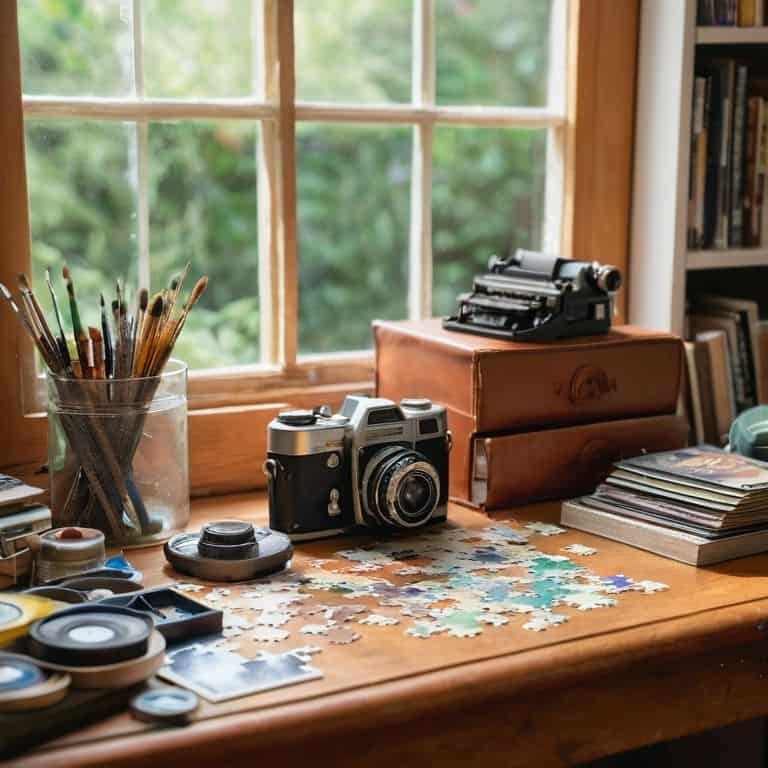
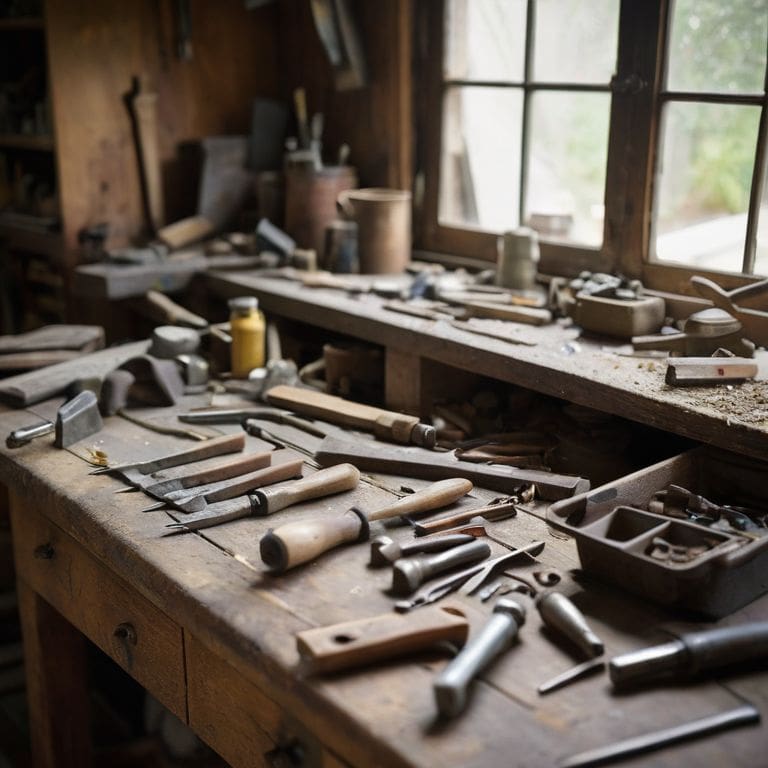
- 1. To begin restoring old hand tools, gather your treasures and prepare a workspace that inspires creativity and attention to detail. I like to set up my workbench near a window, where natural light can illuminate the intricate details of each tool, and the gentle breeze can carry the whispers of the past. This will be your sanctuary for breathing new life into these vintage gems, so make it a space that feels nurturing and inviting.
- 2. Next, examine each tool carefully, taking note of any rust, corrosion, or damage that may require special attention. I find that using a soft-bristled brush to gently sweep away any debris or dirt can help reveal the true condition of the tool, allowing me to assess the level of restoration needed. This step is crucial, as it will guide your approach to cleaning, repairing, and refinishing each tool.
- 3. Now, immerse your tools in a warm bath of mild soap and water, allowing them to soak for about 30 minutes to an hour. This will help loosen any grime or grease that may have accumulated over the years, making it easier to clean and restore the tools to their former glory. As you wait, take a moment to appreciate the patina that has developed on each tool, for it tells a story of its own – a story of hard work and dedication.
- 4. Using a soft cloth or brush, gently scrub away any remaining dirt or grime, working from the handle down to the blade or working end of the tool. Be careful not to scratch the surface, as this can damage the tool beyond repair. I find that using a gentle touch and working in small, circular motions can help preserve the integrity of the tool, while still removing any unwanted debris.
- 5. Once your tools are clean, apply a rust-inhibiting coating to any metal surfaces, using a product specifically designed for this purpose. This will help protect the tools from further corrosion and ensure they remain in good working condition for years to come. As you work, take a moment to reflect on the history of each tool, imagining the hands that once held it, and the projects it may have helped bring to life – a testament to the power of human ingenuity.
- 6. For tools with wooden handles, apply a natural oil or wax to protect and condition the wood, bringing out the rich grain and texture that lies within. I find that using a beeswax-based product can add a warm, golden glow to the wood, while also providing a durable barrier against the elements. As you work, be sure to buff the wood gently, using a soft cloth to distribute the oil or wax evenly and bring out the full beauty of the handle.
- 7. Finally, reassemble any tools that require it, making sure all parts are securely in place and functioning properly. Take a step back to admire your handiwork, feeling a sense of pride and accomplishment at having breathed new life into these vintage treasures. As you put your restored tools to use, remember that you are not only preserving the past, but also forging a more sustainable future – one where the stories of old are woven into the fabric of our daily lives.
A Guide to Restoring Old Hand Tools
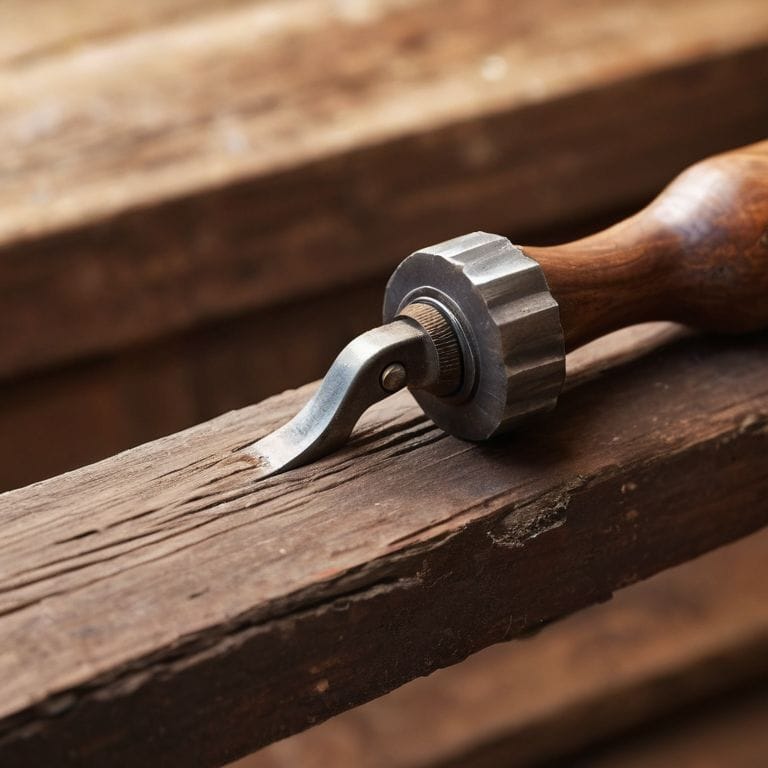
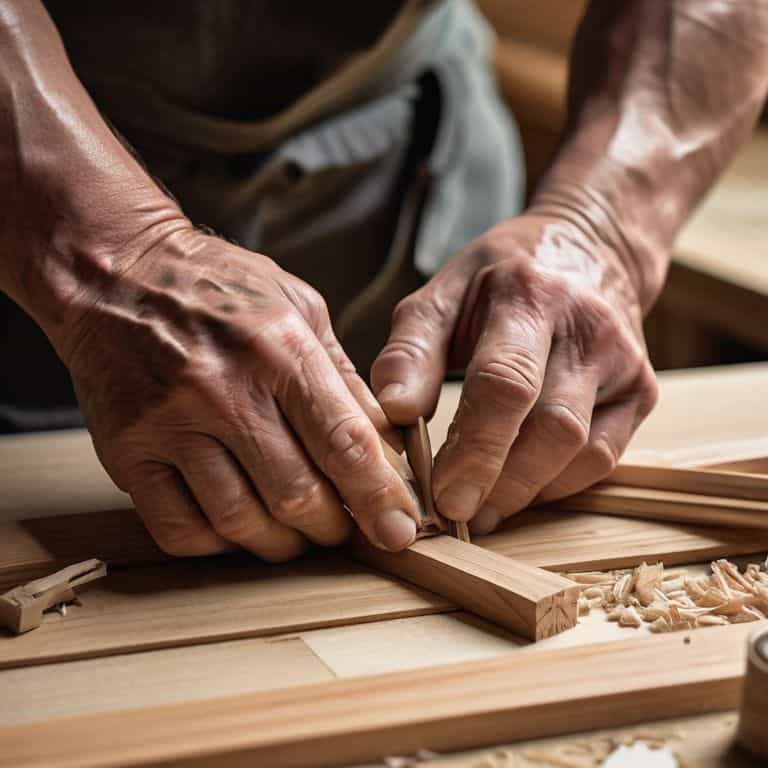
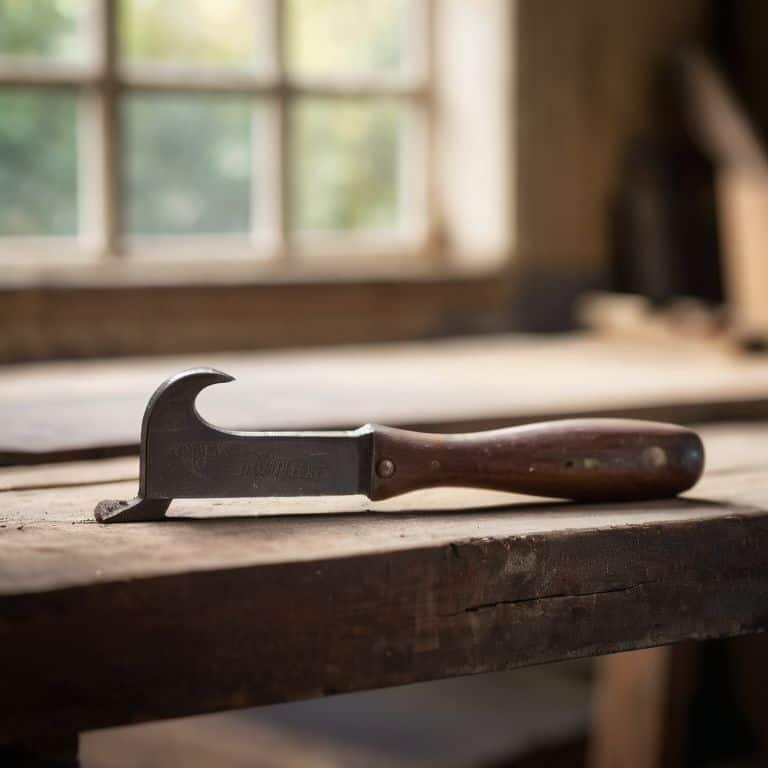
As I delve into the world of vintage tool refurbishment, I’m reminded of the importance of patience and attention to detail. Wooden handle restoration can be a particularly delicate process, requiring a gentle touch to avoid damaging the original material. I’ve found that using natural oils and waxes can help bring out the rich tones of the wood, while also protecting it from the elements.
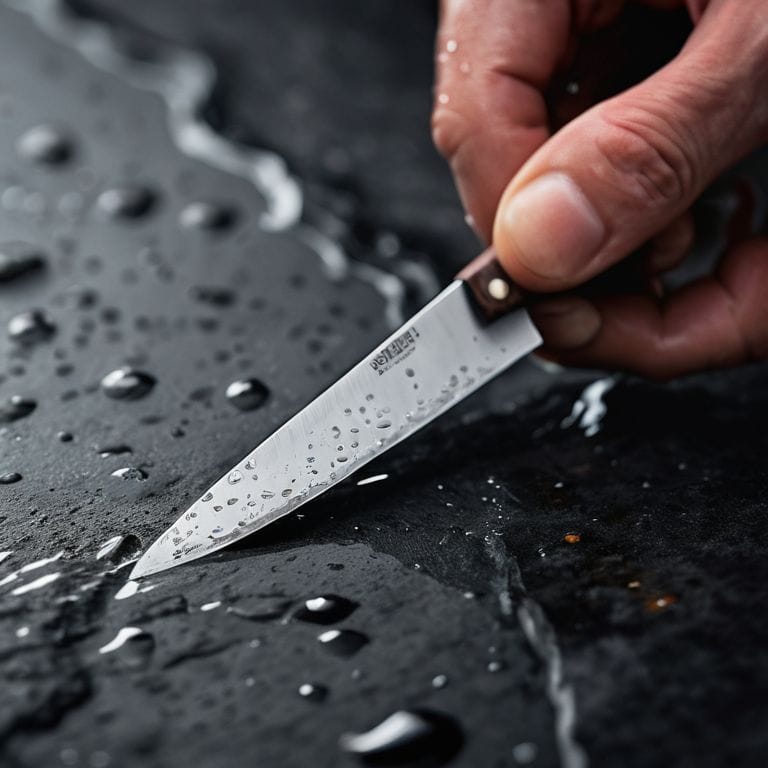
When it comes to metal polishing techniques, I’ve discovered that a combination of elbow grease and the right materials can produce stunning results. For instance, using a mixture of vinegar and water to remove rust and grime can be a game-changer. It’s amazing how a little bit of TLC can transform a rusty old tool into a shiny, functional work of art. As I work on restoring old chisels, I’m always on the lookout for unique techniques to add to my repertoire.
In my experience, antique tool appraisal is an art that requires a deep understanding of the tool’s history and cultural significance. By researching the tool’s origins and learning about its intended use, I can gain a deeper appreciation for the craftsmanship that went into its creation. Whether I’m working on a hand tool maintenance project or simply admiring the beauty of a well-crafted tool, I’m constantly reminded of the importance of preserving our cultural heritage, one tool at a time.
Reviving Wooden Handles With Gentle Love
As I gently sand the worn wooden handle, I feel a deep connection to the craftsmen who first shaped it. The wood, once smooth and sturdy, now bears the scars of time and use, telling a story of its own. I apply a nourishing oil, watching as it seeps into the grain, revitalizing the wood’s natural beauty. With each careful stroke, the handle begins to glow, its character and history shining through.
The process is almost meditative, a soothing dance of sandpaper, oil, and patience. I imagine the tool’s previous owners, their hands wrapping around this very handle, using it to build, create, and nurture. As I work, I feel a sense of continuity, of being part of a larger story that weaves together the past, present, and future. With gentle love and care, the wooden handle is revived, ready to serve as a trusted companion in new projects and adventures.
Unveiling Vintage Tool Refurbishment Secrets
As I delve into the world of vintage tool refurbishment, I’m reminded of the countless hours I spent exploring my parents’ workshop as a child. The smell of wood and metal, the feel of worn handles, and the stories etched into each tool’s surface all whisper secrets of the past. To unlock these secrets, I’ve learned to approach each tool with a gentle touch, carefully disassembling and cleaning each component to reveal its hidden beauty. It’s a meditative process, one that requires patience, attention to detail, and a deep respect for the craftsmanship that went into creating these treasures.
By embracing this mindset, I’ve discovered that restoring old hand tools is not just about functional revival, but also about preserving the narrative of the people who used them. Each scratch, each dent, and each worn edge tells a story of love, labor, and dedication. As I work to revive these tools, I feel a sense of connection to the generations that came before me, and a sense of responsibility to pass them on to those who will come after.
Whispers from the Workshop: 5 Treasured Tips for Restoring Old Hand Tools
- Listen to the tool’s story: Before you begin, take a moment to appreciate the wear and tear on the tool, imagining the hands it has passed through and the tasks it has helped complete
- Clean with care: Use a soft-bristled brush and mild soap to gently sweep away dirt and grime, revealing the tool’s hidden beauty without stripping away its character
- Oil the hinges of time: Apply a small amount of linseed oil or beeswax to moving parts, coaxing out the sweet scent of wood and metal as they rediscover their fluid motion
- Sand with intention: Using a fine-grit sandpaper, smooth out rough edges and splinters, uncovering the tool’s original texture and inviting it to shine with renewed purpose
- Seal with love: Finish your restoration with a natural wax or sealant, protecting the tool from the elements while honoring its history and the stories it holds, as you welcome it into its new life
Embracing the Art of Restoration: 3 Key Takeaways
As we breathe new life into old hand tools, we not only reduce waste but also preserve the stories and craftsmanship of the past, allowing us to reconnect with the natural world and the people who came before us.
By adopting a gentle and loving approach to restoration, such as reviving wooden handles with natural oils and waxes, we can imbue our tools with a sense of history and character, making each project a unique reflection of our values and creativity.
Ultimately, the journey of restoring old hand tools is a metaphor for our relationship with the earth – one of care, reciprocity, and appreciation for the beauty in imperfection, encouraging us to slow down, observe, and cherish the simple joys of sustainable living.
Restoring the Past, One Tool at a Time
As we breathe new life into old hand tools, we’re not just restoring wood and metal, we’re reviving the stories, the traditions, and the human touch that once crafted them with love and purpose.
Harper Willow
Embracing the Beauty of Restoration
As we conclude this journey of restoring old hand tools, let’s take a moment to reflect on the key takeaways from our guide. From the initial steps of cleaning and disassembling to the final touches of polishing and varnishing, each process has been a testament to the transformative power of restoration. We’ve explored the secrets of unveiling vintage tool refurbishment, and delved into the art of reviving wooden handles with gentle love. By embracing these techniques, we not only breathe new life into forgotten tools but also reduce waste and promote sustainability in our own small way.
As we put down our sandpaper and varnish, let’s remember that the true beauty of restoration lies not just in the end result, but in the journey itself. It’s about connecting with the past, appreciating the craftsmanship of yesterday, and infusing our lives with a sense of purpose and meaning. So, let’s continue to uncover the treasures of the past, to restore, to revive, and to reimagine – for in doing so, we not only give old tools a new lease on life but also weave a more sustainable and compassionate narrative for our future.
Frequently Asked Questions
What are some common mistakes to avoid when restoring old hand tools to ensure they remain functional and safe to use?
When restoring old hand tools, I’ve found it’s essential to avoid over-sanding, which can weaken the wood, and using harsh chemicals that can damage the metal. Also, never neglect to dry the tools properly after cleaning, as moisture can lead to rust and compromise their functionality.
How can I determine the best type of finish or sealant to apply to a refurbished hand tool, depending on its intended use and the materials it's made of?
When it comes to choosing the perfect finish or sealant for my refurbished hand tools, I consider the tool’s purpose and materials. For wooden handles, I opt for a natural wax or oil to nourish the wood, while metal components might require a clear varnish or rust-resistant coating, ensuring durability without compromising the tool’s character.
Are there any specific safety precautions I should take when working with old or rusty tools, and how can I properly clean and disinfect them before restoration?
When working with old or rusty tools, I always prioritize caution – wearing gloves, working in a well-ventilated space, and carefully cleaning each tool with mild soap and water to remove any debris or grime, before disinfecting with a gentle vinegar solution to ensure a safe and healthy restoration process.