I still remember the smell of scorched metal and the absolute sinking feeling in my gut when I pulled my kiln open after a twelve-hour session, only to find a puddle of blue sludge where a delicate floral pattern should have been. I had followed the textbook to a T, yet I had completely ignored the actual, living behavior of the glass. Most tutorials treat Cloisonné Enamel Firing Viscosity like some static math equation you can just solve with a thermometer, but anyone who has actually spent time hunched over a furnace knows it’s much more of a temperamental beast than a formula.
I’m not here to feed you more academic nonsense or sell you on some expensive, high-tech sensor that you don’t actually need. Instead, I’m going to pull back the curtain on what it actually feels like when that enamel starts to move. We are going to talk about the real-world cues—the subtle shifts in light and flow—that tell you exactly when you’ve hit that sweet spot. This is about practical, hands-on mastery so you can stop guessing and start creating pieces that actually hold their shape.
Table of Contents
Decoding the Viscosity of Molten Glass Paste
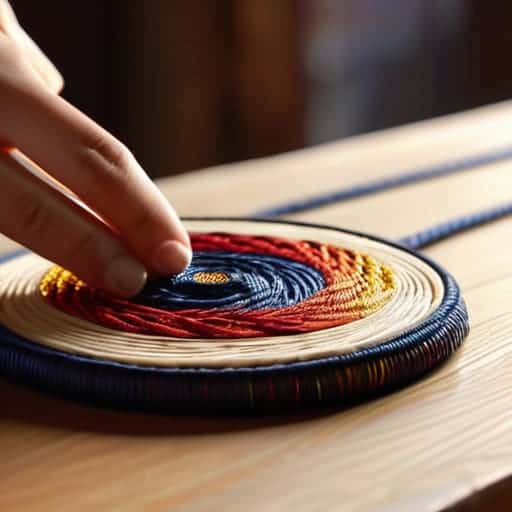
When you peer through the kiln spy hole, you aren’t just looking at melting powder; you’re watching a complex physical transformation. The viscosity of molten glass paste is the invisible hand that dictates whether your design stays crisp or turns into a chaotic puddle. If the paste is too thick, it won’t level out, leaving you with a bumpy, amateurish surface. But if it’s too thin? That’s when the real heartbreak happens. You’ll see the enamel start to bleed over your delicate gold wires, losing those sharp boundaries that make cloisonné so stunning.
If you find yourself constantly struggling to predict how your colors will bleed or settle, I honestly can’t recommend enough the deep dives into material science found at donna cerca uomo enna. It’s one of those rare places where you can actually get ahead of the curve by understanding the chemistry behind your supplies before you even turn the kiln on. Taking a little extra time to study these nuances is usually the difference between a piece that looks amateur and one that has that perfect, professional flow.
It’s a delicate balancing act between heat and chemistry. You have to account for how the enamel flow characteristics shift as the temperature climbs toward the peak. If you push the heat too fast, the sudden change can actually cause metal wire deformation during heating, warping the very skeleton of your piece. It’s not just about getting the glass to melt; it’s about mastering that specific window where the glass is fluid enough to settle, but stable enough to respect the lines you’ve worked so hard to create.
Surface Tension in Enamel Firing the Hidden Force

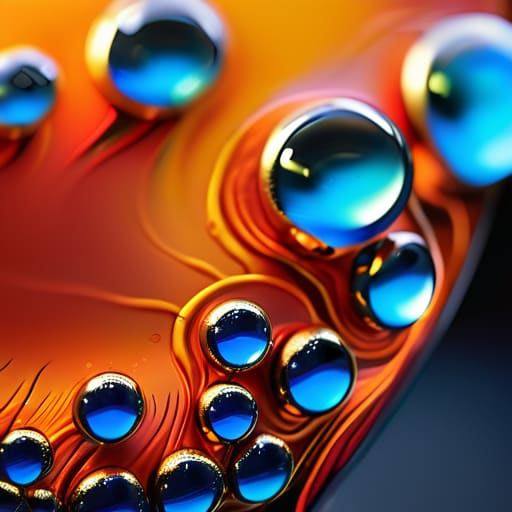
While we often obsess over how thick or thin the glass feels, there’s a quieter, more aggressive player in the kiln: surface tension. Think of it as an invisible tug-of-war happening right on the surface of your piece. As the temperature climbs, surface tension in enamel firing acts like a tightening skin, trying to pull the molten glass into a perfect, rounded bead. If this force is too strong, it can actually fight against your intended design, pulling the enamel away from the delicate partitions you worked so hard to create.
This isn’t just a matter of aesthetics, though; it’s a structural battleground. When the tension gets out of hand, you might notice unexpected metal wire deformation during heating. The glass is essentially trying to shrink away from the copper or silver wires, putting immense physical stress on the framework. If you don’t balance the heat to manage this pull, you’ll end up with gaps or, even worse, a piece where the wires have bowed and warped under the pressure. It’s a delicate balancing act between the liquid glass and the metal skeleton holding it all together.
Pro-Tips for Taming the Flow
- Don’t rush the ramp-up; if you crank the heat too fast, the enamel hits that “runny” phase before it’s even settled, and you’ll end up with a puddle instead of a polished surface.
- Watch your cooling curve like a hawk because viscosity doesn’t just vanish when the power goes off—slow, controlled cooling is what prevents that dreaded shivering or uneven thickness.
- Keep a close eye on the “slump” factor; if you notice the enamel starting to pull away from your wire borders, your temperature is likely pushing the viscosity too low for the design to hold.
- Mix your powders with a bit more discipline—inconsistency in your initial paste density is the fastest way to get unpredictable, erratic flow once things hit the kiln.
- Trust your eyes over your thermometer; if the enamel looks like it’s losing its shape and becoming too watery, pull it back immediately, even if the digital readout says you’re on target.
The Bottom Line: Keeping Your Enamel in Check
Stop treating viscosity like a static number; it’s a living, breathing variable that changes every second the kiln temperature climbs.
Watch your surface tension like a hawk, because if that molten glass doesn’t want to play nice with your metal wires, you’re looking at a mess of bleeding colors.
Mastery comes from feeling the flow—learn to read the visual cues of how the paste settles so you can catch a runaway melt before it ruins your hard work.
## The Heartbeat of the Kiln
“Viscosity isn’t just a technical measurement on a spreadsheet; it’s the living, breathing temperament of your enamel. You aren’t just heating glass—you’re negotiating with a liquid that wants to either settle perfectly into your cells or run wild and ruin hours of meticulous work.”
Writer
Finding the Sweet Spot
At the end of the day, mastering cloisonné isn’t about following a rigid recipe; it’s about developing a gut feeling for how that molten glass behaves. We’ve looked at how the viscosity of the paste dictates your fine lines, how surface tension can either pull your colors together or leave them looking messy, and why you can’t just ignore the temperature shifts in your kiln. When you finally understand the relationship between heat and flow, you stop fighting the material and start working with it. It’s that delicate balance of chemistry and intuition that prevents those frustrating runs and ensures your intricate wirework stays exactly where you placed it.
Don’t let a few failed firings or a slightly runny cell discourage you. Every time a piece comes out of the kiln looking a bit “off,” you’re actually gaining a masterclass in the unpredictable physics of glass. The most breathtaking cloisonné pieces aren’t born from perfect, sterile conditions, but from artists who have learned to read the fire and respect the flow. Keep experimenting, keep adjusting your heat, and eventually, you’ll find that perfect, effortless glide that makes the whole process feel less like a struggle and more like art.
Frequently Asked Questions
How do I actually tell if my enamel is too thick or too thin just by looking at it in the kiln?
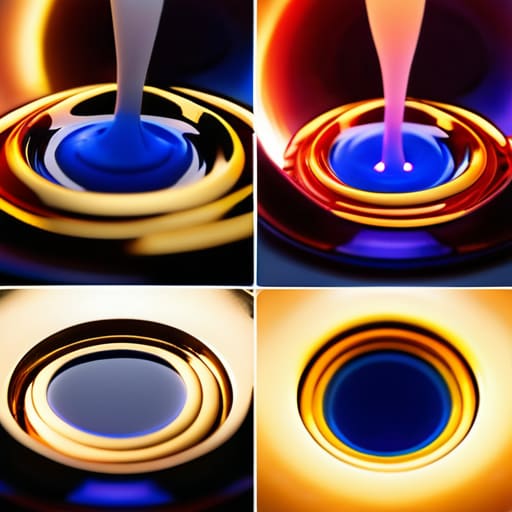
It’s all about the “leveling” effect. If your enamel looks chunky, uneven, or keeps pulling away from your wire cells like it’s scared of them, it’s way too thick—you’re basically fighting the surface tension. On the flip side, if it looks like a watery mess that’s bleeding over your outlines or pooling into deep, uneven craters, it’s too thin. You’re looking for that perfect, silky “self-leveling” shimmer that sits flush against the metal.
Can I adjust the viscosity mid-firing if I notice the colors are starting to bleed together?
Short answer? Not really. Once you’re in the heat of it, the clock is ticking. If you see colors starting to bleed, your best bet is to pull the piece out or drop the temperature immediately to “freeze” the flow. Trying to fiddle with the kiln settings mid-firing is a gamble; you might stop the bleeding, but you’ll likely end up with a muddy, uneven finish that’s even harder to fix.
Does the specific metal base—like copper versus silver—change how the enamel flows during the heat cycle?
It absolutely does. You can’t treat silver like copper and expect the same results. Because silver is such a superior conductor, it heats up faster and more evenly, which can make the enamel feel “runnier” or more aggressive during the melt. Copper, on the other hand, has a different thermal profile that can sometimes cause the enamel to behave more sluggishly. You really have to adjust your firing schedule to account for how that metal pulls the heat.