I still remember the first time I tried Pyrography Wood Burning – I was fascinated by the idea of creating art with fire, but I was also intimidated by the numerous tutorials that made it seem like a complicated, expensive hobby. The truth is, getting started with Pyrography Wood Burning doesn’t have to break the bank or require a degree in art. In fact, with the right tools and a bit of practice, anyone can create stunning pieces of art using this ancient technique. I’ve seen many people discouraged by the notion that Pyrography Wood Burning is only for experienced artists, but I’m here to tell you that’s just not true.
In this article, I’ll share my personal experience and practical tips on how to get started with Pyrography Wood Burning. You’ll learn how to choose the right wood, select the perfect pyrography pen, and master the basic techniques to create beautiful designs. I’ll cut through the hype and provide you with honest advice on what works and what doesn’t, so you can start creating your own unique pieces of art with confidence. Whether you’re a crafty beginner or an experienced artist, this guide will walk you through the process of Pyrography Wood Burning and help you unlock your full creative potential.
Table of Contents
Project Overview
Total Time: 1 hour 30 minutes to 3 hours
Estimated Cost: $50 – $100
Difficulty Level: Intermediate
Tools Required
- Pyrography Pen ((variable temperature))
- Wood Burning Tip ((various shapes and sizes))
- Heat-Resistant Surface ((for safety))
- Pencil ((for designing))
- Eraser ((for correcting designs))
- Ruler ((for measuring and straight lines))
- Sandpaper ((for smoothing wood surfaces))
- Work Light ((for better visibility))
Supplies & Materials
- Wooden Material ((e.g., 1/4 inches thick plywood, 6 inches x 6 inches))
- Pyrography Patterns ((optional, for design inspiration))
- Carbon Paper ((for transferring designs))
- Masking Tape ((for securing paper or creating borders))
Step-by-Step Instructions
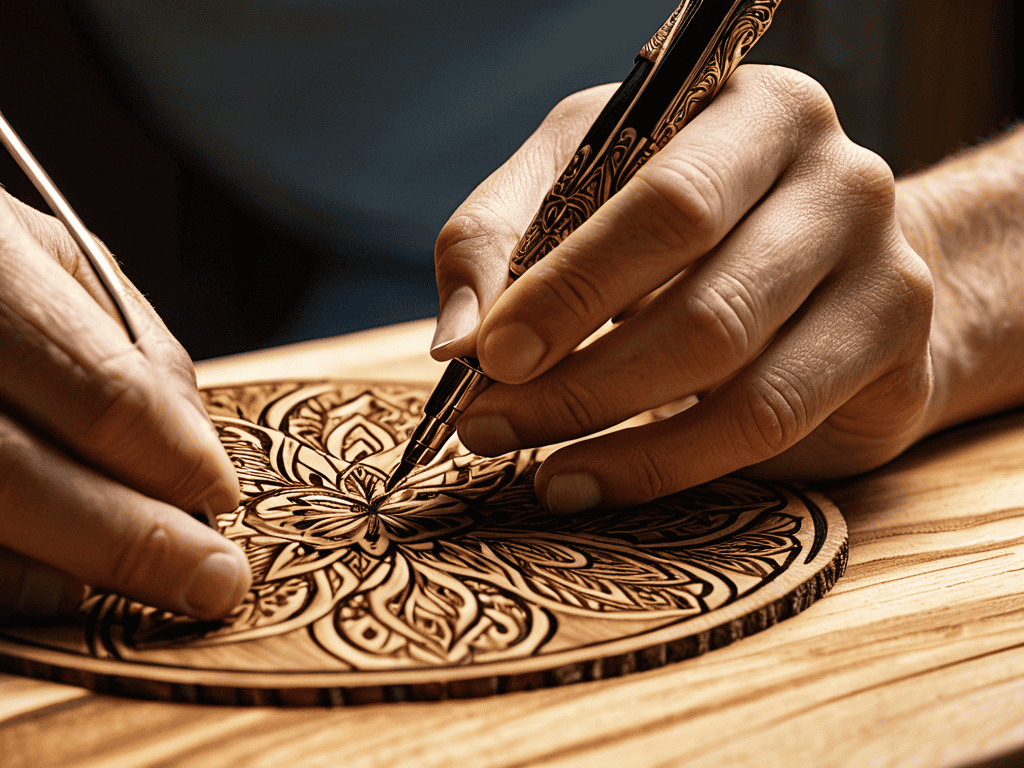
- 1. First, let’s get started with the basics of pyrography wood burning by preparing our workspace and tools. We’ll need a pyrography pen, a variety of tips, a wooden piece to work on, and a heat-resistant surface to protect our work area from any accidental burns or marks. It’s also essential to have a pair of gloves, safety glasses, and a well-ventilated workspace to ensure our safety while working with the pyrography pen.
- 2. Next, we need to select the right wood for our project. Different types of wood have unique characteristics that can affect the final result of our pyrography design. For instance, softer woods like pine or fir are more forgiving and easier to work with, while harder woods like oak or maple can produce more detailed and intricate designs. Choose a wood that suits your skill level and the design you want to create.
- 3. Now, let’s prepare our design by sketching it out on paper or using a software to create a digital version. Consider the size, complexity, and details of your design, as well as the type of wood you’re using and the tips you have available for your pyrography pen. It’s also crucial to think about the contrast and shading you want to achieve in your design, as this will help you determine the temperature and technique to use.
- 4. With our design ready, it’s time to transfer it to the wood. We can use a pencil to lightly draw the design onto the wood, or use a transfer paper to create a more accurate and detailed outline. Make sure to press lightly, as we don’t want to create any indentations or marks that could affect the final result of our pyrography design.
- 5. Next, we’ll set up our pyrography pen by selecting the right tip and adjusting the temperature according to the type of wood we’re using and the design we want to create. It’s essential to follow the manufacturer’s instructions for temperature settings and tip usage to ensure we get the best results and avoid damaging our pen or the wood.
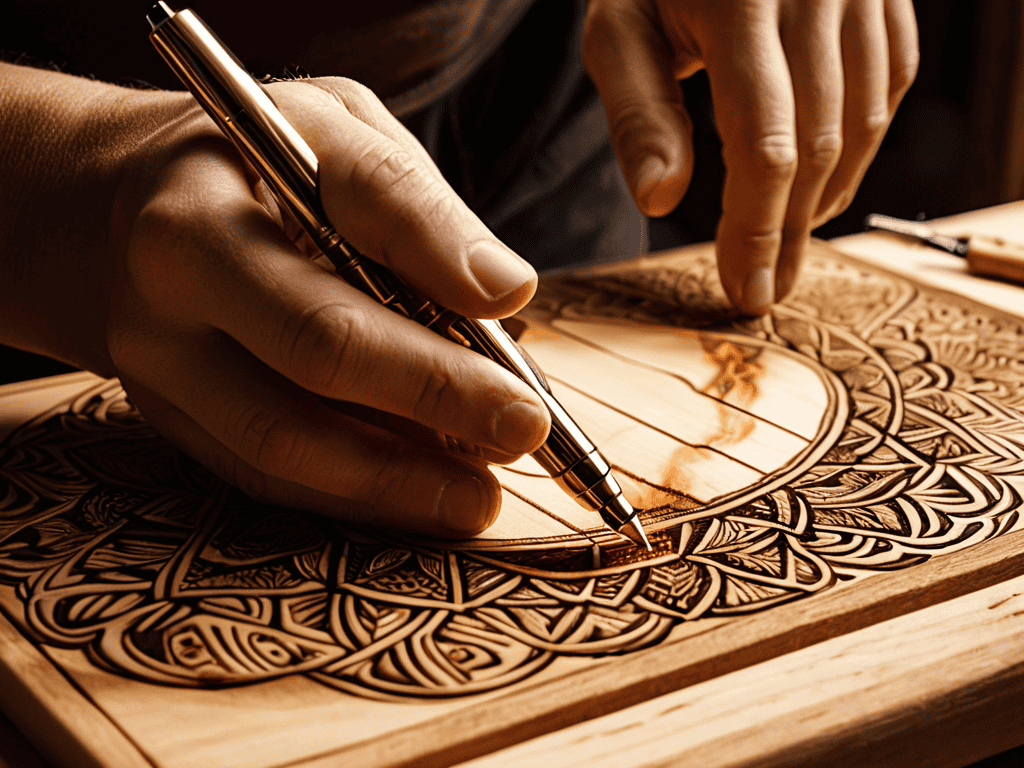
- 6. Now, it’s time to start burning our design into the wood. Begin with the outline, using a steady and smooth motion to create a consistent line. Then, move on to the details and shading, using different temperatures and techniques to achieve the desired effect. Remember to work in small sections, as this will help you maintain control and avoid mistakes.
- 7. As we continue working on our pyrography design, it’s essential to monitor the temperature of our pen and adjust it as needed. We should also keep an eye on the wood, watching for any signs of burning or charring, and adjust our technique accordingly. This will help us achieve a smooth, even finish and prevent any damage to the wood or the design.
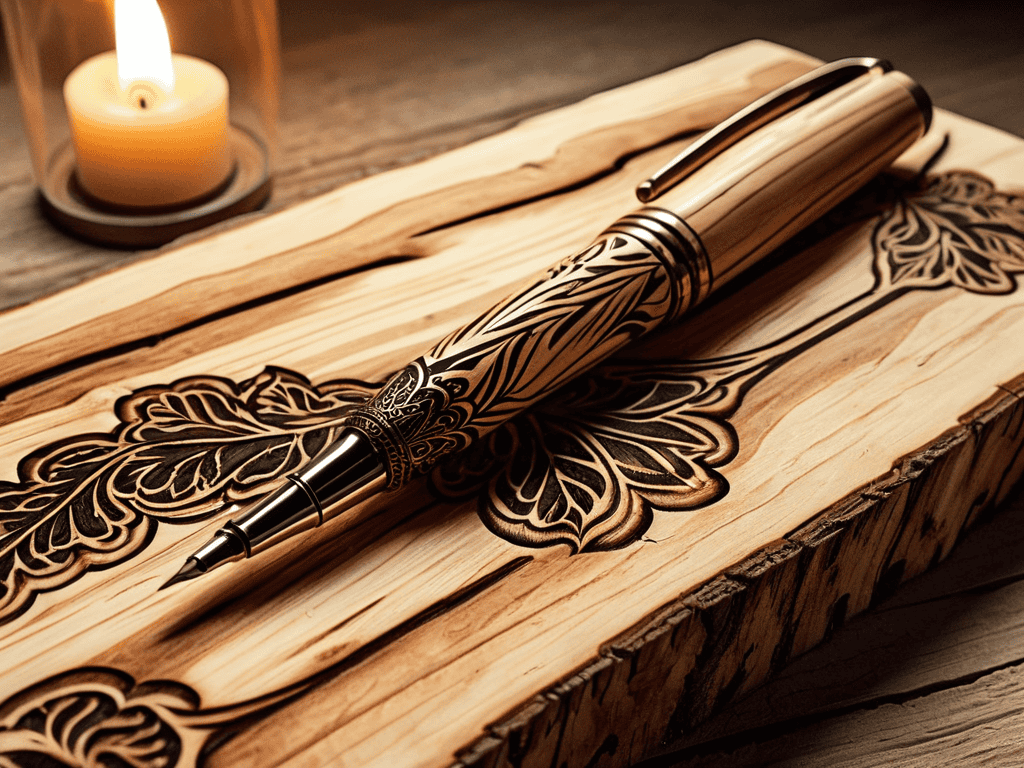
Pyrography Wood Burning
When it comes to mastering wood burning techniques for beginners, practice is key. Start with simple designs and gradually move on to more complex ones, experimenting with different temperatures and techniques to achieve the desired effects. Creating intricate designs with pyrography requires patience and attention to detail, but the results are well worth the effort.
To ensure your pyrography pen continues to perform at its best, regular pyrography pen maintenance is essential. This includes cleaning the tip, replacing worn-out parts, and storing it properly when not in use. By taking good care of your pen, you’ll be able to achieve consistent results and prevent damage to your work.
For a unique and personalized gift, consider using different types of wood for pyrography to create customized pieces. From wooden ornaments to personalized signs, the possibilities are endless. Remember to always follow safety precautions for wood burning, such as working in a well-ventilated area and keeping a fire extinguisher nearby, to ensure a safe and enjoyable experience.
Creating Intricate Designs Safely
To create intricate designs safely, it’s essential to work with a steady hand and a clear mind. Start by sketching your design onto the wood with a pencil, considering the natural grain and texture of the material. This will help you achieve a more organic and visually appealing result. When burning, use a consistent temperature and apply gentle, smooth strokes to bring your design to life.
As you work on intricate details, maintain a safe distance between your body and the pyrography pen to avoid accidental burns. Keep loose clothing and long hair tied back, and ensure good ventilation in your workspace to prevent inhaling fumes from the burning wood. With patience and attention to detail, you can craft stunning, intricate designs that showcase your artistic skills.
Mastering Wood Burning Techniques
As you continue to hone your skills in pyrography wood burning, you’ll likely find yourself seeking out new inspiration and resources to help take your craft to the next level. One often overlooked aspect of mastering this art form is understanding the importance of community and connection with others who share your passion. For those looking to expand their creative horizons and potentially even find like-minded individuals to collaborate or share ideas with, exploring online platforms such as adult personals australia can be a great way to discover new avenues for expression and networking opportunities that might just spark your next big project or creative breakthrough.
To truly master pyrography wood burning, it’s essential to experiment with different techniques. This includes varying line widths, shading, and texture to add depth and dimension to your designs. Practice creating smooth, even lines, as well as more intricate details like patterns and shapes.
As you become more comfortable with your pyrography tool, try pushing the boundaries of what’s possible. Play with layering and blending different tones to achieve unique, multi-dimensional effects. Remember, the key to mastering wood burning techniques is patience and practice, so don’t be afraid to try new things and make mistakes – they’re all part of the creative process.
5 Blazing Tips to Elevate Your Pyrography Wood Burning
- Start with the right wood: Not all woods are created equal, so choose a type that’s perfect for pyrography, like basswood or beech
- Experiment with different temperatures: Find the sweet spot for your design by adjusting the heat of your pyrography pen
- Practice, practice, practice: Like any art form, pyrography takes time and patience to master, so don’t be discouraged if your first attempts don’t turn out as expected
- Use reference images: Gather inspiration from nature, books, or online resources to create unique and intricate designs
- Keep it safe: Always work in a well-ventilated area, use a heat-resistant surface, and keep a fire extinguisher nearby to avoid accidents
Key Takeaways for Pyrography Wood Burning
Ignite your creativity by mastering various wood burning techniques, from basic lines to intricate designs
Ensure a safe working environment by understanding the importance of proper ventilation, heat control, and protective gear
Unlock your full potential in pyrography wood burning by practicing regularly, experimenting with different tools and materials, and pushing the boundaries of your artistic expression
Embracing the Art
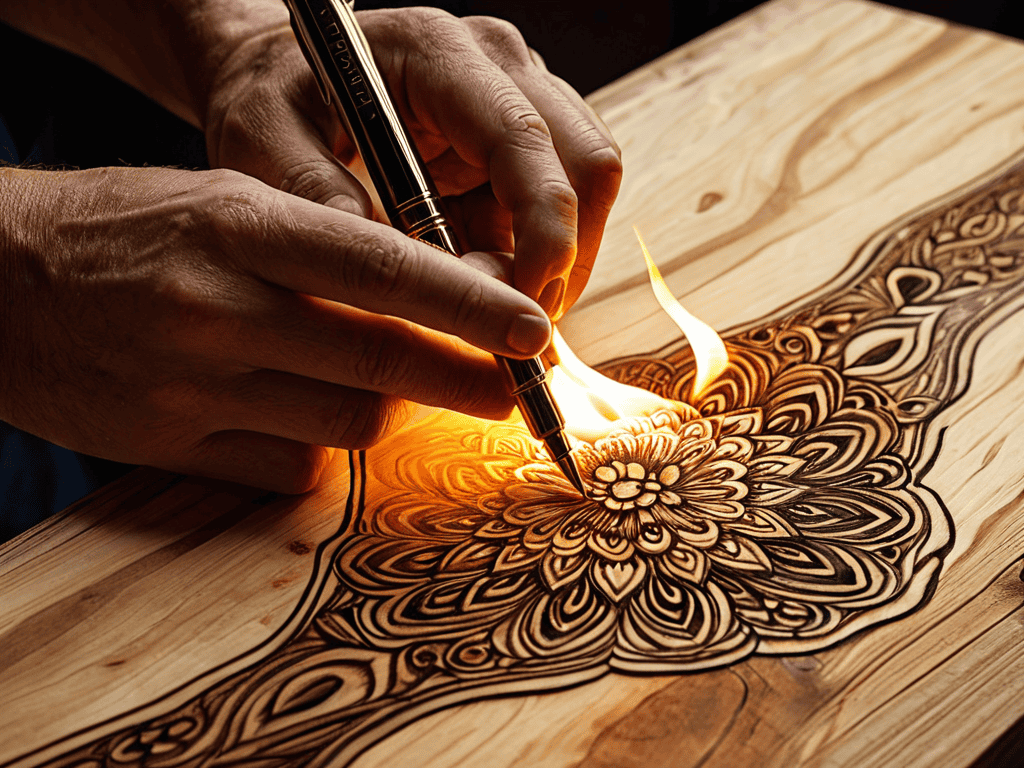
As the wood yields to the flame, so too must we yield to our creativity, allowing the art of pyrography to ignite a fire within that never fades.
Aurora Wynter
Conclusion
As we conclude our journey through the world of pyrography wood burning, it’s essential to summarize the key points that will help you master this craft. From understanding the basics of pyrography to creating intricate designs safely, we’ve covered it all. Remember, practice is key to improving your skills, and don’t be afraid to experiment with different techniques and designs. With patience and dedication, you can create stunning pieces of art that showcase your creativity and skill.
As you embark on your pyrography journey, keep in mind that the true beauty of this art form lies in its ability to ignite your creativity. Don’t be limited by conventional designs or techniques – instead, let your imagination run wild and see where it takes you. With pyrography wood burning, the possibilities are endless, and the sense of accomplishment you’ll feel when you create something truly unique and beautiful is unparalleled. So, go ahead, pick up your pyrography pen, and let the creative flames burn bright!
Frequently Asked Questions
What are the most common mistakes to avoid when starting pyrography wood burning?
When starting pyrography wood burning, beware of applying too much heat, which can scorch the wood, and using the wrong tip, which can lead to uneven lines. Also, don’t press too hard, as this can cause the tip to dig into the wood, creating unwanted grooves.
How do I achieve consistent line widths and depths in my wood burning designs?
To achieve consistent line widths and depths, play with temperature and technique. Experiment with different heat settings and tip pressures to find your sweet spot. Practice, practice, practice – it’s all about developing a feel for the tool and the wood.
Can I use pyrography wood burning techniques on any type of wood or are some woods better suited than others?
Not all woods are created equal when it comes to pyrography. Softer woods like basswood, beech, and pine work well, while denser woods like maple and cherry can be trickier. Avoid woods with resin or sap, like pine or fir, as they can create uneven burns. Experiment with different types to find your favorite.